Ashes of Creation Beginner's Guide: Welcome to Verra, Try Not to Die Immediately
Ashes of Creation launched on Steam Early Access with quite a few ambitious systems and absolutely zero handholding, so let me explain what the hell is going on before you waste hours being confused.

Ashes of Creation is an MMORPG that doesn't follow the usual theme park design where you're guided from hub to hub completing predetermined quests. Instead, it's a "theme box" hybrid where players actually shape the world through their actions. Nodes (settlements) rise and fall based on player activity. Entire cities can appear or get destroyed through sieges. The map looks different on every server because players build it differently. This sounds cool in theory, and it is, but it also means the game assumes you'll figure everything out yourself while simultaneously getting murdered by wildlife.
The game just launched on Steam Early Access December 11, 2025, which means it's unfinished, buggy, and missing features. You're essentially paying to help test and shape development. Some systems work great, others are placeholder garbage, and occasionally things will just break. If you're expecting a polished experience, wait for full release. If you're okay with rough edges in exchange for experiencing a genuinely unique MMO being built, keep reading.
This guide covers the absolute fundamentals you need to survive your first sessions: character creation, combat basics, the node system, PvP flagging, crafting essentials, and how to not lose all your stuff constantly.
Character Creation: Classes, Races, and Permanent Decisions
Character creation starts with picking your race and primary archetype (class). Here's the critical part: your primary archetype is permanent. You cannot change it. Pick carefully because you're stuck with this decision.
There are eight archetypes available: Fighter (melee DPS), Tank (main tank), Rogue (stealth DPS), Ranger (ranged DPS), Mage (magic DPS), Cleric (healer), Bard (support), and Summoner (hybrid utility with combat pets). Each plays differently and fills specific roles in group content.
Around level 25 you'll unlock a secondary archetype that augments your primary abilities but doesn't change your core role. This secondary can be swapped later, so it's not permanent. For now, just focus on picking a primary that matches your preferred playstyle.
Races include Py'Rai (forest elves), Ren'Kai (honor-driven orcs), Niküa (island dwarves), and Tulnar (underground survivors with customizable reptilian/mammalian features). Race doesn't dramatically affect stats or lock class choices. It's mostly aesthetic and cultural flavor, though it does influence how certain NPCs react to you and what architecture appears when your race dominates node development.
Important: The Summoner is brand new and still buggy. If you want a smoother experience, pick one of the longer-tested archetypes like Fighter, Mage, or Cleric.
Starting Zones and Early Progression
You begin at one of the Divine Gates in either the Riverlands or The Anvils. Both are starter zones but play slightly differently.
The Riverlands is the older zone, slower-paced but more solo-friendly with better quest distribution. The Anvils is newer with better onboarding but occasionally forces group content for certain objectives. Early enemies now drop rations more frequently for health recovery, saving you coins at vendors. Leveling to 10 is faster than it used to be with increased XP gains and better quest rewards providing gear upgrades.
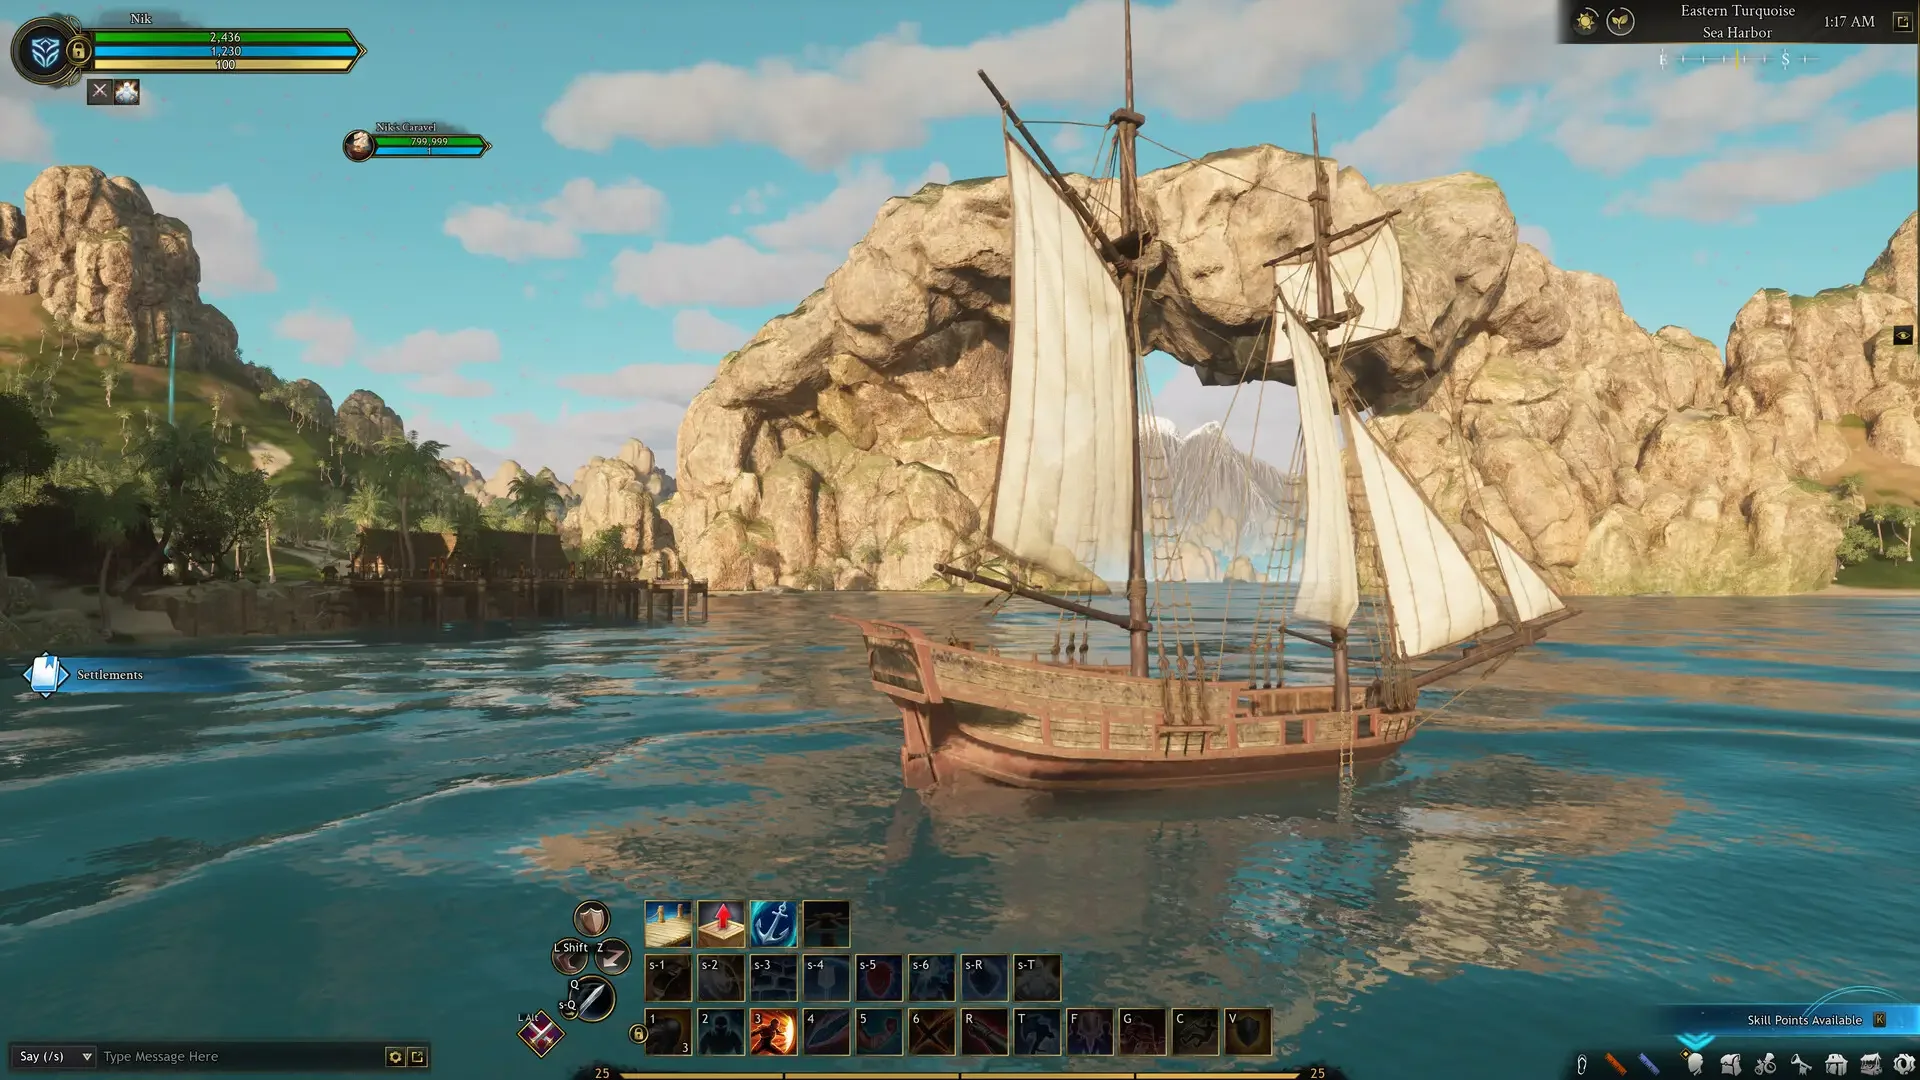
Your first priority is unlocking your first mount through the quest chain in the first settlement. Follow it, you'll learn about gathering and crafting basics, and you'll get a horse. This mount is essential because Verra is massive and walking everywhere is miserable.
Second priority: discover Emberspring shrines (marked with yellow griffin symbols on the map). These are respawn points and fast travel locations. You can only respawn at shrines you've discovered, so explore and activate as many as possible early. You can set one as your home point for easier navigation.
Combat Basics: Weapons, Skills, and Not Dying
Combat in Ashes uses a hybrid system mixing tab-target and action elements. You can toggle between camera modes mid-combat to find what works for you. Rebind the camera toggle to mouse wheel click for easy swapping.
You equip both a melee and ranged weapon simultaneously. The stats from both weapons apply at all times, not just the one you're holding. Always have your best gear equipped in both slots to maximize stats. You can swap between weapons mid-combat freely.
Weapons have their own skill trees and level up independently through use. Each weapon type plays differently. Orbs enhance casting for mages and summoners. Axes are fast and brutal for brawlers. Piercing swords favor quick, high-crit mobile combat. Staves focus on AoE and ranged magic. Pick weapons that complement your archetype's abilities.
Fix your auto-attack settings immediately. Default requires clicking for every single swing, which is terrible. Go to settings and change combat mode to "hold/press to continue attacking" so your character auto-attacks between skills automatically. This alone makes combat way smoother.
You have active abilities, passive bonuses, and skill trees for your class, weapons, and stamina. Always spend skill points immediately to increase combat power. Learn new skills before upgrading existing ones when possible. New skills broaden your options and make you more flexible. A mediocre new skill often beats a slightly stronger version of an ability you already have.
Stamina management matters. Blocking, sprinting, and dodging all consume stamina. Blocking reduces frontal damage (mainly for tanks). Sprinting increases movement speed 20% for kiting or escaping. Active dodging grants 100% evasion for half a second but costs half your stamina bar. Use these defensively but don't spam dodge or you'll run out of stamina mid-fight and die.
The Node System: How Player Actions Shape the World
Nodes are the core progression system in Ashes. Everything from politics to PvP to housing ties back to nodes. Understanding this is crucial because it affects where content appears, what quests unlock, and where you can establish citizenship.
Nodes level up based on nearby player activity. As you gather, fight, craft, or quest, you're feeding experience into the closest node's Zone of Influence (ZOI). Over time, empty wilderness transforms into settlements with NPCs, services, and government.
Nodes evolve through stages: Wilderness (nothing), Expedition (first tents), Camp (visible infrastructure), Village (mayors and elections), and eventually Town, City, and Metropolis. Currently in Early Access you'll see development up to Village stage.
At Village stage (Stage 3), nodes become typed based on the activity that built them. Military nodes develop through combat. Divine nodes grow through support actions and quests. Each type influences available buildings, quests, and NPCs.
Player governance begins at Village stage. Mayors are elected by citizens. Mayors set policies like taxation rates and development priorities. Node happiness (based on services and policy) affects growth and productivity. You can become a citizen, purchase housing, and participate in local politics.
Parent-child node relationships create regional hierarchy. When a node reaches Village, it claims nearby smaller nodes as vassals. Vassal nodes can't outlevel their parent, and XP earned in vassals helps the parent grow. This creates natural power structures where stronger nodes dominate regions.
Why this matters: the node you support determines what content appears near you. Different nodes unlock different dungeons, world bosses, quests, and resources. Your server's node development creates a unique world layout different from every other server.
PvP Flagging and the Corruption System
Ashes has open-world PvP everywhere except safe zones like settlements. Understanding the flagging system prevents you from accidentally becoming a target or gaining corruption penalties.
There are three PvP states: Green (Non-Combatant), Purple (Combatant), and Red (Corrupt).
Green is your default state. You're not flagged for PvP unless you attack another player. If someone attacks you while green and you don't fight back, they risk corruption. Many players will leave you alone if you don't defend yourself.
Purple means you're flagged as a combatant. This happens when you attack another player or enter certain PvP events. Combatants can be killed without corruption penalties. If you die as a combatant, you receive half the normal death penalties.
Red means you're corrupt from killing non-combatant players. Corruption stacks with multiple kills. Corrupt players have reduced combat effectiveness, drop equipped gear on death, and appear on the map for bounty hunters. Dying while corrupt applies severe XP debt and stat penalties.
The problem is you can accidentally become combatant. Tab-targeting cycles through all entities including players. If a combatant runs through your fight, you might accidentally target and hit them, flagging yourself. Other players will immediately kill you once you're flagged.
Prevent this by enabling "Require Force PvP to use harmful abilities on combatants" in Settings under Combat/PvP. This stops accidental flagging.
You also flag as combatant if you break open material packages (random spawns in the world) or loot ashes piles from dead players. Some players deliberately bait this to kill you without corruption. If you see a package or ash pile near settlements or on roads, ignore it unless you want PvP.
Default key to manually flag for PvP is Alt + F. Customize flagging settings to avoid accidents or prepare for combat as needed.
Death Penalties and Why Dying Sucks
Death in Ashes comes with real consequences. When you die you lose:
Portion of your collectible items, materials, and Glint (currency)
Receive a debuff reducing stats for several minutes
Equipment durability damage
Negative experience debt you must work off before gaining levels again
Dying as a combatant (purple) applies half these penalties. Dying as corrupt (red) applies four times the penalties and risks gear drops.
Play carefully. Avoid pulling too many enemies. Use consumables like rations for health recovery between fights. Sit down (default X key) to regenerate HP and mana faster. Don't run into dangerous areas undergeared or alone.
If you're low on health and far from a shrine, use the unstuck function to teleport to your nearest discovered Emberspring. This is primarily for characters stuck in geometry but works as emergency escape too.
Glint: Your Most Important Currency
Glint drops from most enemies and is one of the most important currencies in the game. You use Glint to create caravans, pay node taxes as a citizen, and sell to vendors for copper/silver/gold.
Glint comes in various rarities. You can merge 10 of the same tier by right-clicking to create the next higher value. Always carry Glint but be aware you drop it when you die to players or mobs.
To minimize losses, regularly sell Glint to NPCs for actual currency. Right-click Glint in your inventory while talking to a merchant. There's no buyback system, so double-check before selling anything else.
Glint is also used for caravan trade runs. You buy goods with Glint, transport them by caravan to other nodes, and sell for profit based on distance covered. Other players can raid your caravan for the goods, so coordinate with guild members for protection on valuable runs.
Crafting and Economy Basics
Verra's economy is entirely player-driven. The best gear in the game is crafted, not dropped from bosses. Crafting is complex and interdependent, requiring multiple professions to create single items.
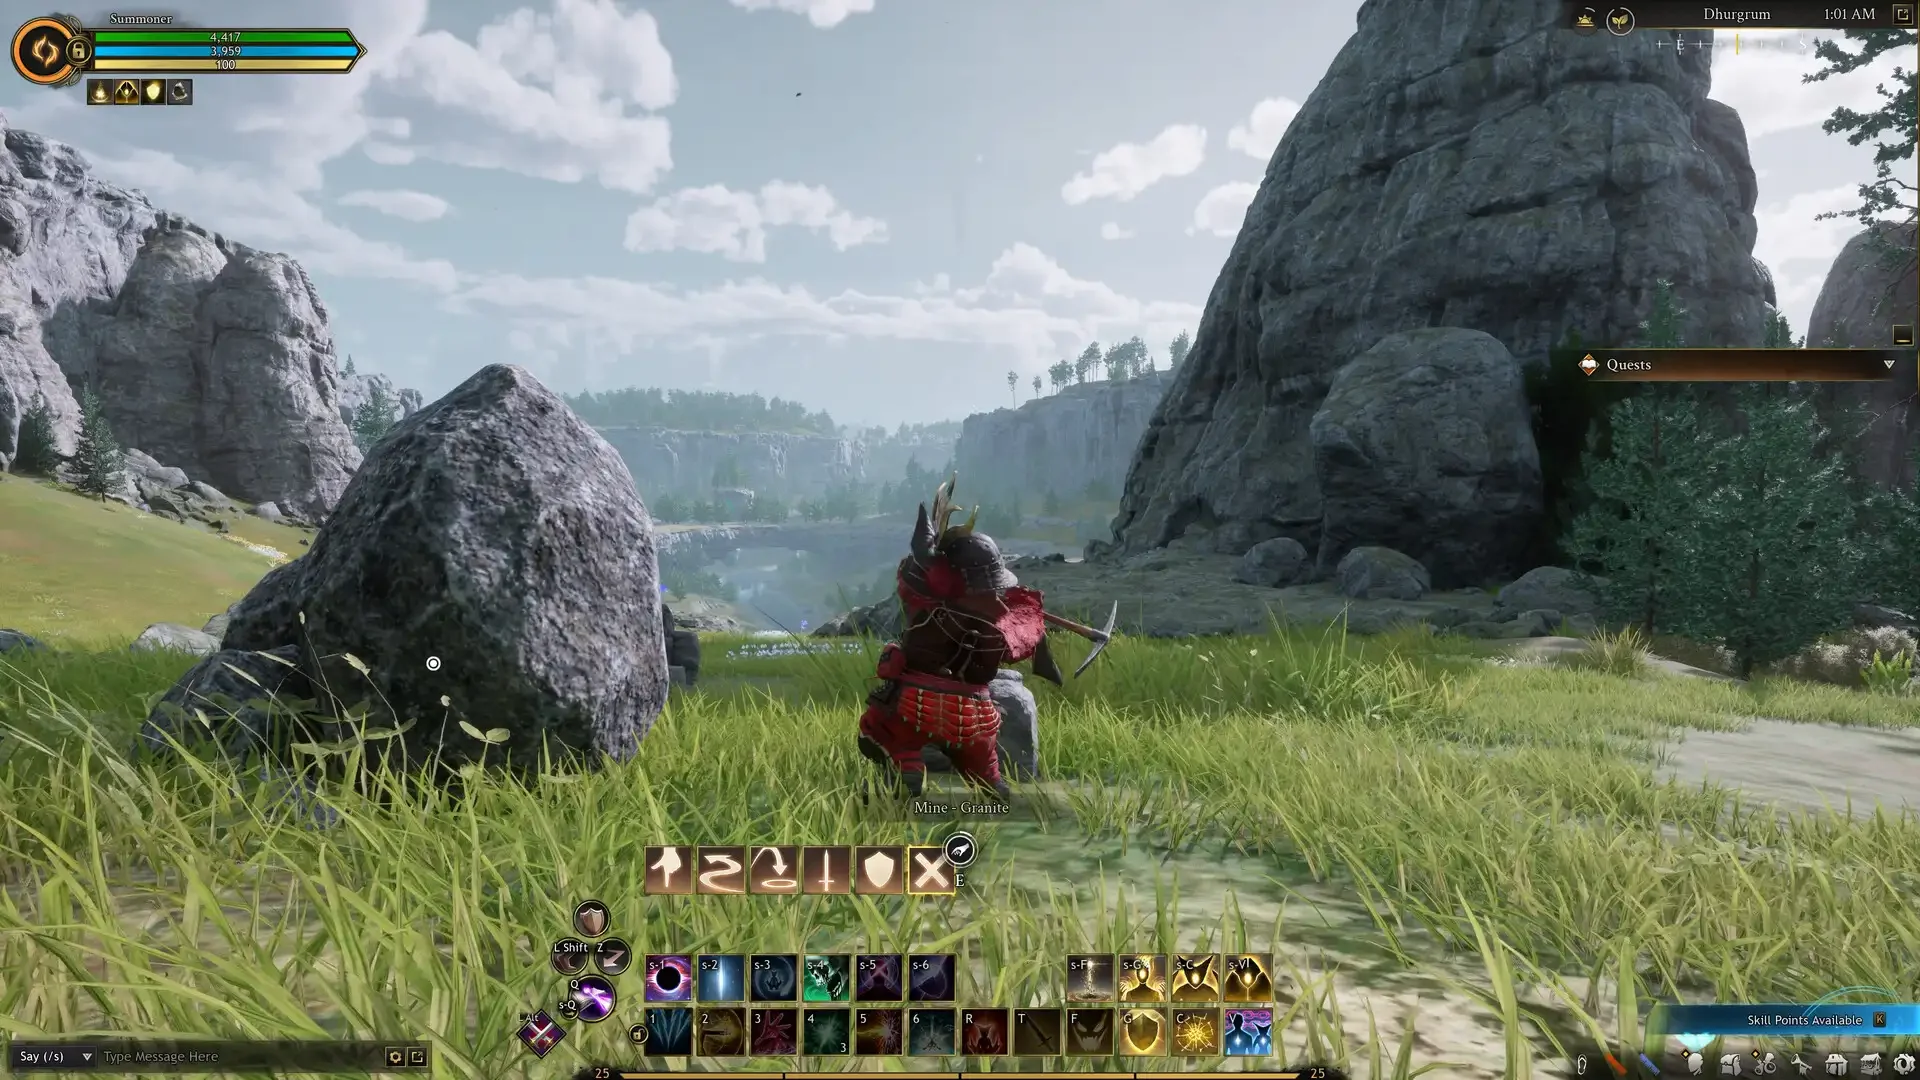
The artisan system splits into three pillars: Gathering (harvest raw materials), Processing (refine into components), Crafting (create final items). Each profession has its own progression path, and you can only master a limited number, so specialization is mandatory.
Gathering tools like pickaxes and sickles let you collect resources from nodes in the open world. Resources are biome-specific, so different regions provide different materials. Processing stations in node buildings refine raw materials into usable components. Crafting stations create weapons, armor, and consumables from processed materials.
Every crafting step costs money through taxes and ingredient purchases. Many steps involve loading workstations and waiting minutes for completion. Crafting isn't interactive, you're not mini-gaming or clicking rapidly. You queue jobs and walk away.
There's no global auction house. Markets are node-specific and not connected. This is intentional. Resources are region-specific and the game wants physical trade routes with caravan transport and PvP risk.
To make early gold, gather materials and sell them on your local node marketplace. Check prices and match or slightly undercut. Even small profits add up compared to vendor prices. Low-tier materials remain valuable forever because high-level recipes still require them. Don't sell your copper or basic wood thinking it's worthless. Hoard low-level mats or sell them at fair prices to crafters.
Use alt characters for processing. Processing locks you in town for extended periods. Create a second character, park them at a settlement, transfer gathered materials, and let the alt handle processing while your main adventures.
Mounts and Why You Need Backup Horses
Mounts don't disappear into a collection UI. They exist as items in your inventory. Drag your mount to your hotbar to summon or desummon it.
Once summoned, your mount persists in the game world even when you're not riding it. If you dismount and walk away, the mount stays there until you manually desummon it. Mounts are vulnerable. They can be killed by mobs or players.
If your mount dies, it goes on a 10-minute cooldown. You cannot use it during this time. Always carry a backup mount in your inventory for situations where your primary dies. Being stuck on foot for 10 minutes in dangerous territory is miserable.
Other players can kill your mount in PvP zones. However, attacking a non-flagged player's mount causes the attacker to gain corruption, so most won't bother unless they're already flagged or deliberately griefing.
Water mounts with water breathing exist for underwater exploration. Normal mounts can swim but are slower and eventually you run out of air. If you plan to explore aquatic areas, get a water mount.

Commission Boards and Easy XP
Every settlement has commission boards offering repeatable tasks. Check these whenever entering new settlements. Grab quests you can complete during your next wilderness trip, like gathering specific resources or killing certain monsters.
There are different board types: Adventure (exploration and kills), Artisan (gathering and crafting), and Hunting (group content). Completing these grants additional XP and Glint without much extra effort. It's passive progression while doing activities you'd do anyway.
Local mayors can also distribute special tasks through their boards offering unique rewards. Check regularly as quest availability changes based on node level and regional events.
Named Enemies with Stars
Special opponents marked by unique names and 2-3 stars appear throughout the world. These drop special loot items. Check ashescodex.com to see what specific named enemies drop before engaging difficult fights. This prevents wasting time on challenging encounters that only reward items you can't use.
Target these named enemies when you see them if their loot table has something you need. They're significantly harder than regular mobs but provide better rewards.
Final Survival Tips
Play carefully and avoid character deaths. The death penalties are harsh and stack with repeated deaths. Consumables matter. Use XP scrolls while leveling, strength/intelligence scrolls for extra damage, and food buffs like Fruit Salad for stat boosts.
Upgrade weapons before armor. Weapon improvements provide the biggest power increases for faster progression. Check vendors in different settlements because prices vary. Avon's End west of Lionhold sells gear cheaper than Samia's Hope or Lionhold vendors.
Participate in world events marked with red warning symbols on the map. These provide excellent rewards and XP. Always take part when you encounter them.
Group content provides better loot and XP. Stay within 9 levels of your group members to receive XP. Best loot drop rates occur when the group is within 3 levels of the mob being killed.
If you plan to gather solo, consider playing Cleric. Self-healing allows access to dangerous remote areas other classes can't survive in, giving you uncontested resources.
Ashes of Creation is ambitious, unfinished, and occasionally frustrating. The Early Access launch means you're experiencing systems still being built and balanced. Bugs will happen, features will change, and occasionally things will break entirely. If you're okay with that rough experience in exchange for shaping a genuinely unique MMORPG, you'll find a lot to love (and hate) here.