Jurassic World Evolution 3 Breeding Guide - Making Dino Babies Without Making a Total Hash Of It
So, Jurassic World Evolution 3 finally lets us play dino matchmaker. Breeding isn't just about sticking two T-Rexes in a pen and hoping for tiny terrors; it's a core mechanic for growing your park, creating unique specimens, and, let's be real, raking in cash. But these little ankle-biters have needs stricter than a celebrity rider, so let's figure out how not to screw this up.
Breeding basically boils down to two paths: playing god in a high-tech Hatchery or letting the dinos get busy the old-fashioned way in a Nesting Area. Either way, life, uh, finds a way, and you'll end up with juveniles whether you meticulously planned it or not.
Hatchery vs. Nature: Choose Your Breeding Adventure
The Hatchery is your science lab approach. You gotta attach it to an enclosure first – make sure the gate opens inside the pen, unless you fancy chasing escaped hatchlings across the park. Once your dinos meet the mating requirements (more on that hell later), you pick the eggs, and your scientists cook 'em up. After incubation, you manually release the little critter.
The big plus here is control. Hatcheries let you mess with the egg's genome – tweaking traits, picking the sex, and customizing appearance. You unlock more ways to play Frankenstein through research and finding more fossils via expeditions. Synthesizing dinosaurs lets you guarantee males, which are rarer than females.
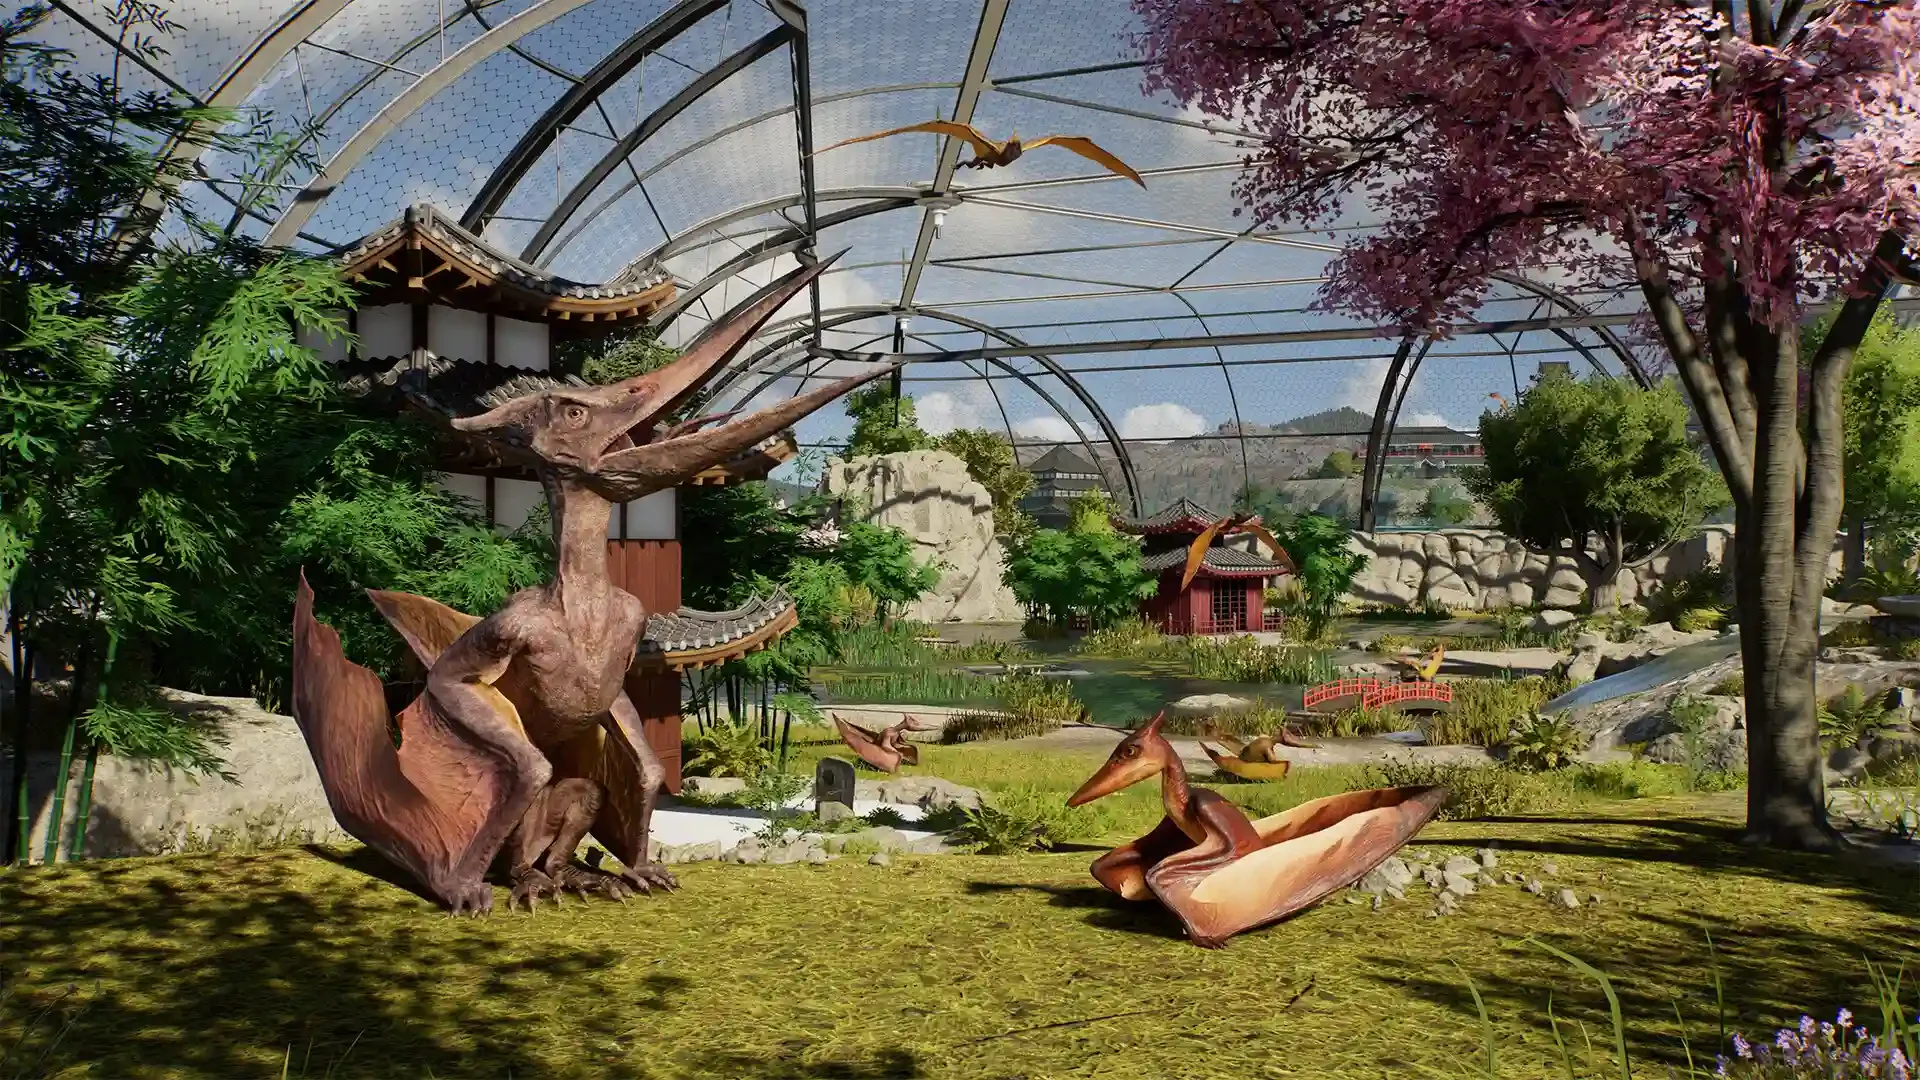
Alternatively, the Nesting Area lets dinos breed naturally in their territory. If they're comfortable, have enough space, like the nest type, and are fertile enough, they'll claim a nest and pop out eggs automatically. These hatch right into the enclosure without you lifting a finger. The downside? Less control over the resulting traits.
Nesting Needs: Dino Dating Requirements
For natural breeding to happen in a nest, your dinos need a few things lined up:
A Pair: You need at least one male and one female. Males are rarer but essential.
Fertility & Compatibility: Each dino has a fertility rating. How well a pair gets along also affects their chances. Check their stats!
Comfort: Stressed dinos don't get frisky. Make sure their environmental needs are met.
Space: The enclosure needs enough room for the current residents and potential babies. They grow up fast.
Nests: At least one nest that the specific species actually likes must be available. Check their preferences via Ranger Teams. Some like privacy, others like clusters.
Miss any of these, and you'll have zero baby dinos.
Getting Your Studs (Acquiring Males)
Since the previous games weirdly only had females, getting males in JWE3 is key. You've got options:
Capture: Snag wild dinos wandering near your park.
Marketplace: Buy males once you unlock it.
Synthesis: Use the Hatchery! Collect fossils via Expeditions, analyze them to complete the genome, and then you can choose the gender before hatching. Make sure you hatch a male or two for each enclosure that needs 'em.
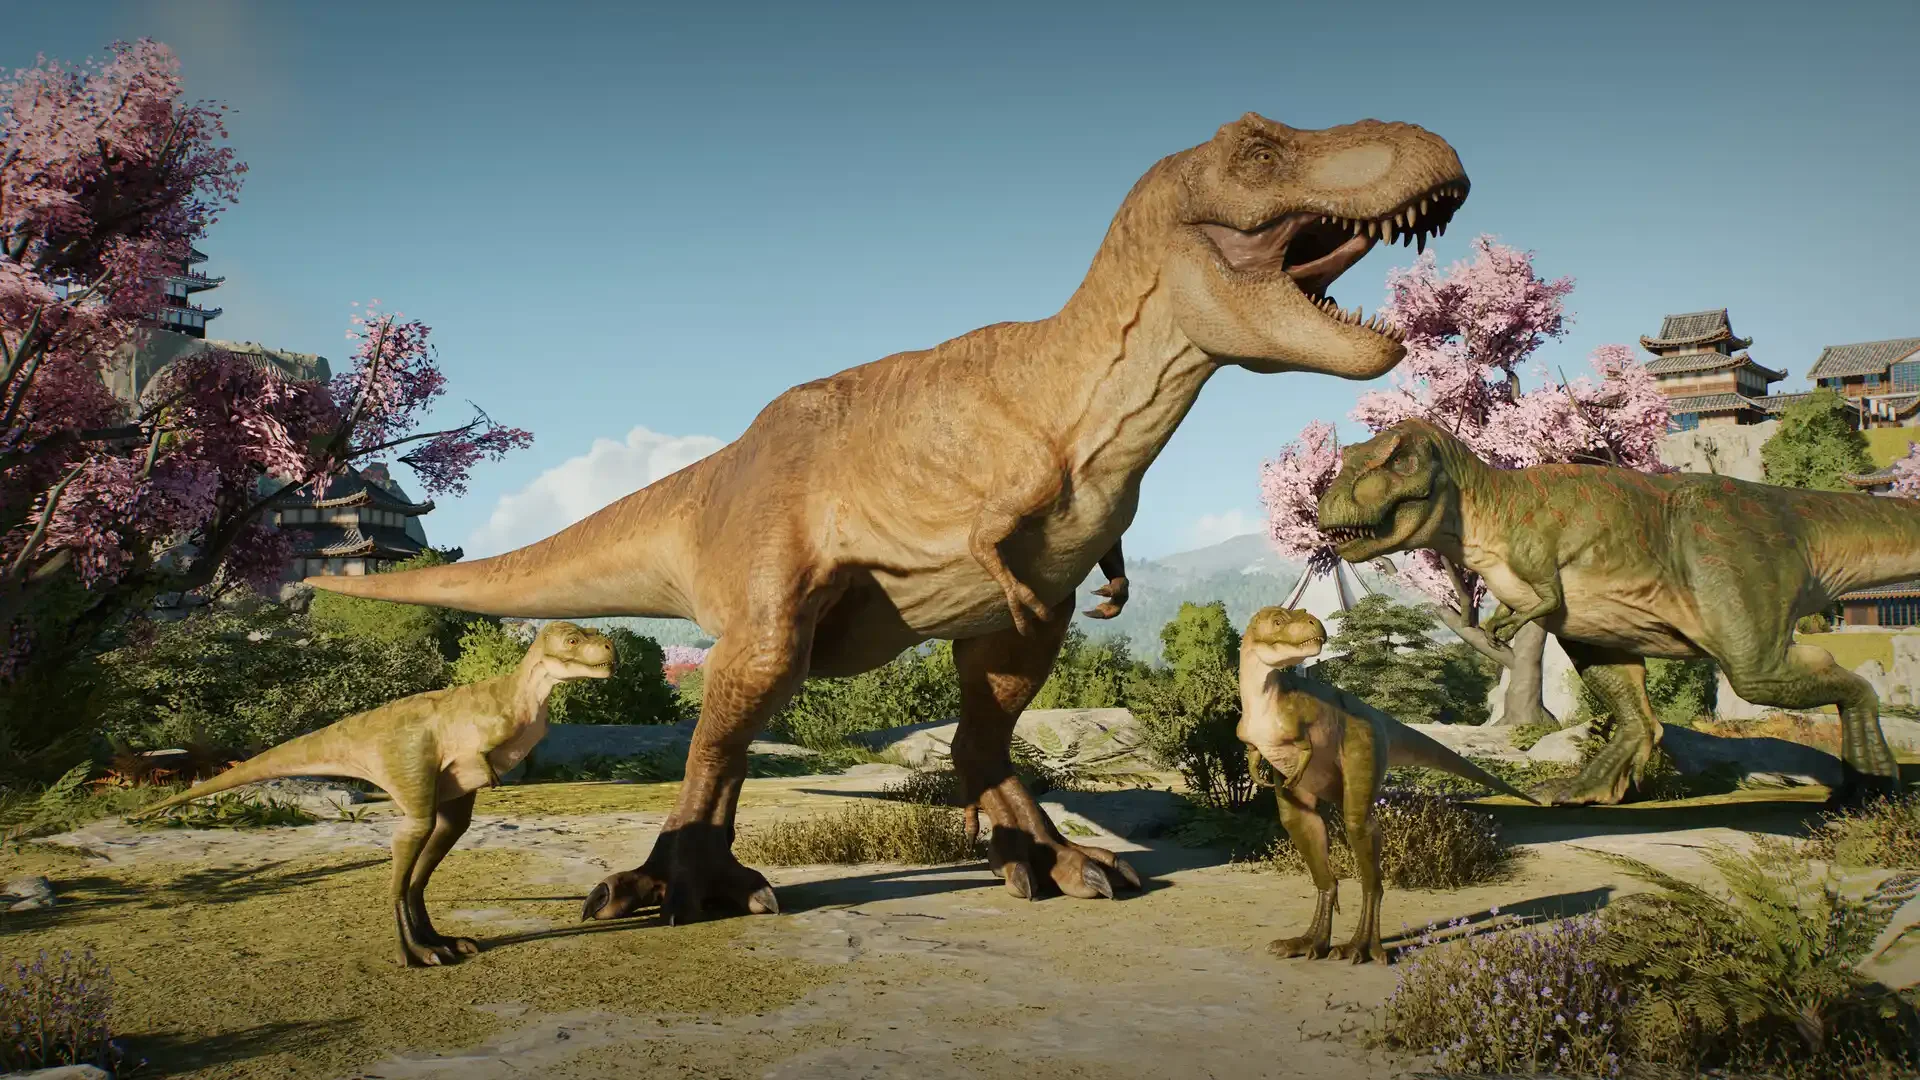
Baby-Proofing Your Enclosures
Juveniles are needy little nightmares. Before eggs hatch (naturally or artificially), prep the enclosure:
Space Check: Babies grow into adults who need way more territory. Plan ahead.
Habitat Needs: Once they hatch, ensure they have the right foliage, water, etc.. Their needs might differ from adults.
Health Check: Send in medical teams immediately to scan for diseases.
Curiosity Kills (Fences): Babies are escape artists and vandals. Beef up fences and make sure Maintenance/Ranger Posts cover everything important. A baby Triceratops chewing through a fence is funny until the adult Carnos follow it out.
Show Off the Goods: Add extra Viewing Galleries! Baby dinos pull in way more appeal and cash than adults, so capitalize on that cuteness while it lasts.
Boosting Baby Production (Maximizing Fertility)
Some dinos just aren't in the mood, especially if they're stressed or sick. To check fertility, select a dino and hit the egg icon. You'll see their base chance, any modifiers (positive or negative traits matter!), and expected changes over their lifespan. Use the Breeding Heatmap for an overview.
If fertility is low, double-check their comfort, scan for hidden diseases, or see if they need more space. Traits can boost or tank fertility too. If you absolutely want to stop breeding (maybe to prevent passing on bad traits), you can enable contraceptives on individual dinosaurs via the same menu.
Playing God: Structured Breeding & Gene Mods
Once you've got the basics down, you can start strategically breeding. Click an empty nest and choose eligible parents to start a structured breeding program. This lets your scientists guide evolution, selecting for good traits and avoiding bad ones.
Combine this with Hatchery synthesis for maximum control. Collect fossils, research the genome to unlock modification points, and research specific traits. Then, you can customize synthesized dinos' stats, needs, traits, and even their skin/pattern colors (with male/female variations for dimorphism!).
Release these custom dinos, let them mature, and then use structured breeding to pass those awesome traits to naturally bred offspring. This gives you the best of both worlds: custom traits and the higher appeal generated by naturally born dinos.
Top Tier Traits to Prioritize
When modifying genes in the Hatchery, focus your research on these first:
Cross-Species Adaptation: Boosts Tolerance, making dinos happier living with other species. Saves space, makes galleries more profitable.
Group Adaptation: Affects Sociability, making dinos less stressed by crowds. Reduces chances of the Antisocial trait.
Positive Temperament: Modifies Comfort, making dinos more adaptable to imperfect environments. Less terraforming needed.
Confined Space Adaptation: Influences Humility, reducing the territory size they need. Essential for packing more dinos safely into one enclosure, especially combined with the others.
Unlocking these makes managing enclosures way easier.
The Circle of Life (and Profit)
Breeding adds a whole new layer to Jurassic World Evolution 3. It's complex, requires careful planning, and can absolutely wreck your park if you neglect the little ones. But get it right, and you'll have unique, thriving dinosaurs that keep the guests pouring in and the profits soaring. Just try not to get eaten while checking on the nests.