Master of Command Beginner's Guide: How Not to Get Your Fancy Musket Line Slaughtered
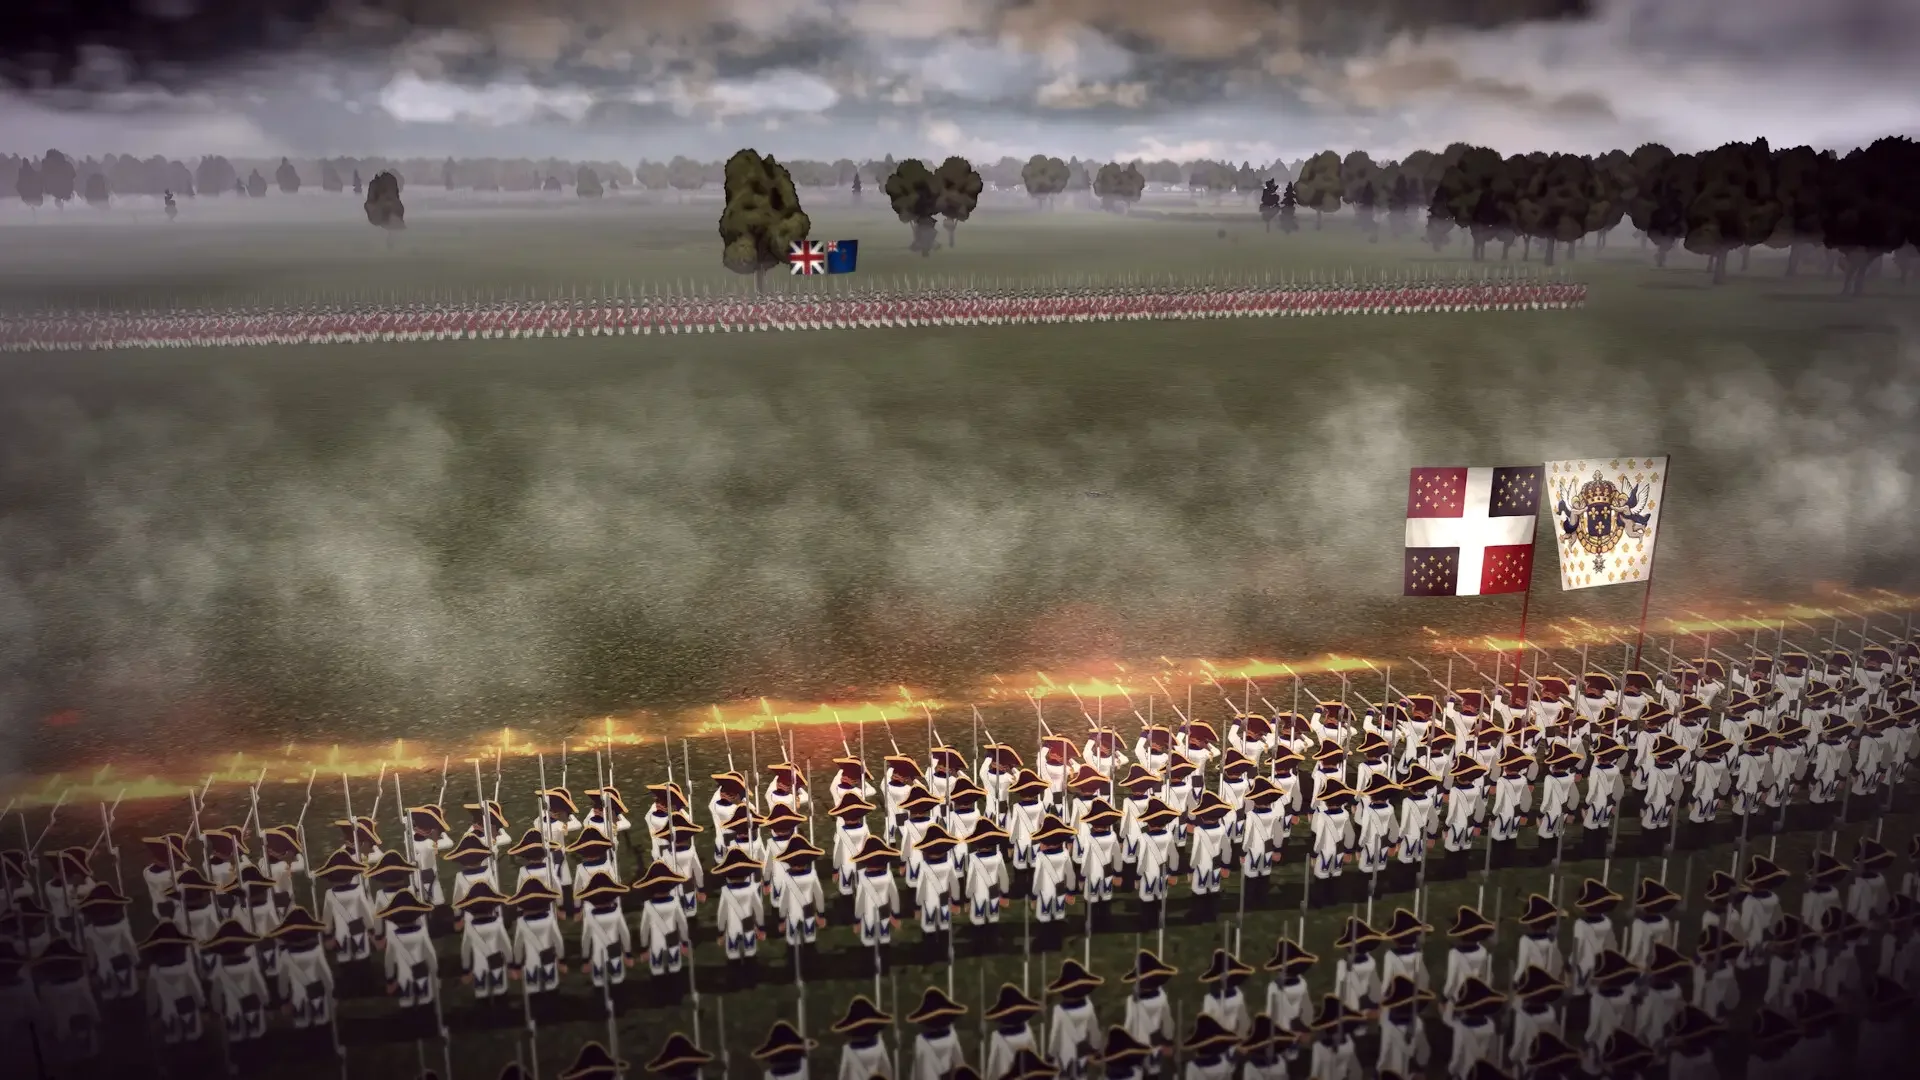
Alright, let's talk about Master of Command. If you jumped in thinking this was just another Empire: Total War clone, you've probably already had your ass handed to you. This game is a different, meaner beast, set during the delightful meat grinder that was the Seven Years' War. It demands more thought than just drawing a long red line and hitting 'start'.
This isn't about campaign strategy; this is about understanding the grunts on the ground before you lead them to glorious, historically accurate death. The tutorial is detailed, sure, but sometimes you need the blunt truth. So, let's break down the basics that the game assumes you already know.
It's All About the Shapes You Make (Formations)
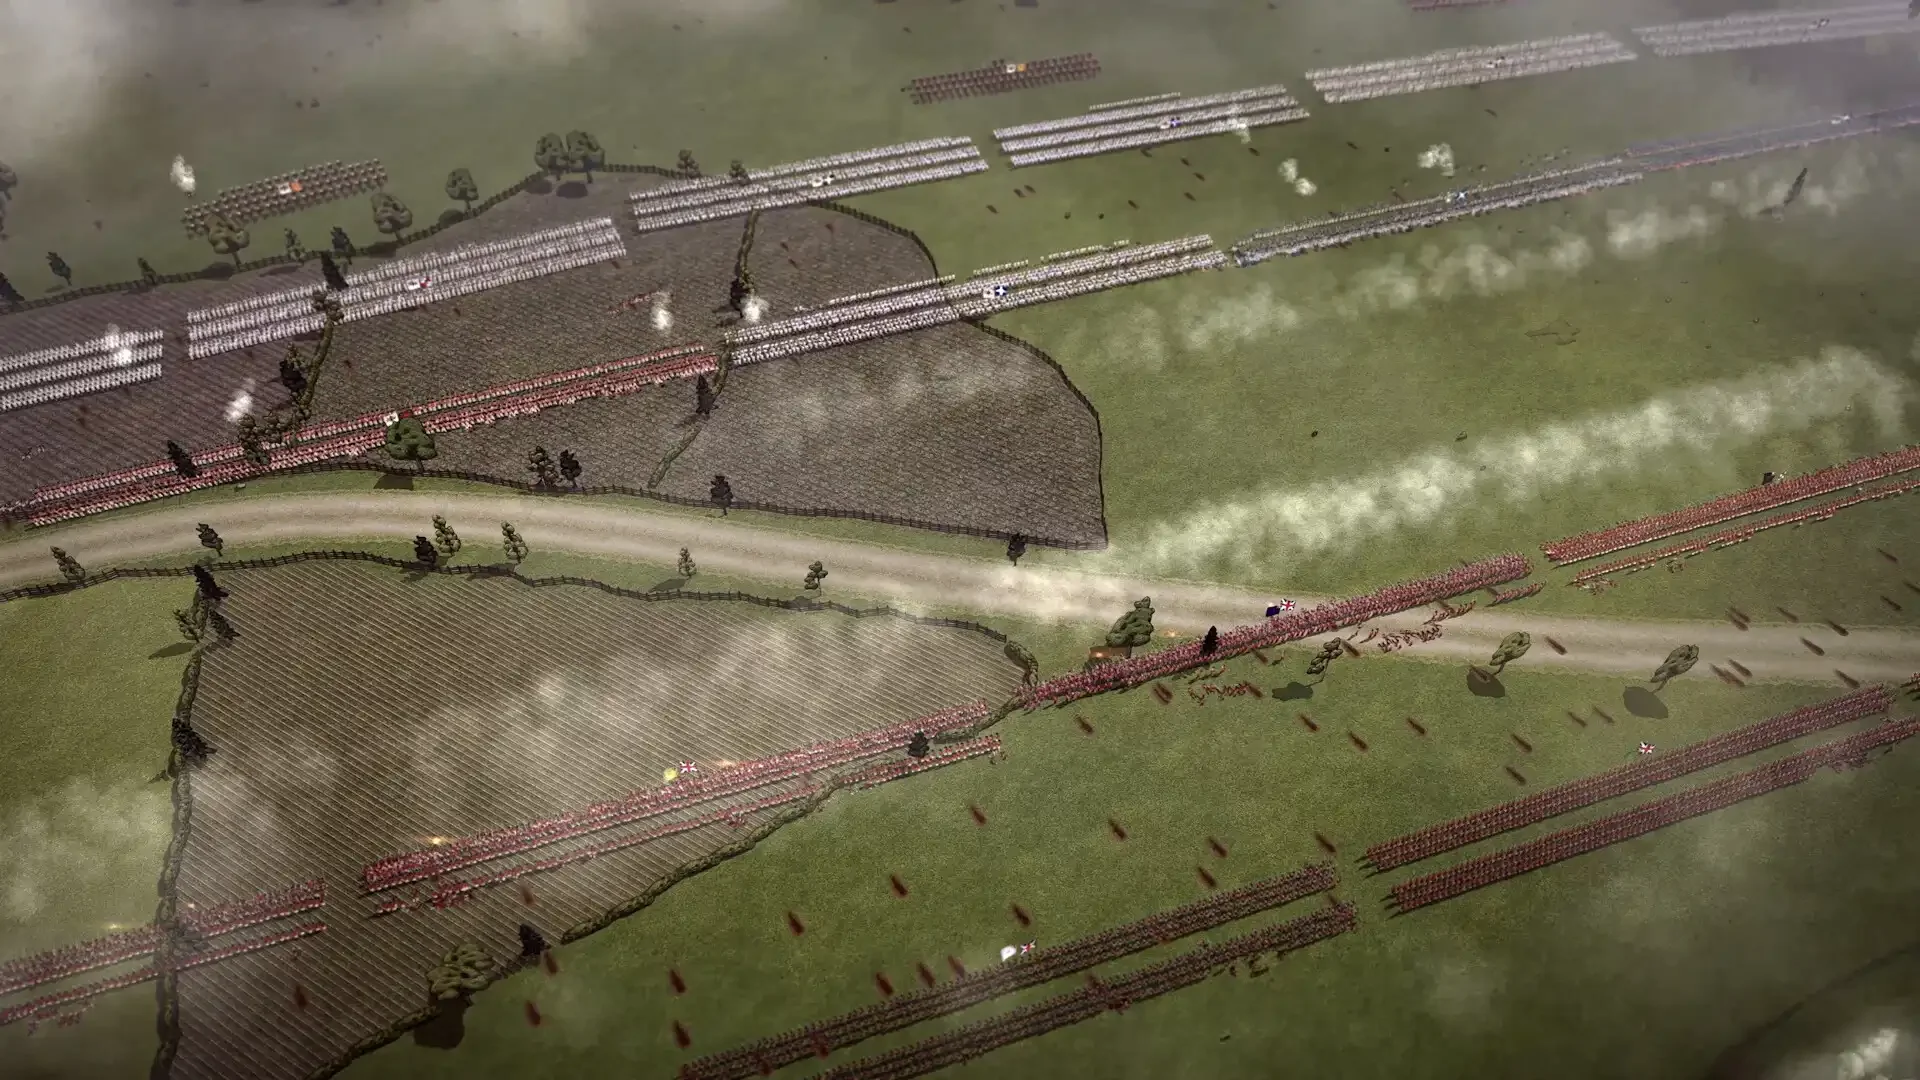
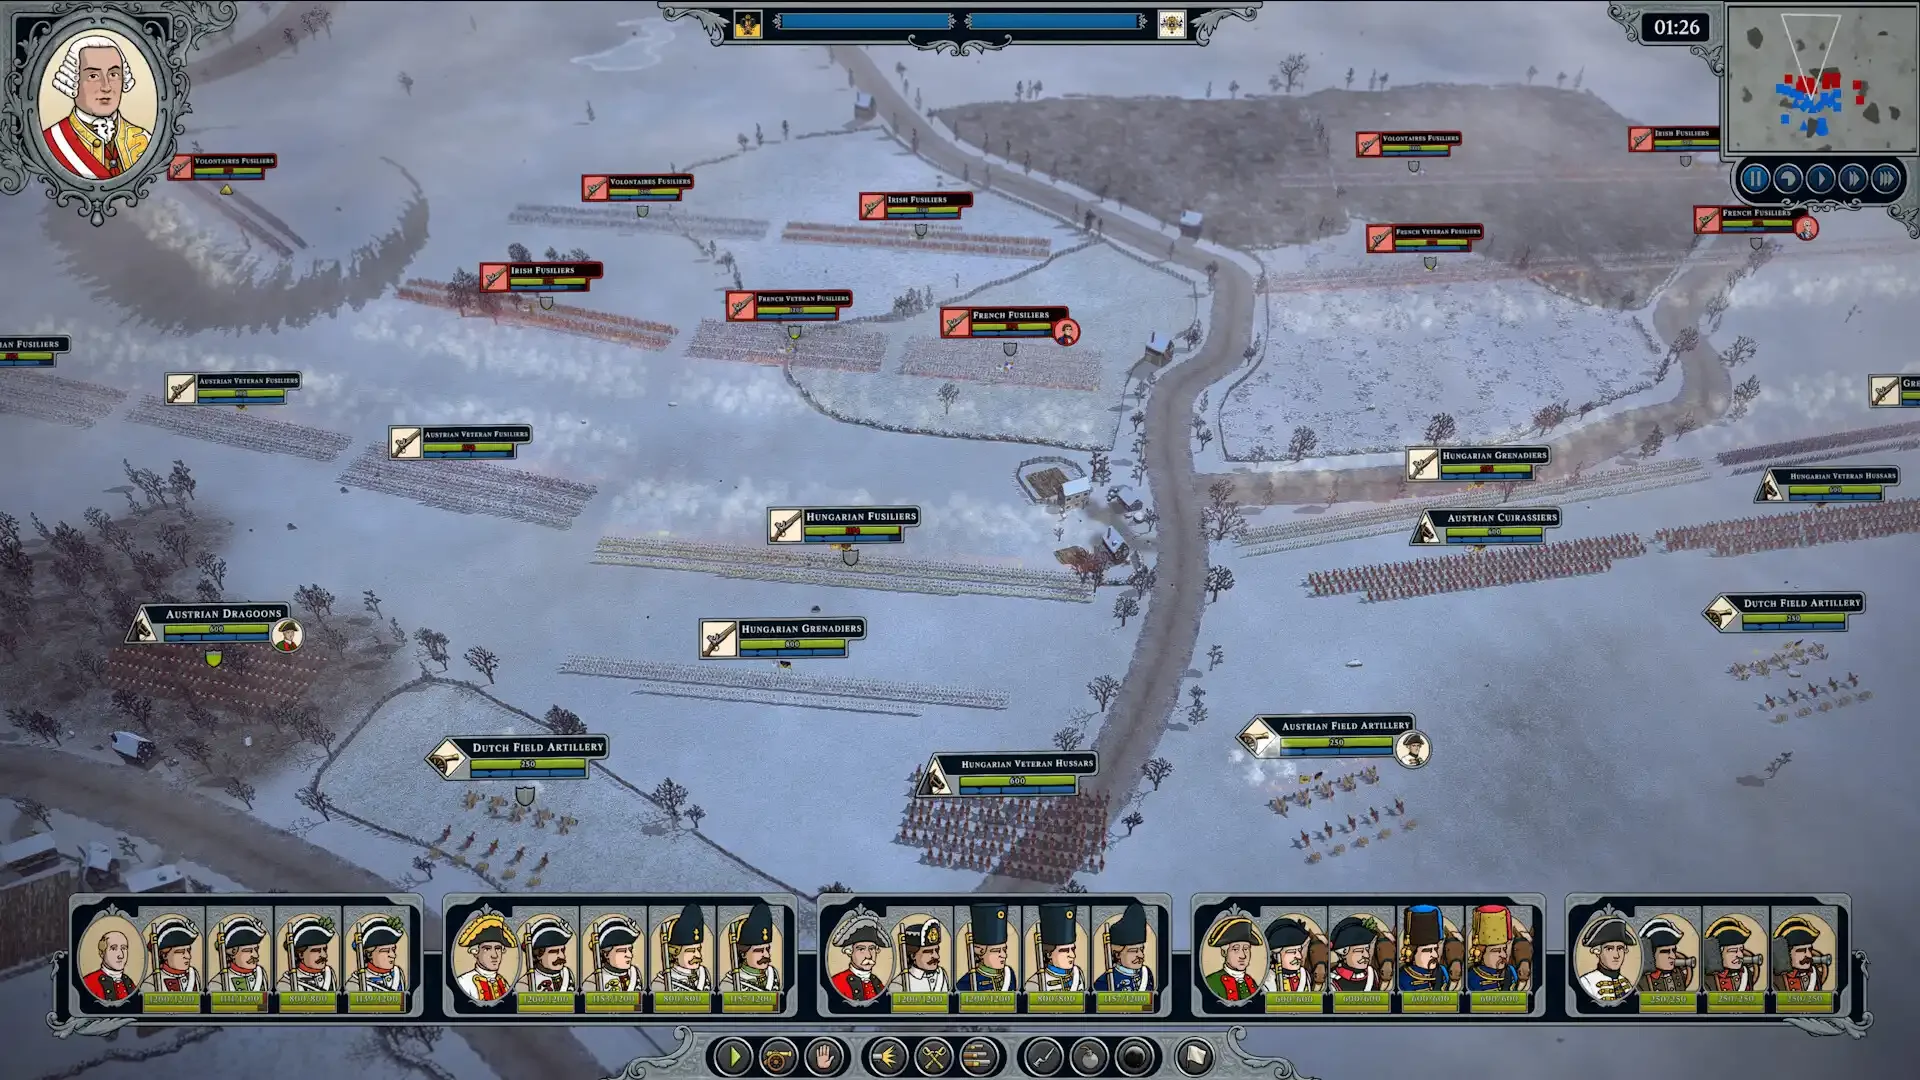
Forget fancy maneuvers if your troops are clumped up like idiots. Formations dictate everything: speed, firepower, vulnerability. You can drag to set a custom formation or use the buttons for standard ones. Just remember, swapping takes time, and your guys are sitting ducks while they shuffle around.
Columns: Marching Like Ants (Efficient but Vulnerable)
This is your travel formation. Dense columns move faster, turn quicker, and hit harder on the initial charge impact. Roads give a speed boost, making columns even better for getting places. The downside? They get shredded by artillery and muskets, especially from the flank, and they're super easy to flank because they're so narrow. Use columns to move, then switch before the shooting starts.
Lines: The Classic Firing Squad (Deadly but Slow)
Ah, the thin red line. Maximum firepower to the front. Great for static defense, especially behind cover. But they move and turn like molasses. They're also incredibly vulnerable to flanking, suffering morale penalties and higher losses. And interestingly, just being in a line gives a morale penalty in this game, making them weaker if charged. Use lines to shoot, but be ready to change or support them.
Attack Columns: The Awkward Middle Child
Looks like two thick lines. It's a compromise. Decent firepower forward, okay movement, and designed for maximum charge damage. It's your go-to when you expect to fire a bit, then rush in. But it's not as good at shooting as a line, nor as fast as a column. Use it when... well, attacking.
Open Order: Skirmishers' Delight (Fast but Fragile)
Exclusive to Light Infantry. This spreads your guys out, boosting their accuracy, making them move faster, and reducing damage taken from enemy fire. You almost always want your light infantry in this formation. The massive downside? They get absolutely murdered in melee or by a charge. Keep them supported.
Know Your Cannon Fodder (Unit Types)
Okay, you know the shapes. Now, who goes in them?
Line Infantry: The Backbone (and Sometimes the Hammer)
These are your standard musket guys. They can use Column, Line, or Attack Column. They generally fall into two camps: shooters and stabbers.
Ranged Line Infantry: Think British Foot. Their job is to stand there (preferably behind a fence) and put as much lead downrange as possible. You want gear that boosts Reload, Accuracy, and Morale. Some, like Highland Foot, are fast, letting them reposition quickly.
Melee Shock Infantry / Grenadiers: These guys (like Hungarian Foot or Prussian Fusiliers) see muskets as pointy sticks. They can shoot, but their high Melee, Charge, Morale, and Stamina stats mean they excel at bayonet charges. Grenadiers are the elite version, often with even better stats and the ability to lob grenades (risky but damaging). Gear them for Melee, Charge, Morale, Stamina, and Speed.
Light Infantry: Annoying Little Bastards
Defined by their access to Open Order. They spread out, shoot accurately, move fast, and are hard to hit. Use them on the flanks, supported by cavalry, or screen your main line. But never let them get caught in melee. They fold like paper. The AI loves sending cavalry after them, so be vigilant.
Cavalry: The Expensive Glass Cannons
Fast, hard-hitting melee units, but expensive and fragile. Don't send them in alone; they need support. Use them to run down routers, counter-charge enemy cav, hit flanks, or assassinate artillery.
Light Cavalry: Hussars, Cossacks. Super fast, decent charge, but squishy. Best for chasing down broken units. Shooting Cavalry: Dragoons. Better carbines, bigger units, but weaker charge/melee than specialists. Crucially, they can reload while moving, making them excellent harassers. Fire as they charge in. Heavy / Melee Cavalry: Cuirassiers, Gentleman Cavalry. The tanks. High charge, melee, and morale. Use them to break enemy lines, but still avoid frontal charges into steady infantry.
Artillery: The God of War (If You Can Afford It)
Expensive but vital for softening up the enemy before contact. Concentrate fire from multiple batteries on one target for best results. Protect them; they're vulnerable.
Howitzers: Short range, high damage, inaccurate, slow firing. Ammo hogs. Good for pounding fortifications or dense formations. Field Cannons: Longer range, faster firing, more accurate, cheaper. Better with canister/grapeshot. Less shell damage than howitzers but more reliable overall support.
A Few Hard Truths Before You March
Don't run everywhere. Stamina matters. Exhausted troops fight poorly and break easily. Charging uses stamina too. Manage it. Melee isn't just one stat; Charge is the impact damage, Melee is the sustained damage in a scrum. Use combined arms – infantry, cavalry, and artillery supporting each other is key. Don't expect one unit type to win the battle alone.
Your Burning Questions Answered (Probably)
Is this just Total War?
No. While it looks similar, Master of Command puts a much heavier emphasis on formations having distinct pros and cons (especially morale penalties), the persistence of your army (losses hurt), and detailed supply/stamina management.
Why are my guys running out of breath?
That's Stamina. Running (double-clicking) depletes it. Exhausted units get stat penalties. Manage your movement, don't sprint across the whole map unless you have to.
Should I always use Line formation?
Absolutely not. It maximizes firepower but makes units slow, vulnerable to flanks, and gives a morale penalty against charges. Use Column or Attack Column for movement and assaults, Line for static defense or exchanging fire at range.
Why did my Light Infantry get murdered?
They probably got charged. Light Infantry in Open Order are fantastic skirmishers but fold instantly in melee. Keep them screened by Line Infantry or supported by Cavalry to counter enemy charges.
Are Grenadiers just Line Infantry with bombs?
No, they're primarily elite Melee Shock Infantry. They have much higher Charge, Melee, and Morale stats. The grenades are a bonus, but their main job is breaking enemy formations with the bayonet.
Cavalry seems weak/dies easily?
You're probably using them wrong. Don't charge them unsupported into steady infantry lines. Use them on flanks, to run down routers, counter enemy cavalry, or support your infantry charges after the enemy line is engaged or wavering. They are support units, not tanks (except maybe Heavy Cav, sometimes).
How do I make Artillery useful?
Don't just have one battery plinking away. Concentrate fire from multiple guns onto a single enemy unit to break their morale quickly. Keep them protected behind your lines, as they are prime targets for enemy cavalry. Remember Howitzers for big damage up close, Field Cannons for accurate, sustained fire support.
It's a lot to take in, I know. But understanding these basics is the difference between being a Master of Command and just another casualty statistic. Good luck out there, General. You'll need it.
You might also like
MISERY Review: The $10 Co-op Stalker We've Begged For Is a Broken, Addictive Mess
RV There Yet? Review: It's Capitalizing On Co-op Hype, But This Janky Mess Is Still a Riot
DREAMOUT Review: Drunk Alpaca Simulator is the Existential Crisis I Didn't Know I Needed
Species: Unknown Review: This Is the Co-op ‘Alien: Isolation’ I’ve Been Begging For
So, What the Hell is 'Plants vs. Zombies Replanted'? (A $20 Cash Grab, Apparently)