your First Day in ARC Raiders Sucks: A much needed Beginner's Guide
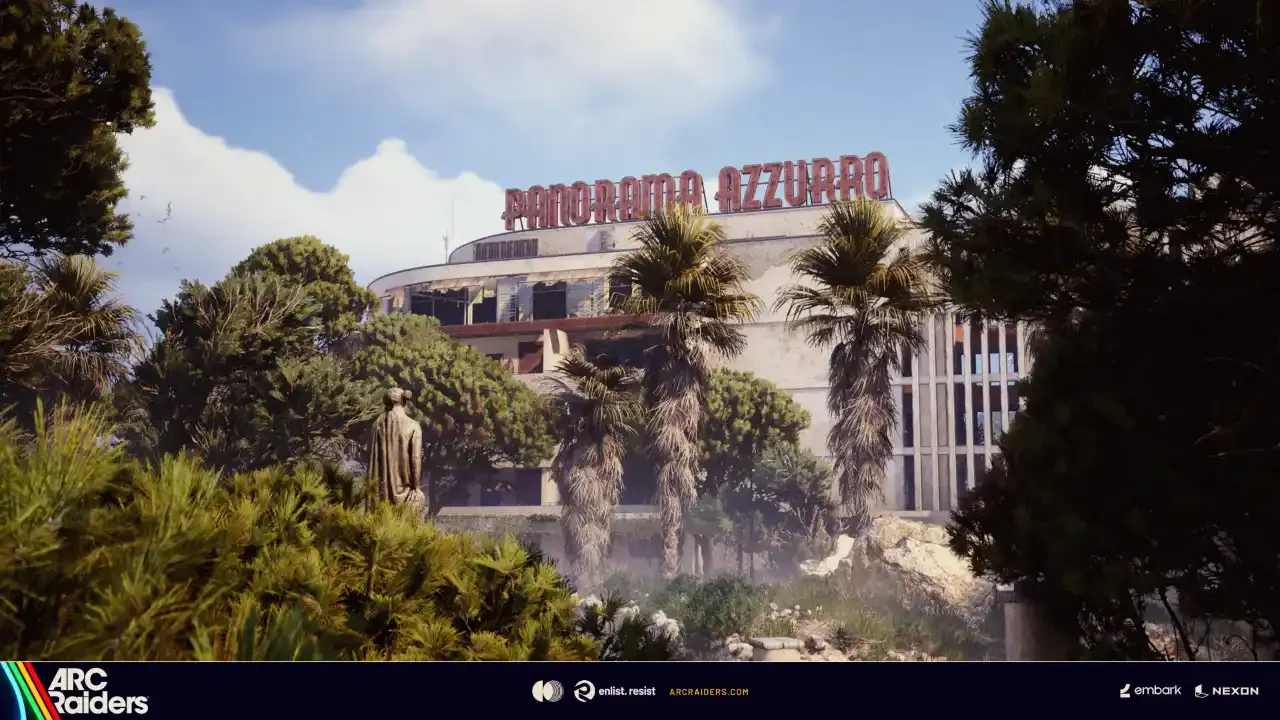
Jumping into ARC Raiders feels like getting thrown into a high-stakes deathmatch against killer robots and desperate scavengers, armed with little more than harsh language and maybe a rusty pistol. The Rust Belt is a brutal place, designed to chew up unprepared players.
The server slam is live, and the full release hits October 30th, so you don't have much time to learn the ropes. Don't worry, I've already done some dying for you. Here’s the bare minimum you need to know to maybe, just maybe, make it out alive.
The Grind: Enter, Loot, (Maybe) Extract
ARC Raiders is an extraction shooter. That means the core loop is simple, but the execution is anything but. You gear up, drop into a map (called going "topside"), scavenge for loot, fight or avoid killer AI robots ("ARC Machines") and other human players ("Raiders"), and then try to get to an extraction point before the timer runs out or someone puts a bullet in your back.
Successfully extracting banks the loot you found, letting you use it to craft better gear or complete quests back at your base. Dying means you lose almost everything you brought in or found, except for what's in your tiny secure container.
Know Your Metal Nightmares
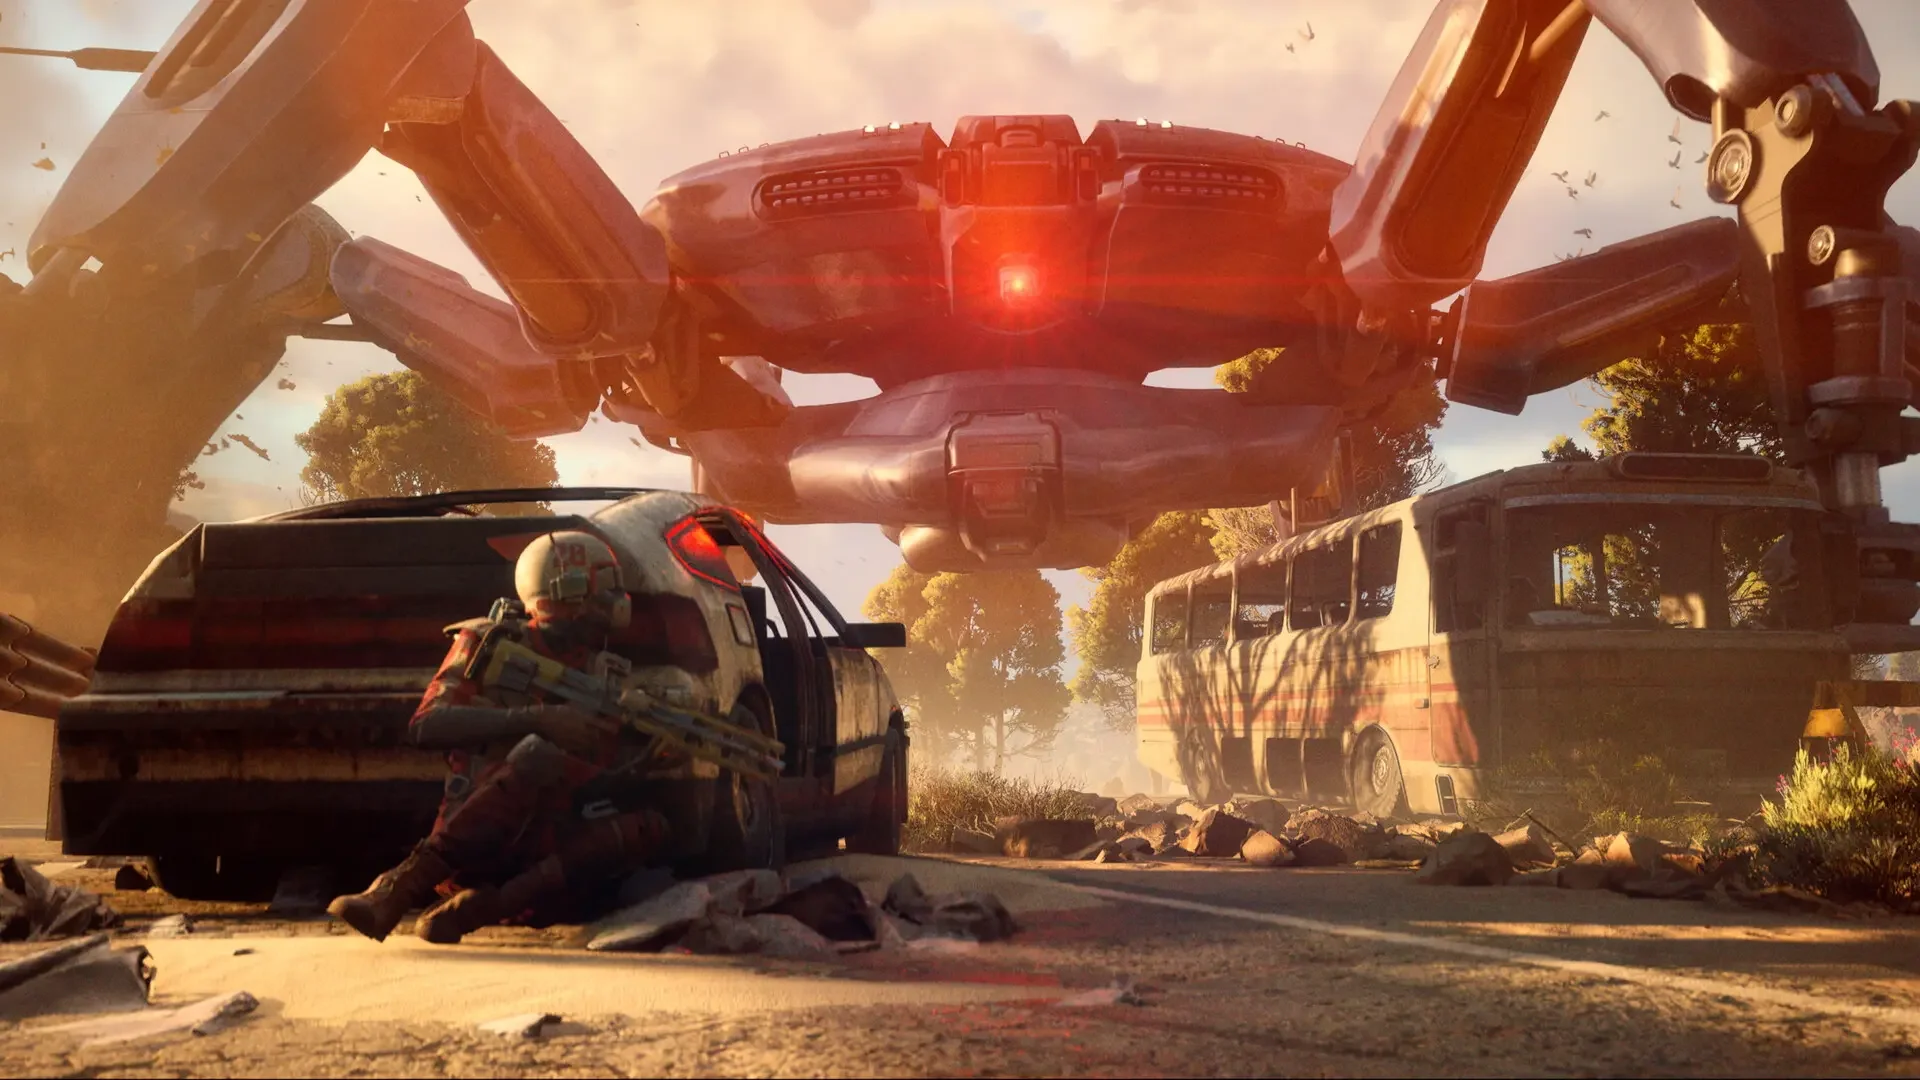
The AI enemies, ARC machines, are relentless and come in various deadly flavors. You've got tiny, sneaky Ticks that jump out at you, flying Snitches that call in reinforcements if they spot you, massive Leapers with devastating attacks, and the terrifying Queen guarding the best loot.
Learn their sounds. Each machine makes unique noises – hums, whirs, distinct footsteps. Listening is often more important than looking, especially since your enemies also hear you. Gunfire, breaching doors, even running alerts everyone nearby, both bots and players.

You Are Being Hunted (By Other Players)
This isn't just you versus the robots. Every other player on the map is also trying to get rich and get out alive, and many of them see you as a walking loot delivery service. You can go in solo or in a squad of up to three.
Playing solo is quieter but leaves you vulnerable. Squads have safety in numbers but make a lot more noise and attract more attention. The game tries to match solos against solos and squads against squads, but if matchmaking takes too long, you might find yourself alone against a three-stack. Be paranoid. Use proximity chat (B key) to try and negotiate, but don't trust anyone implicitly.
Getting the Hell Out
Each raid lasts 30 minutes before the map gets wiped. To keep your loot, you need to extract. Standard extraction points are usually elevators or subway trains marked on your map. Activating them makes a ton of noise and starts a timer, basically painting a giant target on your back.
Extraction points also disappear over time, so plan your route early. Always check your map at the start to see which extract point stays open the longest. There are also special Raider Hatches that require a key but offer a faster, quieter escape. Check out our 10 advanced tips guide for more extraction tricks.
Gearing Up (Or Not)
You have two main loadout options: Custom or Free. Custom means you bring your own hard-earned gear – weapons, shield, ammo, meds. High risk, high reward.
Free Loadouts are your best friend when you're starting out or flat broke. You get random, usually crappy gear, but you lose absolutely nothing if you die. It's perfect for learning the maps, doing risky quests, or just getting a feel for the combat without gear fear.
Crucially, you have a Safe Box (or safe pocket). This starts with two slots (upgradable later). Anything you put in here is safe, even if you die. Always stash your rarest finds, like schematics or key cards, in here immediately.

Back Home in Speranza
Your base between raids is called Speranza. This is where your real progression happens. After each run, win or lose, you come back here to:
Level Up: Gain XP and spend skill points on abilities. Get the full breakdown in our skill tree guide.
Complete Feats: Finish challenges to earn Cred for unlocking Raider Decks (cosmetics/rewards).
Upgrade Workshop: Use salvaged materials to improve your crafting stations for better gear.
Visit Scrappy: Your pet rooster collects free materials while you're out raiding. Don't forget to collect from him!.
One interesting thing about progression is the lack of seasonal wipes, which we explore further in our no wipes explained article.
Quick Survival Tips
Upgrade Stamina First: Running, dodging, and climbing chew through stamina. Invest your initial skill points here.
Bring Ammo: More than you think you need. Running out mid-fight is a death sentence.
Heal Health, Recharge Shields: Shields absorb damage, but you still take health damage underneath. Heal your HP first, then worry about shields. Arc enemies drop power cells that restore shields.
Don't Hoard: Use your good gear. Learning how to use it effectively is more valuable than letting it collect dust in your stash.
That's the crash course. It won't make you a pro overnight, but it might keep you alive long enough to learn. Good luck, Raider. You're gonna need it.
arc raiders