Marathon Destroyer Guide: Becoming the Fastest Tank on Tau Ceti IV
Extraction shooters usually punish the player stupid enough to kick the door down first, but the Destroyer shell actively rewards you for being the tip of the spear.
t is a ruthless galaxy out there. You drop into a raid expecting to play a stealthy game of cat and mouse, hoarding scrap and praying nobody sees you. If that is your preferred operational tempo, you probably want to consult my Marathon beginners guide to learn how to effectively hide. But if you are completely sick of crouching in the shadows and getting picked off by snipers you never even saw, it is time to strap into the heavy armor.
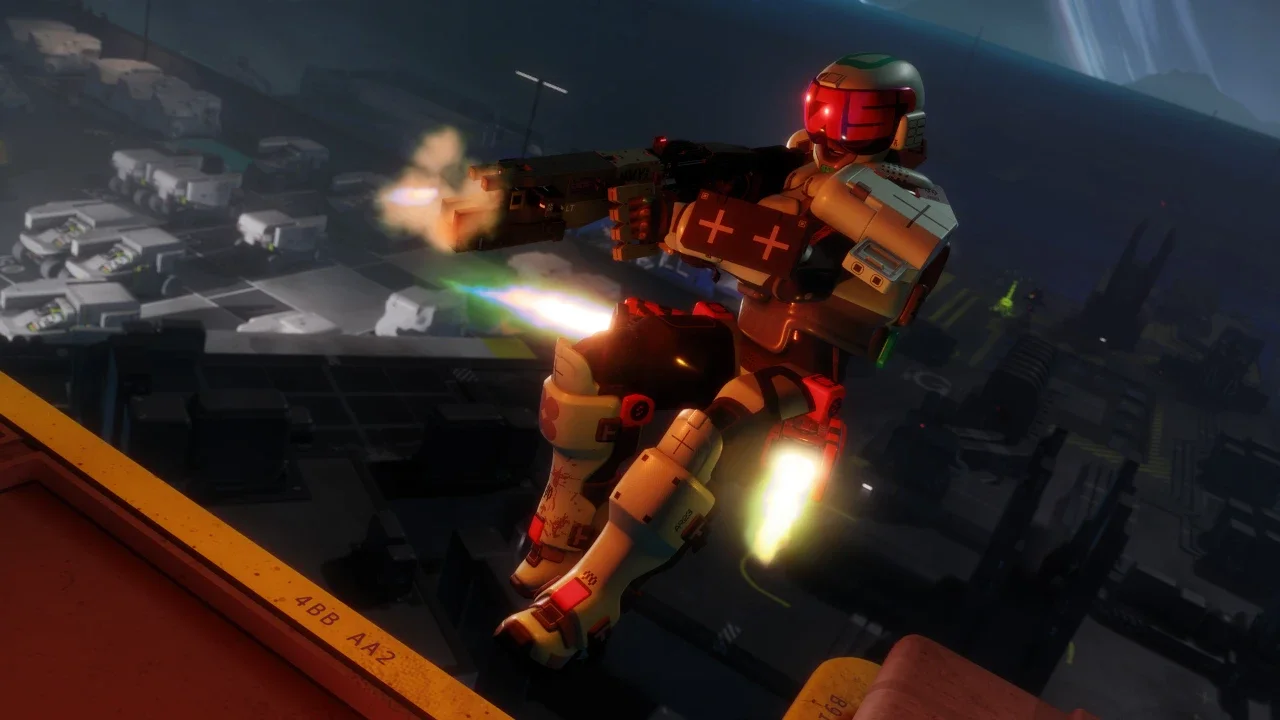
The Destroyer is an absolute anomaly of a class. When you hear the word "tank" in a competitive shooter, you automatically assume the character is going to move like a dump truck stuck in the mud. Bungie completely flipped that logic. The Destroyer possesses some of the most violently fast horizontal movement capabilities in the entire game. You are going to use that speed to crash into enemy squads, pop a massive energy shield, and force them to fight you in a phone booth.
The Anatomy Of A Vanguard
Before you start charging blindly into a full squad of hostile runners, you need to understand exactly what this shell is naturally good at, and where it falls completely flat.
You are built for first contact. You have massive natural resistances to status effects that target your physical chassis and electronic systems. However, your loot speed is painfully slow, and your fall resistance is basically nonexistent. If you leap off a three story building thinking you are invincible, gravity will quickly remind you that you are carrying a ton of heavy metal.
Mastering The Toolkit
Your abilities dictate the entire flow of the engagement. If you burn your cooldowns before the fight actually begins, you are just a slow, walking target.
Riot Barricade And Positional Control
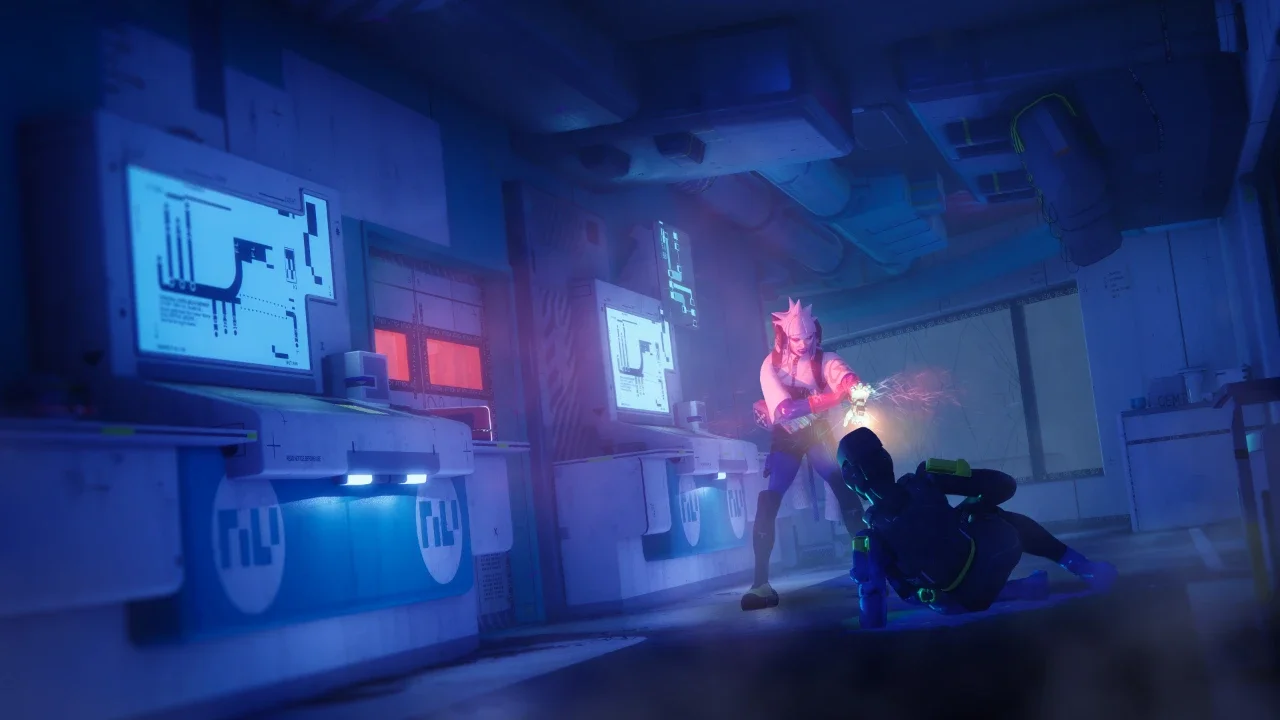
Your tactical ability is the Riot Barricade. Activating this deploys a front facing energy shield that absorbs incoming damage. It drains your ability energy passively over time, and drains significantly faster when it takes actual bullet damage.
Do not use this as a panic button when a sniper tags you in an open field. If you pop it in the middle of nowhere, the enemy will just flank you. You want to use the barricade to cross fatal funnels. Drop it when you are pushing through tight corridors, securing a staircase landing, or moving to revive a downed teammate in a compressed space. You cannot fire your weapon while the shield is active, so you use it strictly to claim hostile real estate before dropping it to return fire.
Thruster And Tactical Sprint
This is where the magic happens. Your two movement traits turn you into a terrifying blur. Tactical Sprint allows you to move significantly faster at the cost of generating rapid heat. Thruster allows you to activate boosters while airborne to violently launch yourself in the direction you are moving.
When you combine a Tactical Sprint with a lateral Thruster dash across a doorway, you instantly break your opponent's crosshair tracking. The horizontal speed is completely unmatched. You can close a ten meter gap in the blink of an eye. The massive catch here is your heat generation. If you get sloppy and overheat your suit, you lose access to all of your movement tools. Overheating in the middle of a close quarters shotgun duel is a guaranteed trip back to the lobby.
Search And Destroy
Your Prime ability features a massive five minute cooldown, meaning you might only get to use it once or twice per extraction. When activated, your shoulder mounted missile pods open up. You have to deal sustained weapon damage to a specific target to paint them. Once the lock engages, homing missiles launch, deal massive burst damage, and completely immobilize the enemy.
Do not activate this to poke at someone across the map. You trigger Search and Destroy when a team fully commits to a fight and you need to force a collapse. The psychological pressure of hearing those missile locks engage usually causes enemy squads to panic, abandon their cover, and make fatal rotational mistakes.
The Ultimate Frontline Build
You want to build into your strengths. If you are trying to turn the Destroyer into a stealthy loot goblin, you are playing the wrong shell. You need to focus entirely on close range lethality and shield sustain. If your vault is currently overflowing with useless junk preventing you from storing the gear you need for this build, go read my Marathon inventory upgrade guide to clear out the garbage.
Cores And Synergies
You want to hunt down the Impact Siphons and Counter Attack cores. Getting these high tier modifications usually requires grinding out your reputation, so keep my Marathon factions and contracts guide handy to optimize your vendor progression.
Impact Siphons fundamentally changes how your barricade works. Any incoming damage dealt to your Riot Barricade is instantly converted into shield energy for your runner. When an enemy unloads a magazine into your shield, they are literally healing you. Counter Attack makes their situation even worse. When your barricade takes damage, it automatically fires retaliatory missiles back at the attacker. This core combination violently punishes anyone stupid enough to challenge your shield head on.
Implants For Survival
Your implant package needs to support your aggressive entry speed.
For your head slot, run Energy Harvesting V4. This grants a massive boost to your tactical recovery speed, meaning your barricade comes off cooldown significantly faster. It also cleanses any negative status effects the moment you secure a kill.
In your torso, slot Knife Fight V3. The moment an enemy breaks your shield, all hostile pings tracking your location are instantly wiped from the map, allowing you to use your thrusters to vanish. It also grants a massive bump to your melee damage for those messy, point blank engagements.
Finally, lock in the Bionic Leg Upgrades V5. This grants a colossal fifty point boost to your Agility, completely transforming your horizontal thruster speed. It also provides passive damage reduction against explosives and melee attacks, keeping you alive when you inevitably push into a room full of traps.
The Arsenal And Engagement Rules
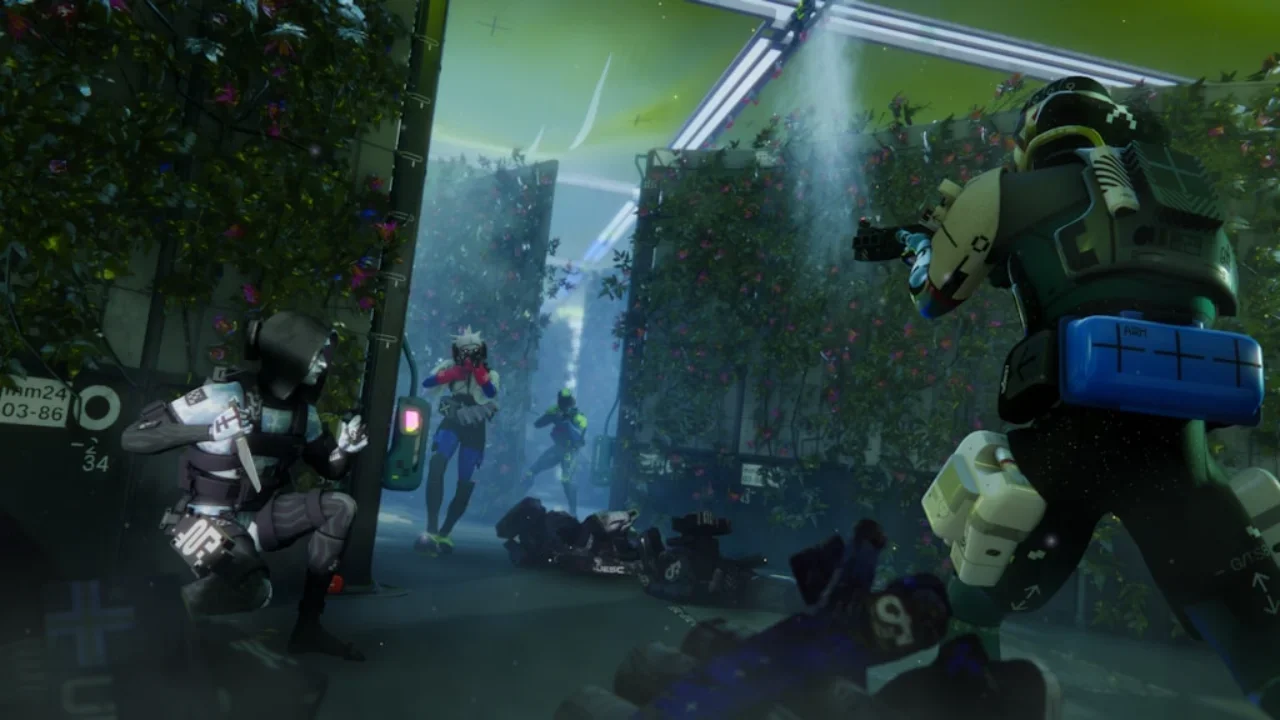
You are the designated entry fragger. You do not hold angles with a sniper rifle.
You need to equip the WSTR Combat Shotgun as your primary weapon. It absolutely dominates the close quarters arenas you will be forcing your enemies into. Because you are constantly pushing the frontline, you are going to burn through ammunition at an alarming rate. If you find yourself constantly clicking empty during a raid, study my Marathon ammo economy guide to learn how to sustain your rampage.
When you approach a contested building, you deploy the barricade and walk through the door first. You absorb the initial panic fire, gain the interior ground, and drop the shield. You use your thruster to snap laterally across the room, blast the first target with your shotgun, and immediately check your heat gauge. If a prolonged firefight breaks out, you trigger Search and Destroy to paint the remaining targets and let the homing missiles finish the job.
Manage your heat, respect the cooldown on your missiles, and never hesitate once you commit to a doorway.