Marathon Assassin Guide: Mastering The Ultimate Solo Shell
If you are tired of getting shredded in fair firefights, it is time to stop playing fair and disappear entirely.
The community forums are already flooded with players complaining about the Assassin. They are furious that they are losing massive loadouts to invisible ghosts who strike from the shadows and vanish before they can even return fire. I completely understand their pain. It is a miserable experience to be on the receiving end of a perfect stealth ambush. However, extraction shooters are inherently ruthless. If you want to survive Tau Ceti IV without a fully coordinated squad holding your hand, you need to play dirty.
While the Destroyer shell is designed to kick down the front door and absorb bullets, the Assassin is built to slip through the ventilation shaft and bypass the meat grinder entirely. If you are struggling to grasp the raw basics of survival, you should probably consult my Marathon beginners guide first. But if you are ready to manipulate line of sight and strike fear into isolated runners, you are in the right place.
The Anatomy Of A Ghost
Before you start throwing smoke bombs and pretending to be a ninja, you need to look at your raw numbers. You have a very specific stat profile that heavily dictates how you approach combat.
You are blessed with fantastic Agility and Firewall stats. You move quickly and shake off electronic debuffs with ease. Your fatal flaw is your Tactical Recovery. It is absolutely abysmal. This means your core invisibility cooldown takes an eternity to recharge naturally. If you blow your camouflage at the wrong time, you are just a squishy target with no escape route.
Mastering The Smoke And Mirrors
Your entire kit revolves around breaking the enemy's line of sight and manipulating their tracking. If you start a fight by simply walking into a room and pulling the trigger, you are playing the shell incorrectly.
Active Camo And The Shroud Trait
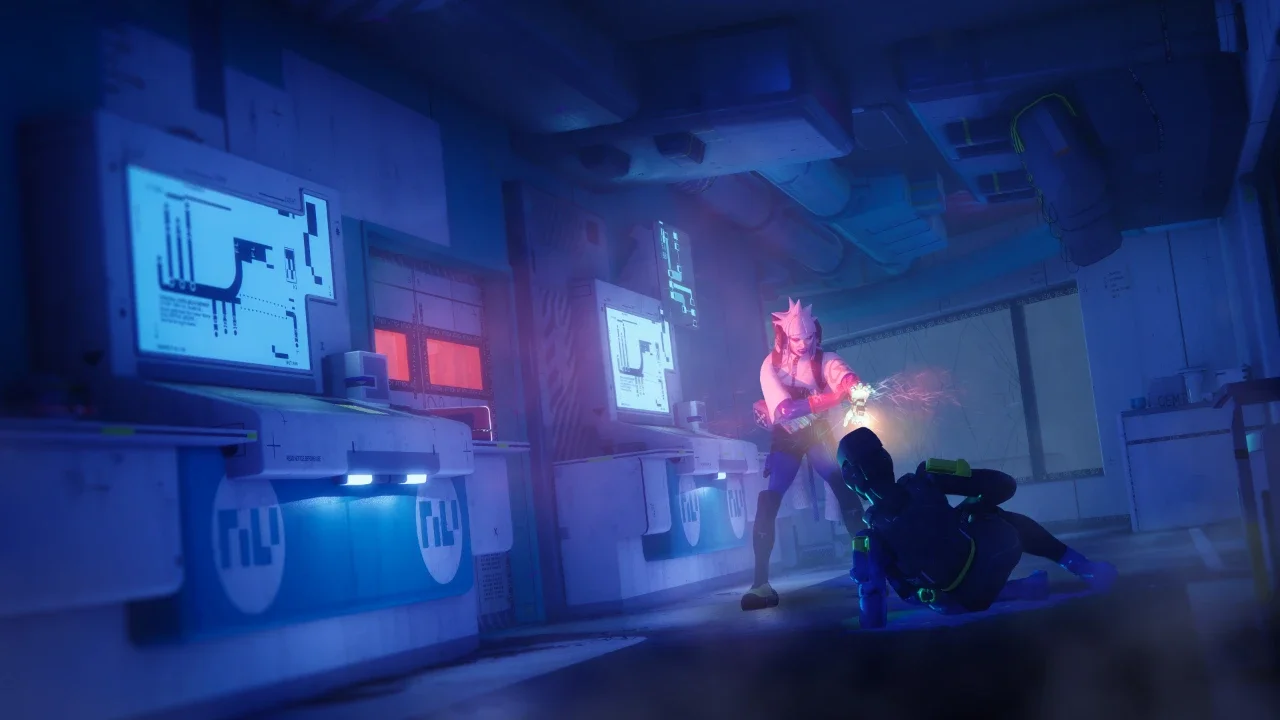
Your tactical ability is Active Camo. Pressing the button pulls a digital shroud over your shell and renders you invisible to the naked eye. The catch is that any offensive action, taking damage, or using a consumable item instantly drops the cloak. You use this strictly to cross dangerous open ground or to secure the perfect flanking angle before you open fire.
The real magic comes from your Shroud trait. Your shell automatically activates its camouflage systems anytime you walk into a smoke field. This invisibility even persists for a brief window after you step out of the smoke. This means you do not have to rely entirely on your agonizingly slow Active Camo cooldown. You can use smoke to chain your stealth windows together.
Shadow Dive And Smoke Screen
To fuel your Shroud trait, you need smoke. Shadow Dive allows you to activate a slam attack while airborne, driving a smoke disc into the ground the moment you land. This completely negates fall damage and instantly creates a pocket of cover. It is your ultimate emergency eject button. If you get caught out of position, you dive off a ledge, hit the ground in a cloud of smoke, trigger your Shroud invisibility, and vanish.
Your Prime ability is the Smoke Screen. You throw a disc that projects a massive linear wall of smoke fields. This is not a damage tool. This is how you cut a giant open cargo yard in half. You throw the screen, and you weave in and out of the individual smoke bubbles. Every time you touch a bubble, Shroud makes you invisible again, making you completely impossible to track.
The Pure Solo Terror Build
You can build this shell for backstab melee kills, but relying on point blank knife takedowns is incredibly risky. I prefer a gun focused stealth build that provides consistent, repeatable value without forcing you to stand inside an enemy's personal bubble.
Getting your hands on these specific high tier cores requires some serious vendor grinding, so keep my Marathon factions and contracts guide open to plan your reputation gains. If your stash is overflowing and you literally cannot hold these implants, you need to read my Marathon inventory upgrade guide to expand your vault immediately.
The Core Strategy
You want the Minus Sights and Guerrilla cores.
Minus Sights is an absolute game changer. It turns you invisible after aiming down your sights for a short time, at the cost of generating suit heat. This allows you to proc stealth without using your tactical cooldown or throwing smoke. Guerrilla directly buffs your damage output when attacking from stealth. You aim down sights, turn invisible, and your first shot hits like a freight train.
Implants For Survival
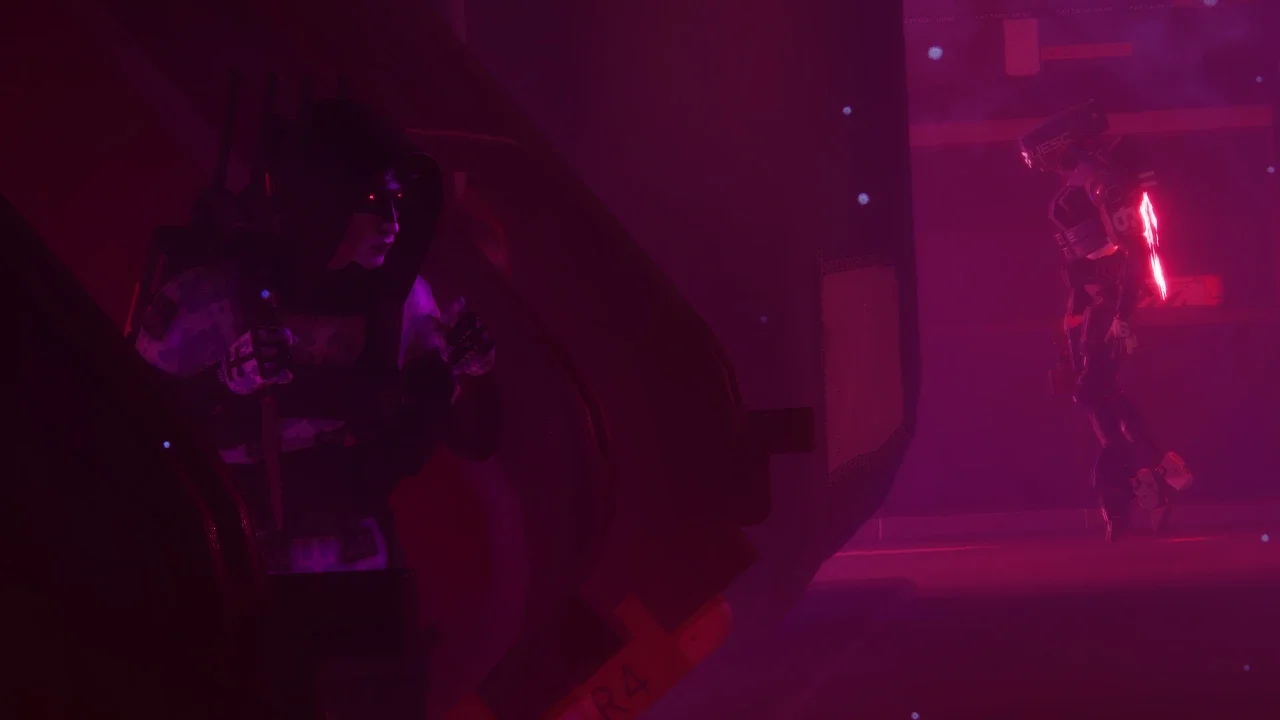
In your head slot, you absolutely must run Ping+ V4. This grants the Never There perk. The second you step into a smoke cloud, any hostile tracker pings attached to your body are instantly wiped. Touching smoke blinds the enemy physically and deletes their digital tracking data simultaneously. This is non negotiable for an Assassin.
Equip Survival Kit V3 in your torso. This grants Snapshot Rifling, which briefly increases your weapon accuracy and range the moment you ready your gun. Since you are constantly dropping stealth to take quick, isolated shots, this implant guarantees your opening burst lands exactly where you aim.
For your legs, run Graceful Landings V4. The Frenzy Matrix perk attached to this implant increases your sprint speed and your tactical ability recharge rate for a short time after defeating an enemy. You secure a kill, your cooldowns accelerate, and you sprint away before the dead player's squad even realizes what happened.
Engagement Rules And Loadouts
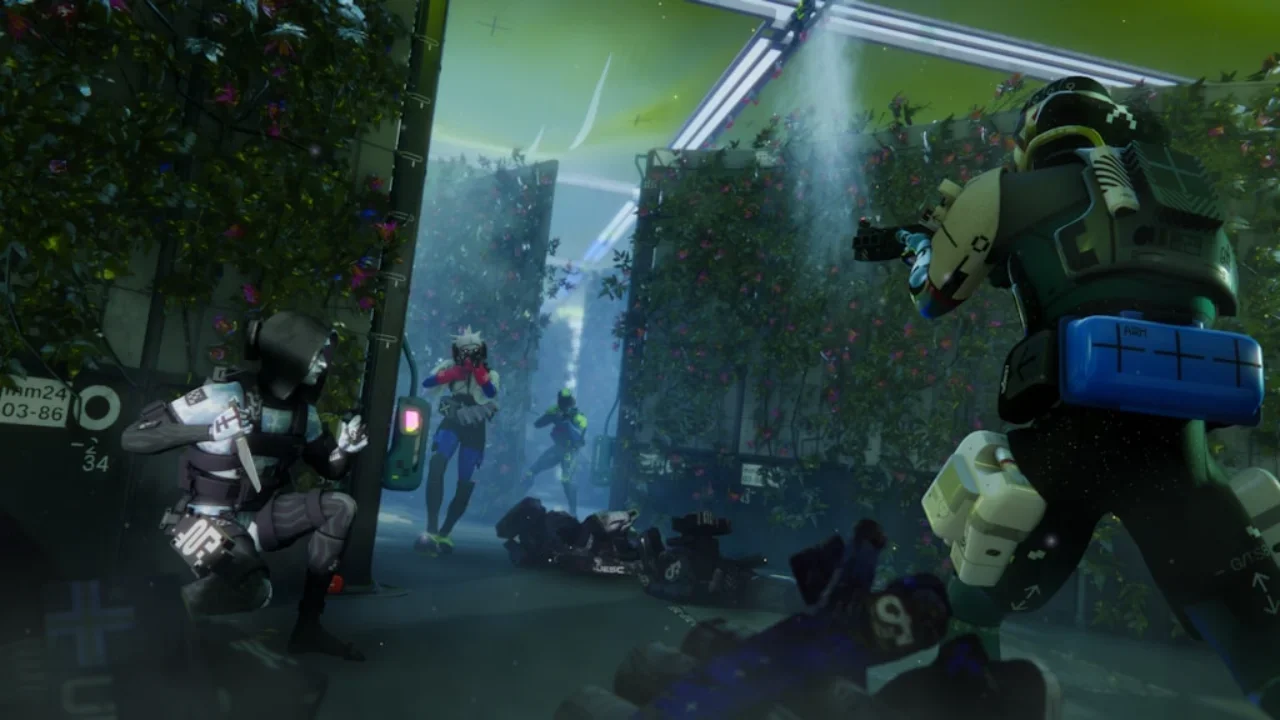
The Assassin dominates solo play because you get to dictate the terms of the engagement. If you see a three man squad pushing a facility, you do not have to fight them. You can pop your camo, slip past them, and loot the exact room they just left.
If you do engage, you have to hit and run. You shoot first from invisibility, drop a Shadow Dive smoke cloud, and move to a completely new angle. If you stand in the exact same spot and try to trade bullets after your camouflage drops, you will die. You are trading raw durability for the element of surprise. Keep a close eye on your reserves as well. Because you are taking extended, tactical fights, you can run out of bullets quickly. Study my Marathon ammo economy guide to ensure you are packing the right magazines for a long raid.
I highly recommend equipping the BR33 Volley Rifle. It is a three round burst precision rifle that pairs flawlessly with the Snapshot Rifling implant and your Guerrilla core. You deal massive burst damage from medium range and immediately fade back into the smoke before the enemy can close the gap.
The only thing you truly need to fear is the Recon shell. Their entire kit is designed to counter your stealth mechanics with scanners and drones. If you see a Recon pulse sweep over your position, do not try to hide. Change your direction entirely and sprint out of the sector.