Marathon Factions Guide: The Best Upgrades And How To Rank Up Fast
The corporations fighting over Tau Ceti do not care if you live or die, but they will pay you handsomely to do their dirty work.
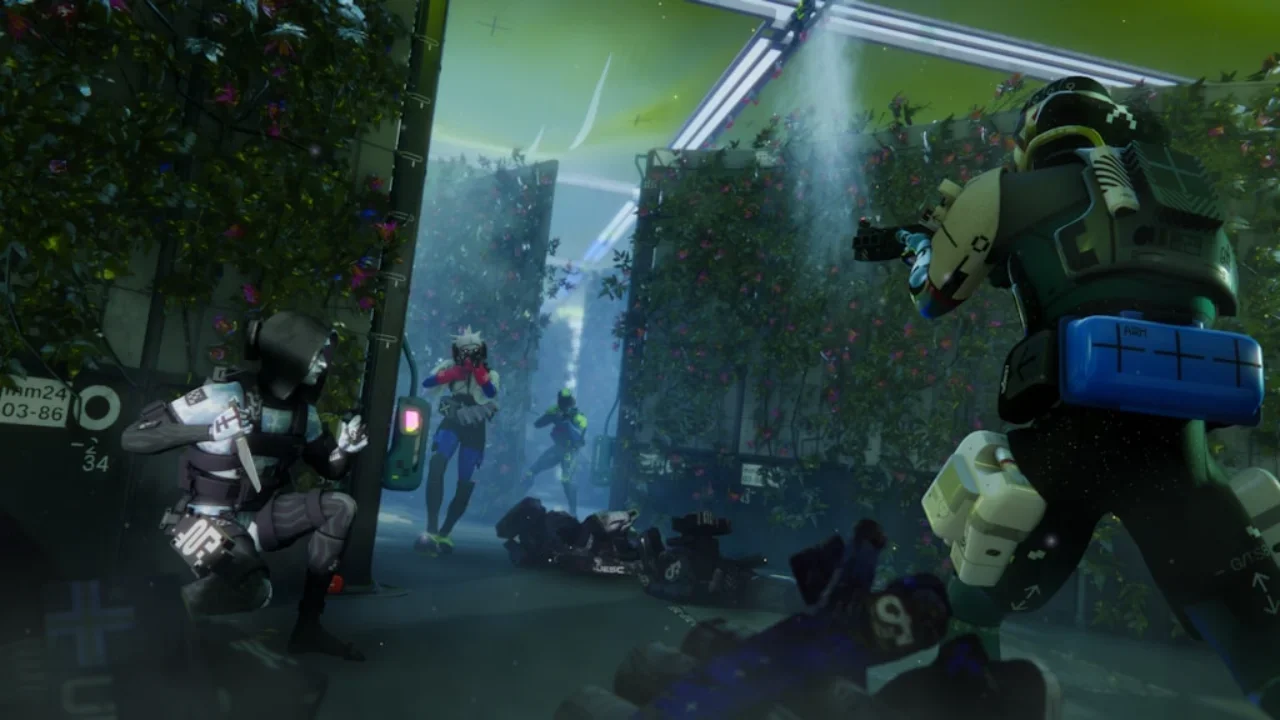
Progression in Bungie's new extraction shooter is not just about hoarding shiny guns in your vault. Your long-term survival in Marathon is directly tied to the six corporate factions operating out of the Armory. These factions dictate the contracts you run, the gear you can reliably purchase, and the permanent seasonal upgrades you apply to your Runner. If you are just aimlessly wandering the map shooting AI without an active contract, you are wasting your time.
If you want to understand how the broader gameplay loop functions before diving into the corporate spreadsheet simulator, I highly recommend checking out my Marathon beginners guide to survival first. Once you understand the basics of the heat system and map rotation, you can start optimizing your faction reputation.
How To Unlock All Factions
You do not start the game with access to all six megacorporations.
When you first boot up the game, you only have access to CyberAcme. To unlock the remaining five factions, you have to complete the tutorial and finish the "Welcome To Tau Ceti" introductory contract. Once that is out of the way, the game opens up a category called Liaison Contracts.
Each Liaison Contract is tied to a specific locked faction. Complete the contract once, and that faction unlocks permanently for the remainder of the season. There is no massive grind to unlock them. Just survive one targeted run, and they will open their vendor screens to you. I strongly suggest unlocking all six as quickly as possible so you have access to their entire combined inventory.
Understanding The Contract System
Factions rank up when you earn Reputation, and you earn Reputation by completing their specific Contracts. You can only carry one active contract per deployment. You need to pick your objective before you queue, and your entire run should revolve around completing that specific goal.
Standard Contracts: These are highly repeatable, low-risk objectives like looting specific containers or extracting basic salvage. They offer steady, reliable Reputation gains.
Boosted Contracts: These ask for more specific conditions and carry a medium risk, but they accelerate your progression significantly faster than standard tasks.
Priority Contracts: These are one-time, high-value narrative missions. They are mandatory if you want to push your Faction Rank to the next major tier.
If you are struggling to even survive long enough to complete a basic extraction, read my Marathon ammo economy guide to make sure you aren't deploying with empty magazines.
The Best Faction To Level First: CyberAcme
Do not spread your reputation too thin in the early hours of the game. You need to focus on one faction to secure a baseline level of survivability.
I firmly believe CyberAcme is the absolute best faction to level up first. CyberAcme is fundamentally designed around reducing the friction of the core gameplay loop. Their upgrade tree focuses heavily on Heat management and inventory expansion.
You need to prioritize their Heat_Sink.exe upgrades immediately. This prevents your Runner from generating too much Heat too quickly, allowing you to sprint longer and use your abilities more frequently without locking up. They also offer the Expansion node, which directly increases your Vault size, allowing you to hoard more gear. Maxing out CyberAcme first makes every subsequent run significantly easier, regardless of what playstyle you ultimately choose.
Mid-Season Pivots: Where To Go Next
Once you have established a comfortable baseline with CyberAcme, you need to specialize based on how you actually play the game.
If you are constantly losing gunfights because you feel squishy, immediately pivot to NuCaloric. Their upgrade tree is dedicated almost entirely to survivability. They grant access to higher-tier shields and significantly faster healing animations. If you play the Triage class, NuCaloric is practically mandatory to keep your squad alive.
If you prefer to engage from a distance and avoid the chaotic close-quarters brawls, focus your contracts on Traxus. They hold the monopoly on long-range weaponry. Ranking them up is the only reliable way to guarantee access to sniper rifles and precision optics without relying purely on random raid drops.
Finally, if you want to lean heavily into the RPG mechanics and buildcrafting, you have to level Sekiguchi. They control the market on Cores, which are the items that fundamentally change how your Runner's Prime and Tactical abilities work.
Remember that all faction progression resets at the end of the season. Do not get paralyzed by choice. Pick a faction that sounds fun, run their contracts, and use their specific tools to make your extractions slightly less miserable.