Marathon Triage Guide: The Combat Medic That Breaks The Economy
If you think playing the medic means cowering behind a rock while your team does all the actual shooting, you are going to get your entire squad killed on Tau Ceti IV.
Survival in extraction shooters is rarely about who shoots first. It is almost entirely about who runs out of resources last. When two heavily armed squads collide, the team that burns through their medical supplies and shield batteries first is the team that gets sent back to the lobby empty handed. This is why the Triage shell is arguably the most mandatory class in the entire game. You are not just a walking health pack. You are the designated economy manager for your squad.
While the Assassin shell relies entirely on selfish stealth tactics to survive solo encounters, Triage is a pure force multiplier. You take a coordinated trio and artificially double their durability. If you are struggling to keep your stash stocked with expensive medical supplies because you keep dying, read my Marathon ammo economy guide to understand the baseline costs. But if you want to completely break that economy in your favor, it is time to master the drones.
The Anatomy Of A Combat Medic
Triage does not spike any single stat, but that is exactly the point. You are not a frontline tank, but you are absolutely not a fragile liability either.
You possess solid baseline recovery speeds, allowing you to patch yourself up quickly after a bad trade. More importantly, your revive speed is naturally accelerated. When a teammate goes down, you are the only person on the squad who should be risking their neck to get them back on their feet. Your loot speed is average, so let the faster shells handle the actual container cracking while you watch the perimeter.
Weaponizing The Toolkit
Your abilities are not just for fixing mistakes. They are designed to dictate the entire tempo of the engagement.
Med-Drone And The Shareware Trait
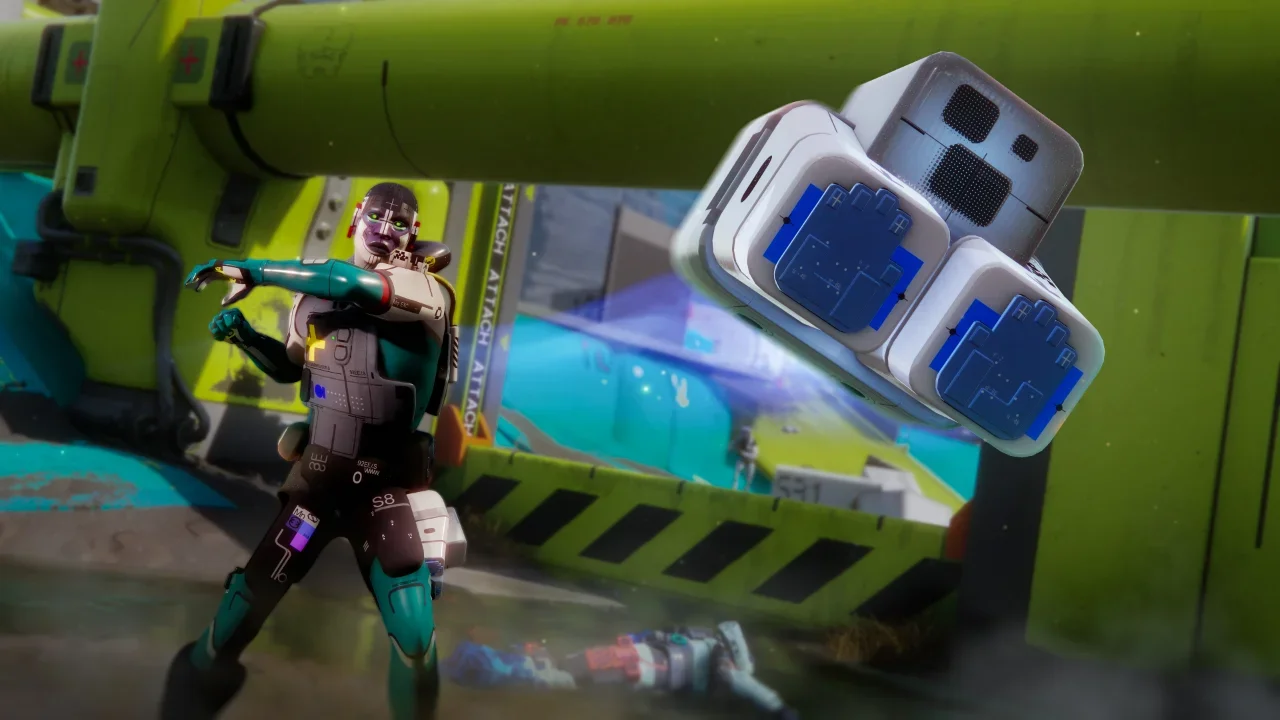
Your tactical ability is the Med-Drone. You deploy a floating robotic unit that actively attaches to a crew member, continuously restoring their health and recharging their shields. If the attached teammate goes down, the drone physically prevents them from bleeding out. You can hold two drones in reserve on a roughly 80-second internal timer.
Do not hoard your drones waiting for an emergency. Deploy them the second a firefight breaks out. A drone operates on a finite pool of healing energy, visible by the glowing fluid on its chassis. When it is empty, it drops.
The drone itself is powerful, but your Shareware.exe trait is what completely shatters the game's economy. Any medical consumable you use is instantly shared with any crew member currently attached to your Med-Drone. If you pop a massive shield battery, your drone-linked teammate gets the exact same buff for free. If you are communicating properly, your team only needs to burn a third of the consumables a normal squad would use.
Reboot+ And Battery Overcharge
Your Prime ability is Reboot+. This is a ranged defibrillator. You lock onto a downed teammate from behind cover and fire a shock cord to instantly revive them. The cord actually bypasses the standard 20-second revive lockout penalty. More importantly, you can fire these cords offensively. Hitting an enemy with Reboot+ delivers a massive EMP burst that shreds their shielding.
Your second trait is Battery Overcharge. Activating this diverts cooling energy to boost your weapon performance at the cost of rapid heat generation. The kicker here is that while Overcharge is active, breaking an enemy's shield with a volt weapon automatically triggers an EMP blast, completely stopping their ability regeneration.
The Ultimate Support Build
You want to build entirely into your volt weaponry synergies and your drone uptime. If you need help grinding the reputation required to buy these specific high tier cores, check my Marathon factions and contracts guide to optimize your progression.
Cores And Synergies
For your early game core, you must run High Voltage. Defeating enemies affected by your EMP blasts directly reduces the cooldown of your next Battery Overcharge. This creates a ruthless combat loop where you EMP a target, kill them, and immediately have your overcharge ready for the next hostile.
Once you hit the late game, you want to hunt down the Samaritan core. This is the holy grail for a Triage player. Every single time you share a consumable buff via your Shareware passive, it drastically reduces the cooldown of your Med-Drone. This core guarantees you will have drones available for every single engagement.
Implants For Survival
In your head slot, run the Ping implant. This is a pure support choice that passively increases the healing efficiency of your consumables while allies are nearby, compounding the value of your Shareware trait.
For your torso, equip Helping Hands. This provides a massive flat boost to your revive speed. Even with your ranged Reboot+ ability, there will be times when you have to physically pick a teammate up off the floor while under fire. This implant ensures you get the job done before a sniper takes your head off.
Leg implants are largely subjective for this shell, as they do not directly impact your core medical abilities. I prefer Distance Runner to help manage the brutal heat generation caused by using Battery Overcharge frequently.
Engagement Rules And Loadouts
You belong directly behind your frontline initiator. You are not leading the charge, and you are not sitting a mile back with a sniper rifle.
If you have a Destroyer shell on your team, you let them kick the door down. The absolute second they take contact, you throw a Med-Drone on their back. While they absorb the punishment, you activate Battery Overcharge and use a Volt weapon to strip the enemy's shields and trigger the EMP chains.
If your Destroyer goes down, do not panic. Drop into cover and use Reboot+ to shock them back to life. If the enemy squad tries to rush your position while you are recovering, use your remaining shock cord offensively to EMP the lead pusher.
Communicate every single consumable you use. If you are about to pop a cardio kick or an energy amp, you must tell your team so they do not waste their own supplies. You are the anchor. If you die, the squad wipes. Stay in the pocket, manage the drones, and bleed the enemy dry.