Half Sword Gear Guide: Best Weapons, Armor & The Settings You Need
You can be the best swordsman in the world, but it doesn't matter if your mouse settings are actively fighting the physics engine and your sword is balanced like a wet noodle.
I blamed the game for being clunky for the first three hours. I thought the developers had just messed up the hit registration. It turns out that Half Sword is a simulation, not an arcade slasher, and if you treat it like one, you will fail. The weapon physics are incredibly detailed, relying on center-of-mass calculations and leverage, while the armor system requires specific layering logic that the game never explains. I dug through the settings and the smithy to figure out exactly how to build a loadout that actually kills people.
The Settings That Actually Matter
Before you even look at a weapon, you need to fix your controls because the default settings are a trap designed to make you fail.
The 5% Sensitivity Rule
This is the single most important tip I can give you. If your mouse sensitivity is high, your character’s arms will jitter. The physics engine interprets this jitter as a lack of structural integrity, meaning your sword will bounce off enemies without doing damage.
You need to drop your in-game sensitivity to somewhere between 5% and 10%. Combine this with a DPI of around 400 to 800. You want your mouse movements to translate into deliberate, heavy swings. It feels like you are moving through molasses in the menu, but in combat, it allows you to generate actual torque and momentum.
Graphics & Physics Quality
If your PC can handle it, set Physics Quality to High or Ultra. This ensures that the collision detection between your blade and their armor is accurate. On lower settings, I noticed my sword sometimes clipping through blocks or failing to register a hit on a gap in the armor.
Weapon Science: Reach, Weight & Center of Mass
Weapons in Half Sword aren't just stat sticks with a "Damage" number. They are physical objects with weight distribution that you need to account for.
Understanding Center of Mass
When you are in the crafting menu or inspecting a weapon, look at the stick underneath it. This shows the Center of Mass. If the weight is focused near the tip (like a mace or a top-heavy axe), the weapon hits like a truck but is incredibly hard to stop once you start swinging. If you miss, you are wide open. If the weight is near the handle (like a well-balanced sword), it is fast and easy to redirect, but it lacks raw crushing power against armor.
Reach vs. Speed
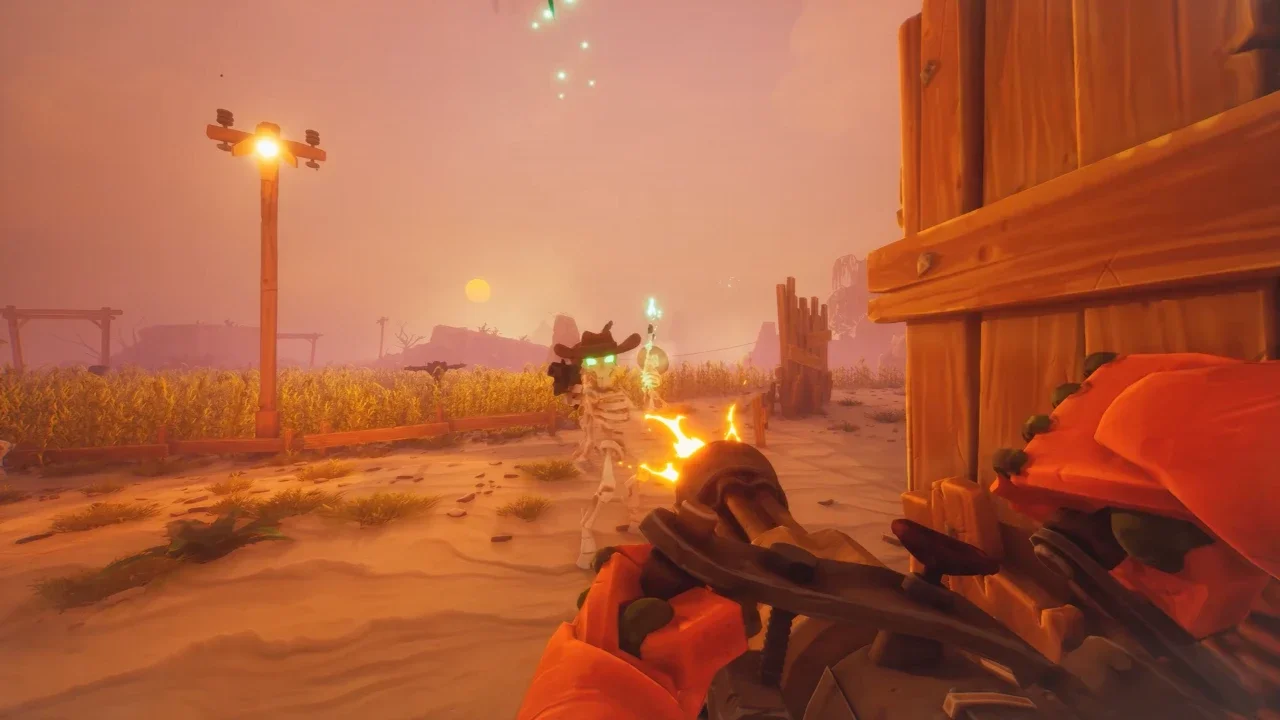
For beginners, Reach is King. I cannot stress this enough. The closer you are to an enemy, the more likely you are to get grabbed or stabbed. That is why the Rake is oddly god-tier in the early ranks. It has massive reach, three points of contact for stabbing, and it’s easy to block with. Once you get better, you can move to the Longsword for versatility, but do not underestimate farm tools.
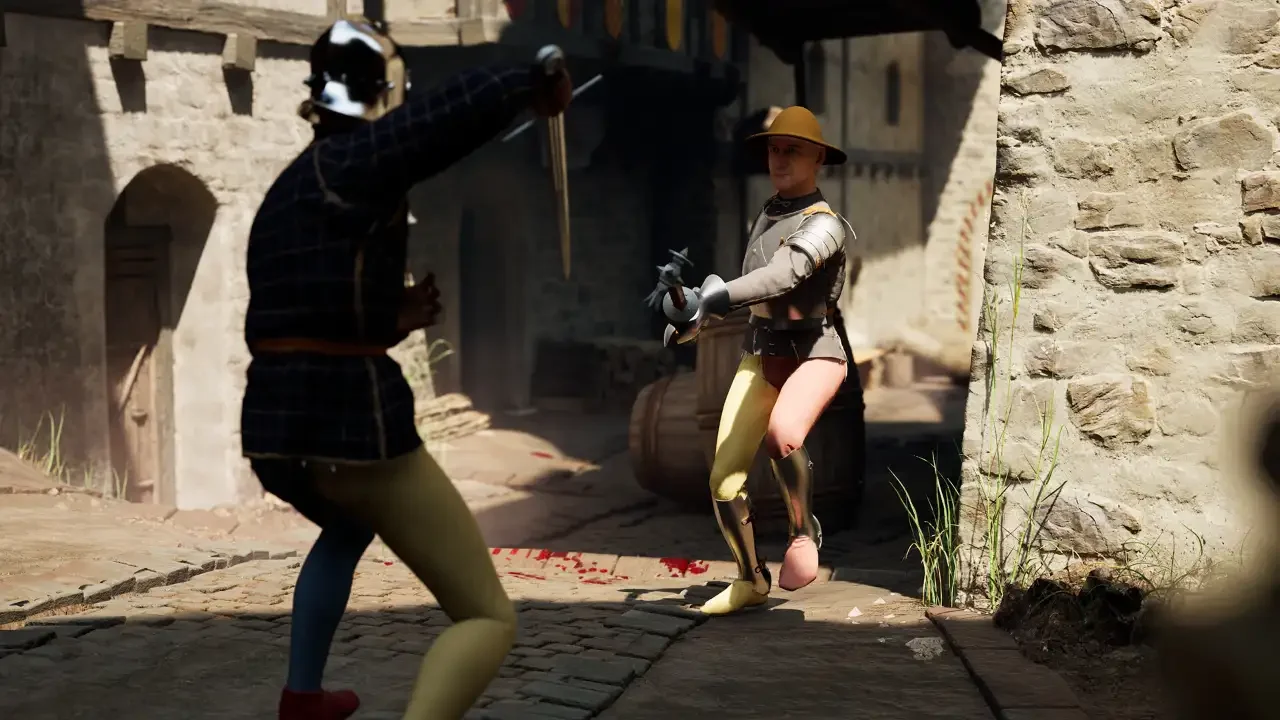
The Best Armor and Layering
You can't just find a cool breastplate and put it on over your bare skin. The game respects historical layering, which can be frustrating if you don't know the rules.
The Foundation Layer is Mandatory
To wear most heavy armor (Spaulders, Cuisses, Vambraces), you first need a foundation layer. You need to buy or steal an Arming Doublet or a Jack. These are padded jackets that have the attachment points for the metal plates. If you are trying to equip a metal shoulder piece and it won't work, it is because you are essentially trying to glue it to your naked shoulder.
Customizing the Fit
Sometimes armor pieces conflict with each other. I found an Arming Doublet that had chainmail attached to the arms, which prevented me from wearing plate arm guards. You can actually modify this in the menu. If you have an Arming Doublet with chains, you need to remove the chains in the customization screen before you can layer plate over it. The same goes for breastplates with skirts. If the skirt clips with your leg armor, remove it.