Lucid Blocks Crafting Guide: Mastering the Apotheosis System
Throwing random garbage into a fusion UI and praying for a sword is a terrible way to survive in this game.
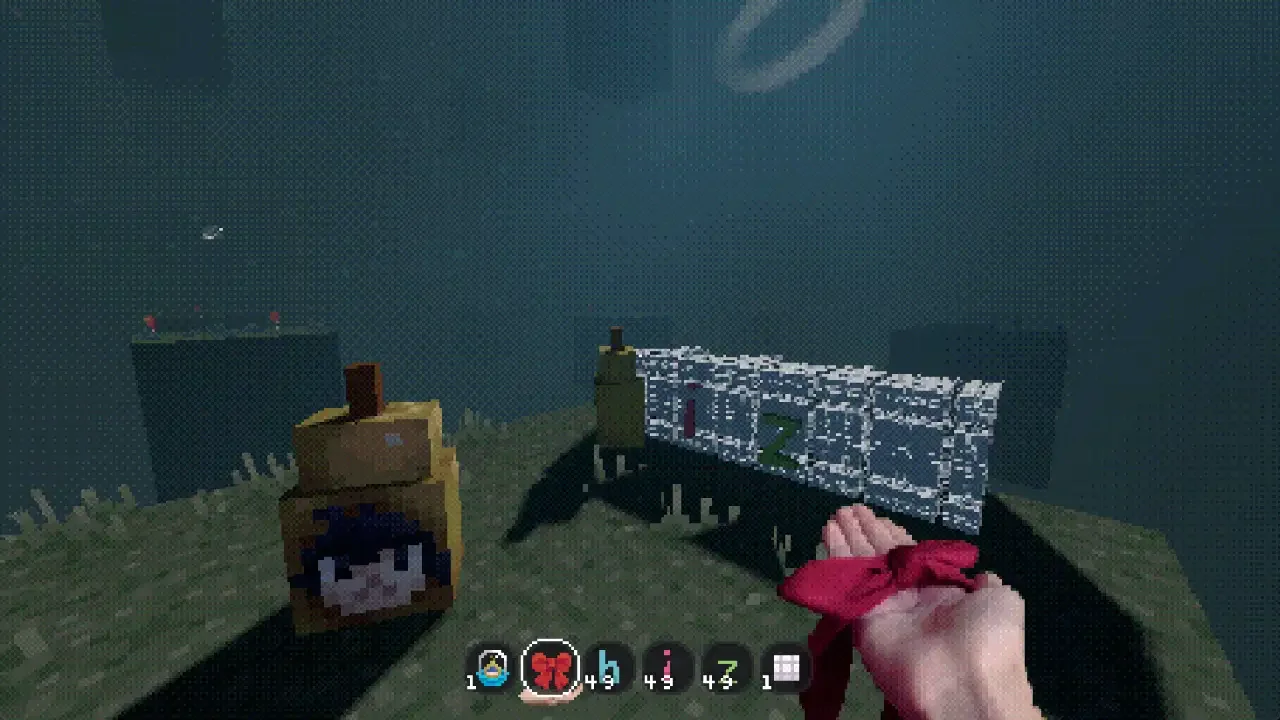
The developers of Lucid Blocks decided that standard crafting menus were boring, so they implemented the Apotheosis System. Instead of a neat list telling you exactly what to build, you are forced to experiment by throwing up to six items into a grid. The game looks at the "essence" of what you just sacrificed and spits out a result based on those properties.
If you mix similar essences, you get predictable tools. If you start throwing random rocks and magical nonsense together, you either get a bizarre artifact or a pile of useless junk. The game claims this "rewards curiosity," but I know you just want to know how to build a decent pickaxe without wasting your stash of Tungsten.
I have spent entirely too much time testing these fusions. Here is exactly how the system works, along with a massive list of reliable recipes so you can stop guessing.
How the Apotheosis System Actually Works
The crafting UI gives you six slots. You do not always need to fill them all. In fact, fewer items usually lead to more stable, basic tools, while filling all six slots increases the complexity and the chance of a weird mutation.
The most important mechanic to understand is "dilution." For many recipes, you only need one or two core components to dictate the final item. You can then fill the remaining slots with cheap, low tier blocks (like dirt or sand) to artificially increase the quantity of the final product you receive. However, you cannot use this trick with high tier items, artifacts, or tools.
If a fusion fails or gives you garbage, take out one item and swap it. Small adjustments are the key to figuring out the essence logic. Or, you can just use the cheat sheet I built below.
Essential Components and Early Game Tools
Before you try to summon a living companion or build a late game weapon, you need to secure your basic harvesting tools. These are the fusions you should prioritize immediately.
Weapons: Swords, Wands, and Destruction
Once you can comfortably mine resources, you need to defend yourself. The weapon crafting in this game ranges from standard metal swords to bizarre magic wands that alter the environment.
Melee Weapons
The earliest reliable weapon you can craft is the Azrael. You make this by combining a Tungsten Appendage with a Stick (or a Log Block). It does solid damage and carries you through early combat.
Once you need an upgrade, you can fuse the Azrael with Magnetite (or an Aluminum Block + Stick) to create the Tendril Rapier. If you want a heavier option, combine a Bone with Pebble Blocks to create a Mace. Fusing that Mace with Wool gets you the highly lethal Amethyst Knife. For crowd control, mix Sulfur with a Tungsten Appendage to craft the Sulfurous Sword, which passively ignites enemies on hit.
Magic Wands
Wands are where the essence system gets weird.
Ball Wand: Friend Wand + String (Fires weak projectiles).
Friend Wand: Ball Wand + Gland / Segment.
Hate Wand: Ball Wand + Raw Sheep Flesh (Deals area of effect damage and actively destroys blocks in the blast zone).
Faith Wand: Friend Wand + Bone Pick (The exact environmental effects of this wand are still highly unpredictable, use with caution).
Artifacts and Mobility Gear
You cannot just fight; you have to traverse the world efficiently. Some of the best fusions in the game produce wearable artifacts that manipulate your base stats.
Utility Blocks and Storage
You cannot carry everything in your pockets. Eventually, you need to establish a base and build storage.
To craft a standard Cabinet for your junk, mix String with a Cut Wood Block. If you want something more automated, combine Magnetite with a Cut Wood Block to create a Funnel (which acts as a hopper chest).
If you are trying to build an elevator system for your base, fuse Kila with Goo to craft an Accelo Block. Stepping on this block violently launches the player upwards. Finally, if you just want to light your base, fuse a Glaggle Token, a Sulfurous Sword, and a Metal Hook to create the Light Pincer flashlight.