Menace Field Manual: How to Kill Them Before They Kill You
The enemy in Menace cheats, has better armor than you, and outnumbers you three-to-one, so the only way to win is to fight absolutely dirty.
I’ve seen too many rookies drop into the Wayback thinking they can win a straight firefight. They set up their little firing line, take a few potshots, and then watch in horror as a Rogue Army walker steps out of the fog and deletes their entire squad in one volley. It’s brutal. It’s unfair. And honestly, it’s kind of funny if it’s not happening to me.
But since you probably want to keep your favorite squad leader alive, and save yourself the headache of hiring fresh meat, you need to understand the mechanics that actually matter. Combat in this game isn't about health bars. It’s about psychology, vision, and violence of action. I’ve compiled the intel you need to dismantle everything the game throws at you, from the lowliest grunt to the tank that’s been haunting your nightmares.
Suppression is the Real Health Bar
If you take nothing else from this guide, remember this: Bullets do two things. They rip through armor, and they wreck morale.
Suppression is the mechanic that wins battles. When a unit gets shot at, their "Suppression" bar fills up.
Suppressed: They lose Action Points (AP) and accuracy.
Pinned Down: They basically can’t move and can barely shoot.
You don't always need to kill a Heavy Tank on turn one. You just need to shoot it enough to piss it off. A suppressed tank is a useless tank. It can’t flank you. It can’t accurately hit your guys. It’s just a big metal paperweight. Focus fire on the scariest thing on the field until it’s pinned, then clean up the trash mobs.
The "Smoke & Shotgun" Breach
Most players are terrified of getting close. They sit back with sniper rifles and pray. That is a massive mistake. The safest place to be is often right in the enemy's face with a shotgun.
The CQC (Close Quarters Combat) doctrine relies on one specific item that you are probably ignoring: Smoke Grenades.
If you run across an open field, you die. But if you pop a smoke grenade, you break the enemy's Line of Sight. They can't shoot what they can't see (unless they have a spotter, which we will get to).
The Loop:
Throw smoke halfway to the enemy.
Run your assault squad (like Lim or Yaz) into the smoke.
Next turn, run out of the smoke and point-blank shoot them in the face.
Shotguns and SMGs have massive damage output but terrible range. By bridging the gap with smoke, you turn a tactical shooter into a slaughter. It saves ammo, it breaks armor instantly, and it stops the enemy from using their nasty special weapons.
The Math of Stealth
Stealth isn't magic. It’s math.
Every unit has three stats: Vision, Detection, and Concealment. If your Concealment + distance is higher than their Detection, you are invisible.
Darby is the queen of this. With the "Covert Ops" perk and a Camouflage Kit, she can stand in the middle of a field and not be seen until the enemy practically trips over her.
The Golden Rule: Never fire an unsilenced weapon if you want to stay hidden. The second you pull the trigger on a loud gun, you lose concealment for the turn. Use silenced carbines or just use your stealth unit as a spotter. Let them find the targets, then rain hell with your tanks from halfway across the map.
Enemy Almanac: The Rogue Army
These guys are organized. They use combined arms tactics that will embarrass you if you aren't careful. They have tanks, they have snipers, and they have officers who make everyone else better.
The Infantry & Officers
The standard grunts are cannon fodder. The problem is the Officer.
The Rogue Army Officer has an ability to "Mark" your units. If you get Marked, every enemy on the map can see you. That means the guy with the Anti-Tank Guided Missile (ATGM) hiding three blocks away can shoot you without having Line of Sight.
Tactical Advice: Kill the Officer first. Always. If you see a guy with a pistol waving his hands around, snipe him. It breaks their coordination.
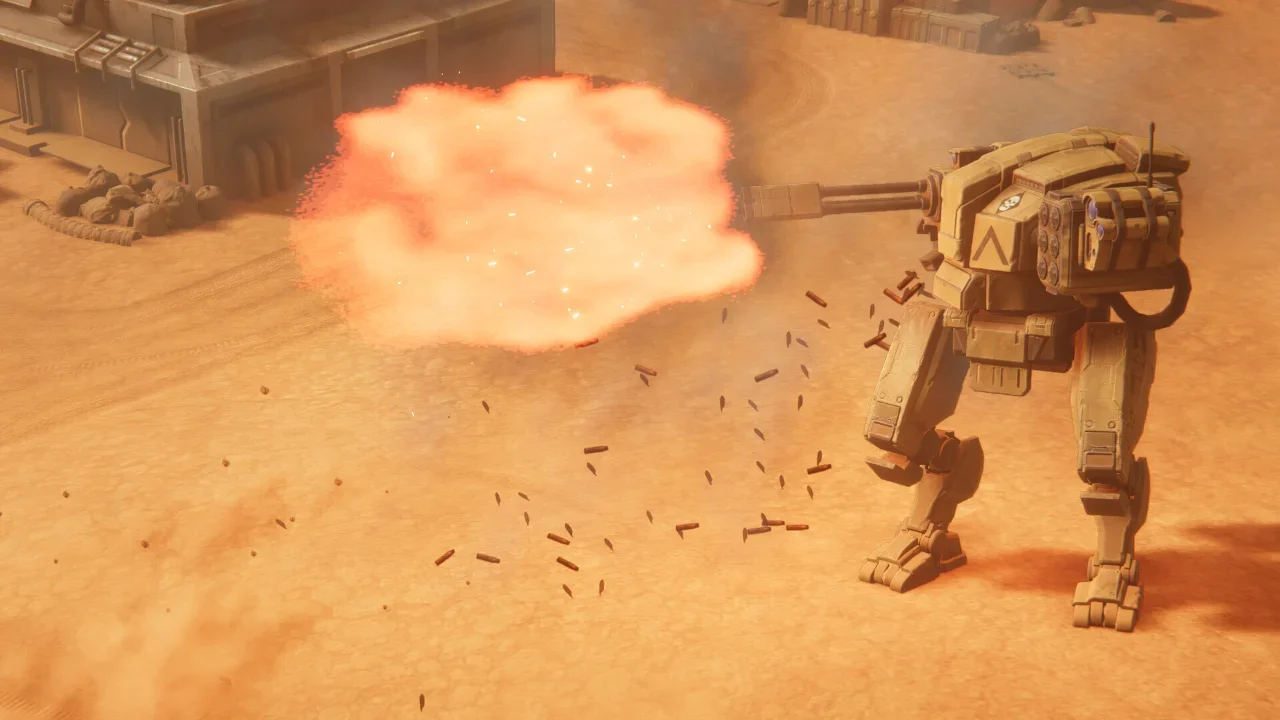
The Walkers (Mechs)
These are terrifying in the early game. They come in Autocannon and Laser variants.
The Counter: They have heavy front armor. Do not shoot them in the chest with a rifle; you’re just polishing their paint job. You need Anti-Materiel Rifles (AMR), RPGs, or Lasers. If you don't have those, use Suppression to pin them, then flank them to hit the weaker rear armor.
The Heavy Tank
It has 600 HP and 220 Armor. It is a brick wall on tracks.
The Counter: It takes two RPG hits to the front just to scratch the paint. You have to hit it from the sides or rear. Alternatively, kill the infantry supporting it. If you wipe out the squads near the tank, the tank’s morale will drop. A "Fleeing" tank is just a free loot box.
Specialist Teams (ATGM / Mortar / MG)
These are 3-man squads. They are squishy but lethal.
ATGM Teams: They will one-shot your vehicles. Priority One.
Mortar Teams: They will suppress your entire squad from across the map. Priority Two.
MG Teams: They pin you down. Annoying, but manageable.
Because they only have 3 guys, a single well-placed grenade or a sniper shot usually wipes them out instantly.
Enemy Almanac: The Aliens (Bugs)
Fighting bugs is different. They don't use cover, they don't care about your feelings, and they swarm you.
The Swarm (Spiderlings & Stingers)
They are weak individually but move in packs.
The Counter: Do not waste RPGs on them. Use high rate-of-fire weapons like Assault Rifles or SMGs. You need volume of fire, not armor penetration.
The Warriors
These big uglies have armor that shrugs off light weapons.
The Counter: Keep your distance. If they get into melee range, they will tear your marines in half. Use vehicle-mounted machine guns or focused rifle fire to break their armor before they close the gap.
The Bombardier
This is the single most dangerous unit in the Alien roster. It fires indirect artillery that ignores cover and hits like a truck.
The Counter: Drop everything and kill it. It doesn't need Line of Sight to hit you. If you see a Bombardier, charge it, snipe it, or drop an orbital strike on it. If you let it live for three turns, you won't have a squad left.
The Stinger / Dragonfly
They fly and shoot ranged acid/projectiles.
The Counter: Put your armored units in front. They have low penetration, so a Heavy Infantry squad or a Vehicle can tank their shots all day. Just don't let them shoot your squishy sniper in the back.
The Bottom Line
This isn't a game where you can autopilot. You need to identify the threat, is it an Officer marking you? A Bombardier hiding in the back? A Tank rolling down Main Street?
Identify the key threat. Suppress it. Smoke the approach. Flank it. Kill it. Then loot the bodies. It’s dirty work, but it pays the bills.