Palworld 1.0 Guide: The Ultimate Combat Pal Tier List
Picking a combat companion based entirely on its base stats is the fastest way to get completely flattened by an endgame boss.
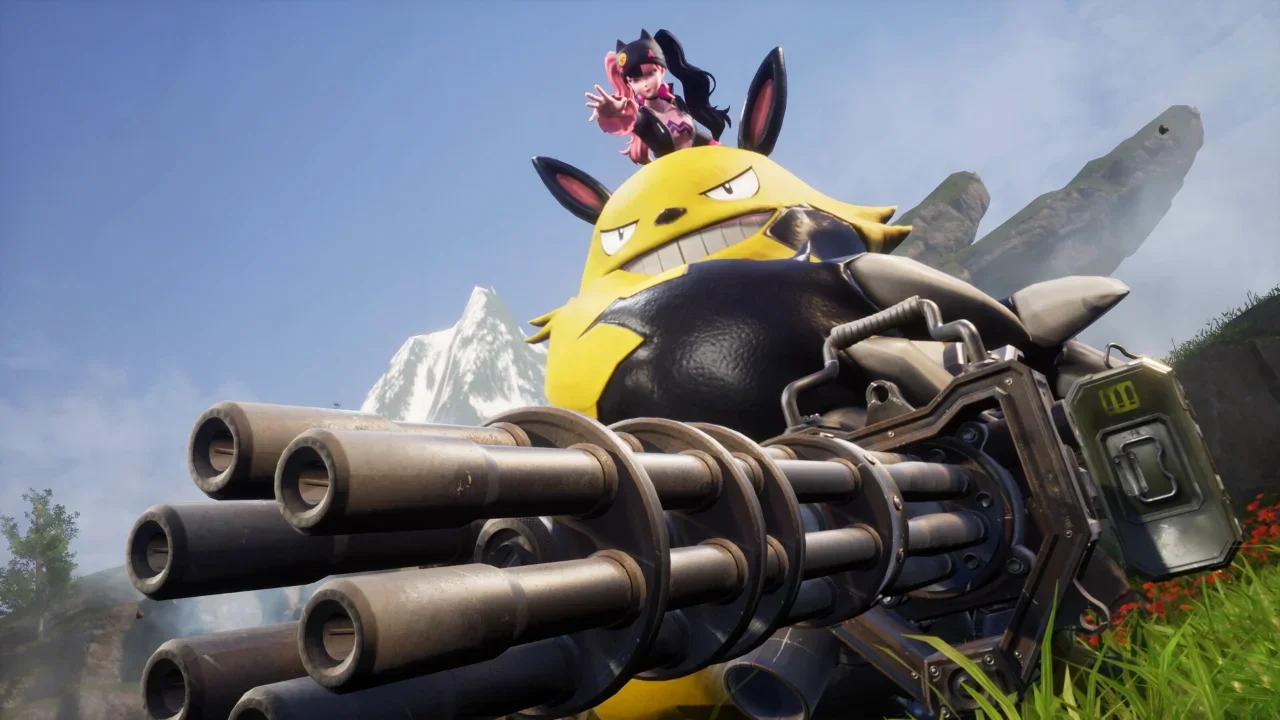
The combat balance shifted drastically with the full release, and relying on the old meta just fails constantly now. Raw attack numbers look great on a spreadsheet, but if your chosen companion gets stuck on geometry or face-tanks an entire laser barrage because it's too big to maneuver, those stats mean absolutely nothing. I built this tier list based on actual fight performance, fusing raw elemental coverage with real 1.0 map locations and breeding paths. Before you waste three hours trying to force a mid-tier companion to work in the endgame, you need to know who actually pulls their weight when things go south. If you find the vanilla breeding grind too slow to properly test these combinations, taking a look at a few of the best Palworld 1.0 mods can make the egg timers much more bearable.
Below is the complete, comprehensive ranking of every notable combat option in the 1.0 update, consolidated so you know exactly who to prioritize for your active party.
The S+ Tier Elites
These are your absolute non-negotiables for tower runs, world bosses, and late-game exploration.
The S-Tier Heavyweights
These are your non-negotiables for tower runs, world bosses, and late-game exploration. They bring massive damage, excellent mobility, and abilities that fundamentally change how you handle intense combat loops.
Legendary Map Spawns
Jetragon remains an essential top-tier pick. You'll find it over at coordinates -789, -321. It naturally learns Meteorain, which operates as one of the most destructive area-of-effect Dragon moves available. More importantly, its ridiculous movement speed makes it a nightmare for bosses to actually hit. Frostallion earns its spot through pure synergy. Found in the land of Absolute Zero (-357, 508), its Ice Steed partner skill converts your own attacks to deal Ice damage. You aren't just relying on the AI to fight, you're actively scaling your own DPS right alongside it. Neptilius acts as the Alpha Boss of the North Eastern Wildlife Sanctuary Dome, bringing a massive 145 attack stat and the Sentinel of the Great Sea skill to effortlessly melt Fire-heavy bosses.
Raid Boss Drops
Bellanoir Libero is the definitive Dark attacker. You've got to craft a Slab and defeat the raid boss version to get the egg, but the investment pays out immediately. Its exclusive Nightmare Stare ability shreds health bars in a way the regular Bellanoir simply can't match. You'll run into the same brutal summoning altar battles for Xenolord, Hartalis, and Blazamut Ryu. I originally felt Blazamut Ryu belonged lower on my personal rankings, but the 1.0 raid version completely recontextualized its destructive potential.
Breeding Projects That Pay Off
Shadowbeak is arguably one of the fastest flying mounts around. It learns Divine Disaster for excellent crowd control, but you have to chain-breed Astegon and Kitsun to unlock its true potential. If you prefer a ground mount, head to coordinates 446, 681 to catch Necromus. It hits incredibly hard with a 145 base attack, and the Dark Knight of the Abyss skill lets you double jump to dodge chaotic boss mechanics.
The Strategic Power of Anubis And Orserk
Before you dismiss Anubis because it only has a 130 base attack, watch it actually fight. It has a unique sidestep built into its AI, meaning it naturally dodges attacks that would normally flatten other companions. You can catch it at the Twilight Dunes (-130, -96), but the smartest route is to breed a Bushi and a Penking early in your playthrough. Orserk holds the crown as the best Electric-type pick. It learns Kerauno, which keeps it airborne and out of range of ground-level attacks. It used to be easier to find, but it's now locked to the Boneyard in Sunreach on the Floating Islands. If you're struggling to navigate the new map layout or need help surviving the new zones, tracking down a few Palworld 1.0 hidden features and best secrets might reveal a faster route to the islands.
A-Tier Contenders
A-Tier options are fantastic and will easily carry you through the mid-game and into places like Feybreak. They just possess a minor flaw that stops them from dominating the true endgame.
Paladius And Frostallion Noct
Paladius is a tanky option found at coordinates 446, 681, but it falls to A-Tier because its Neutral element doesn't provide the type advantages you desperately need in late-game bosses. Frostallion Noct requires breeding Frostallion and Helzephyr. It brings solid Dark coverage, but it demands serious chain-breeding to unlock a moveset that competes with the natural output of Bellanoir Libero.
Element Masters And Flyers
Faleris and Ragnahawk are highly dependable Fire-types, but finding Faleris is a massive pain now that it only spawns on Sunreach Island. Ragnahawk is much easier to grab while roaming around Mount Obsidian. Astegon acts as a fantastic Dragon and Dark hybrid. You can snag it as a boss in the Volcanic Wildlife Sanctuary. I also have to mention Bastigor. It requires breeding Anubis and Frostallion, but its Blizzard Crash partner skill is highly effective. I find Bastigor actually outperforms standard Frostallion when used purely as an unmounted party member, since it actively deals continuous Ice damage on its own.
B-Tier And Below
These companions work flawlessly for basic farming and early exploration, but they fall apart completely in serious boss battles.
High Utility, Low Survivability
You can capture Quivern Botan on Sakurajima or track down Fenglope at the Falls Mineshaft boss arena. They look great and provide decent traversal, but their low base stats mean they get shredded by high-level enemies. Mossanda Lux is a fun gimmick catch from the Eastern Wild Island since it gives you access to a mounted grenade launcher. Skutlass, found on the coast of the Twilight Dunes, can literally transform into a Fish Sword Katana for you to swing. They're hilarious to use, but when you're fighting a level 79 Aegidron near the World Tree, a fish sword isn't going to save your life.
The Hitbox Problem
I put Jormuntide into C-Tier despite its solid attributes. Its massive, clunky hitbox means it catches every single stray projectile a boss throws out. You can't keep a companion alive if it face-tanks an entire laser barrage because it's too big to maneuver around a pillar. Stick to the S and A tiers, focus on mobility and exclusive skills, and you won't have to keep rebuilding your squad every time you hit a difficulty spike.