Species: Unknown Guide: How Not to Die Instantly (And What Kills You Anyway)
Alright, mercs. You've signed up for a high-risk contract on a derelict spaceship crawling with things that want to wear your insides on the outside. As I said in my review, this game is a gem, but it explains jack shit. So, let's break down the mechanics you need to understand if you want to make it back to the shuttle in (mostly) one piece.
Respawning: Your Get Out of Death (Not Free) Card
You start with zero extra lives. Zero. To even get the chance to respawn, you need to find a Respawn Capsule and claim it after the ship's power is on. This activates the team life system – usually 9 lives shared across the squad, but it changes with difficulty. Forget to claim one? Permadeath for you, sucker. Crucially: Respawn points only work if the power is ON. If it goes out, you're back to permadeath until someone hoofs it to the command deck to turn it back on. Dying also costs 100 credits from the final payout, and if you permanently die (all team lives gone, or no active respawn point), you get absolutely nothing unless your surviving buddies donate some scraps. When you do respawn, you come back with just your piss-poor pistol and have to retrieve your gear from your corpse. Fun!
Keeping Yourself Stocked (Maybe)
Scattered around the HSS Hawking are a few vital stations:
Ammo Crates: Found in armories. Infinite ammo, fully restocks all your current weapons. Use 'em often. Some mission modifiers make using them cost 100 credits, but ammo is ammo.
Health Stations: Green boxes. Limited uses (around 5, check the liquid level), fully heal you. Like ammo crates, sometimes they cost 100 credits per use depending on modifiers.
Emergency Box: ONLY usable during a self-destruct sequence. Gives you an adrenaline shot for unlimited stamina for about 15 seconds. You'll need 2-3 to make the mad dash from the engine room to the shuttle bay.
Credits and Drives: Your Payday
Besides the main objective payout, you can find loose credits (5-15 a pop) just lying around. These go straight into your wallet. You can also find "unknown hard drives," worth 100 credits each if you successfully extract with them. Every bit counts.
The Mission Grind: What Are You Even Doing?
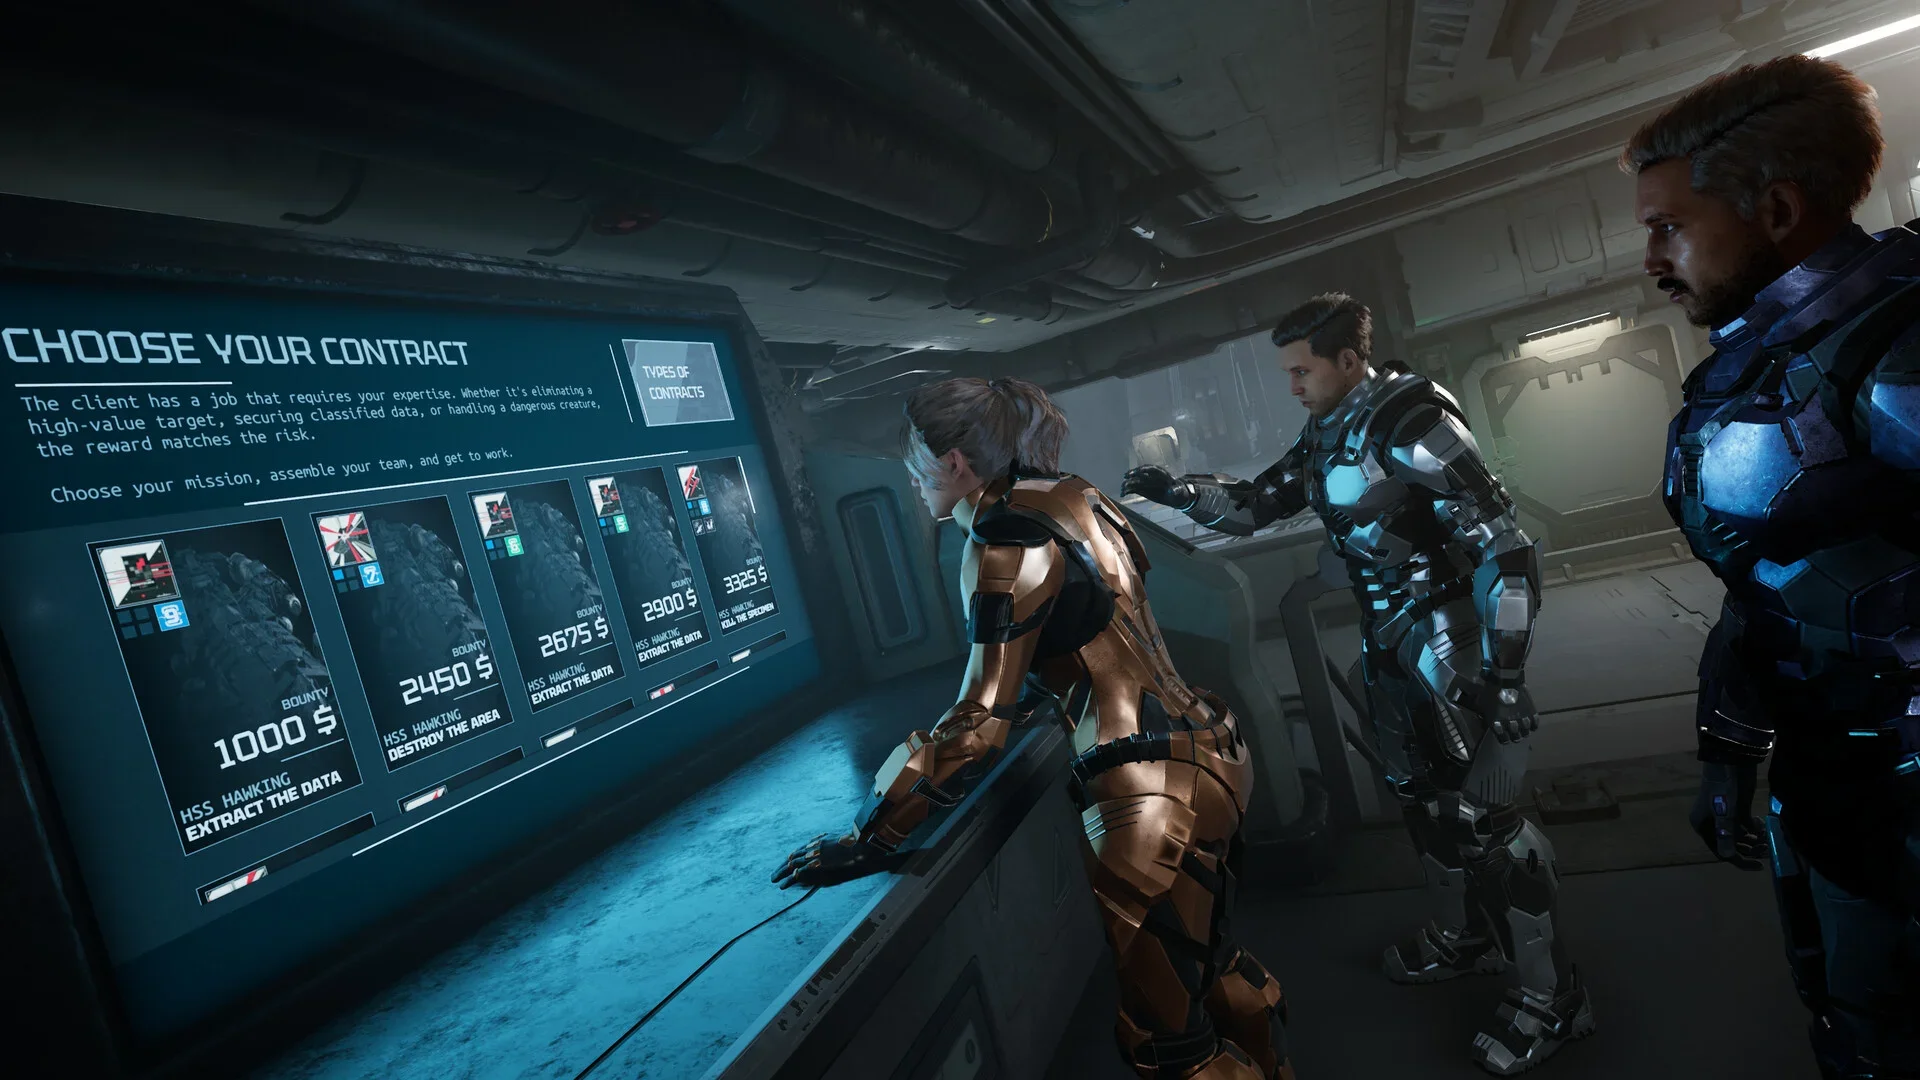
There are a few main mission types, though objectives can sometimes overlap (like triggering a self-destruct):
Extract Black Box: Find the box in one of two server rooms (Captain's Deck or near Engine Bay, marked purple on map). Grab it, haul its ass back to the shuttle, and slot it in. You can't use items while carrying it (except your flashlight), but you can throw it down stairs without breaking it. Picking it up makes the monster very angry until you leave. Needed 4 times per monster for data.
Destroy the Ship: Channel your inner Isaac Clarke. Go to the Engine Bay, start the "engine test," then run upstairs to Engine A and B control rooms and crank the speed to 1000%. Once the second one overloads, the self-destruct timer starts (length varies by difficulty). Grab those adrenaline shots from the Emergency Boxes and RUN to the shuttle. The monster gets hyper-aggressive during this. All other objectives are cancelled once this starts.
Kill/Capture the Specimen: These are similar. You need to find the specific elemental weapon (marked on map) that matches the monster's weakness. Then, either fight it somewhere open (Engine room is good, has ammo/health nearby) or lure it back to the shuttle's containment cell. Monsters are tanky; use the elemental weapon to weaken/expose weak points while your team uses regular guns. Capture just requires stunning it inside the cell (shields highly recommended). Need 1 capture and 4 kills per monster for data.
Know Your Enemy: The Monster Mash
There are currently five beasties trying to murder you (IDs based on in-game terminals):
ID-006 (Baby Squid): Runs at you, tries to jump on your head for an insta-kill (shoot it off a teammate!). Weak to fire (use canisters!). Shoots it enough, and it'll run off... maybe. It plays dead, the little bastard. Wait a few seconds or shoot it again to be sure. Weakness: Fire (Flamethrower). Kill/Capture involves burning and shooting specific body parts.
ID-007 (Ethereal Ghost): Spooky shadow thing. Do not look at it. It only hurts you if you stare. Otherwise harmless. You'll hear roaring or rustling leaves when it spawns/teleports. Guns do nothing. Weakness: Ice (Freeze Gun). Freezing it turns it into it’s physical form for a few seconds.
ID-008 (Clamp Robot): Slow-ish flying drone with a blue light (red when spotted). Has a short lunge insta-kill. If it spots you in a vent, you're dead. Guns do nothing unless it's hit by the laser first. Weakness: Laser (Laser Gun). Hitting it with the laser stuns it, makes it grow legs, lose its shield, and become a fast spider-thing with slash attacks instead of the insta-kill. Keep damaging it (laser or guns now work) until it explodes.
ID-009 (Dog-like Necromorph): Fast runner, slashes you. Has low stamina, so you can outrun it sometimes. Makes loud stomps and roars, uses vents. Don't crouch near it, or it insta-kills you. Guns slow it down. Weakness: Electricity (Electric Gun). Zapping it briefly opens its face weak point. Shoot it there! Its face armor breaks off in stages as you damage it.
ID-010 (Zombie Scorpion): Stealthy bugger, makes zombies from corpses. Hides in vents (they bleed purple if it's inside). Will grab and poison you from vents (heal within 1 min or die). Usually avoids direct combat unless cornered, no corpses are around, or the self-destruct is active. Weakness: Fire (Flamethrower). Burn corpses to lure it out, then shoot/burn it until dead. Flamethrower stuns it well.
Your Puny Weapons
You can carry three guns: usually two main (Category 2/3) and the pistol (Category 1). The pistol is mandatory unless a modifier removes it. Ammo crates refill everything.
Standard Guns (Cat 2): Found on dead guys in gold armor.
Shotgun: 5 shells. High close-range damage/stun. My personal favorite standard gun.
Assault Rifle: 30 rounds. Balanced, but ammo hungry.
SMG: 40 rounds. Fast fire rate, good for zombies, lots of ammo.
Pistol (Cat 1): 15 rounds. Shit. Use only if desperate or for shooting canisters. Unlocked after the first mission.
Explosive Canisters: Red (fire), Blue (cryo). Shoot 'em to slow monsters. Fire leaves residue.
Elemental Guns (Cat 3): Found only on Kill/Capture missions, marked on map.
Laser Gun: Pew pew beam.
Electrical Gun: Long charge-up arc shot, single shot per reload (pair with shield!).
Flamethrower: Standard issue hose of death.
Frost Gun: Like the flamethrower, but cold.
Tools of the Trade (Mostly the Shield)
You start with the Mini-map, but can unlock/buy others.
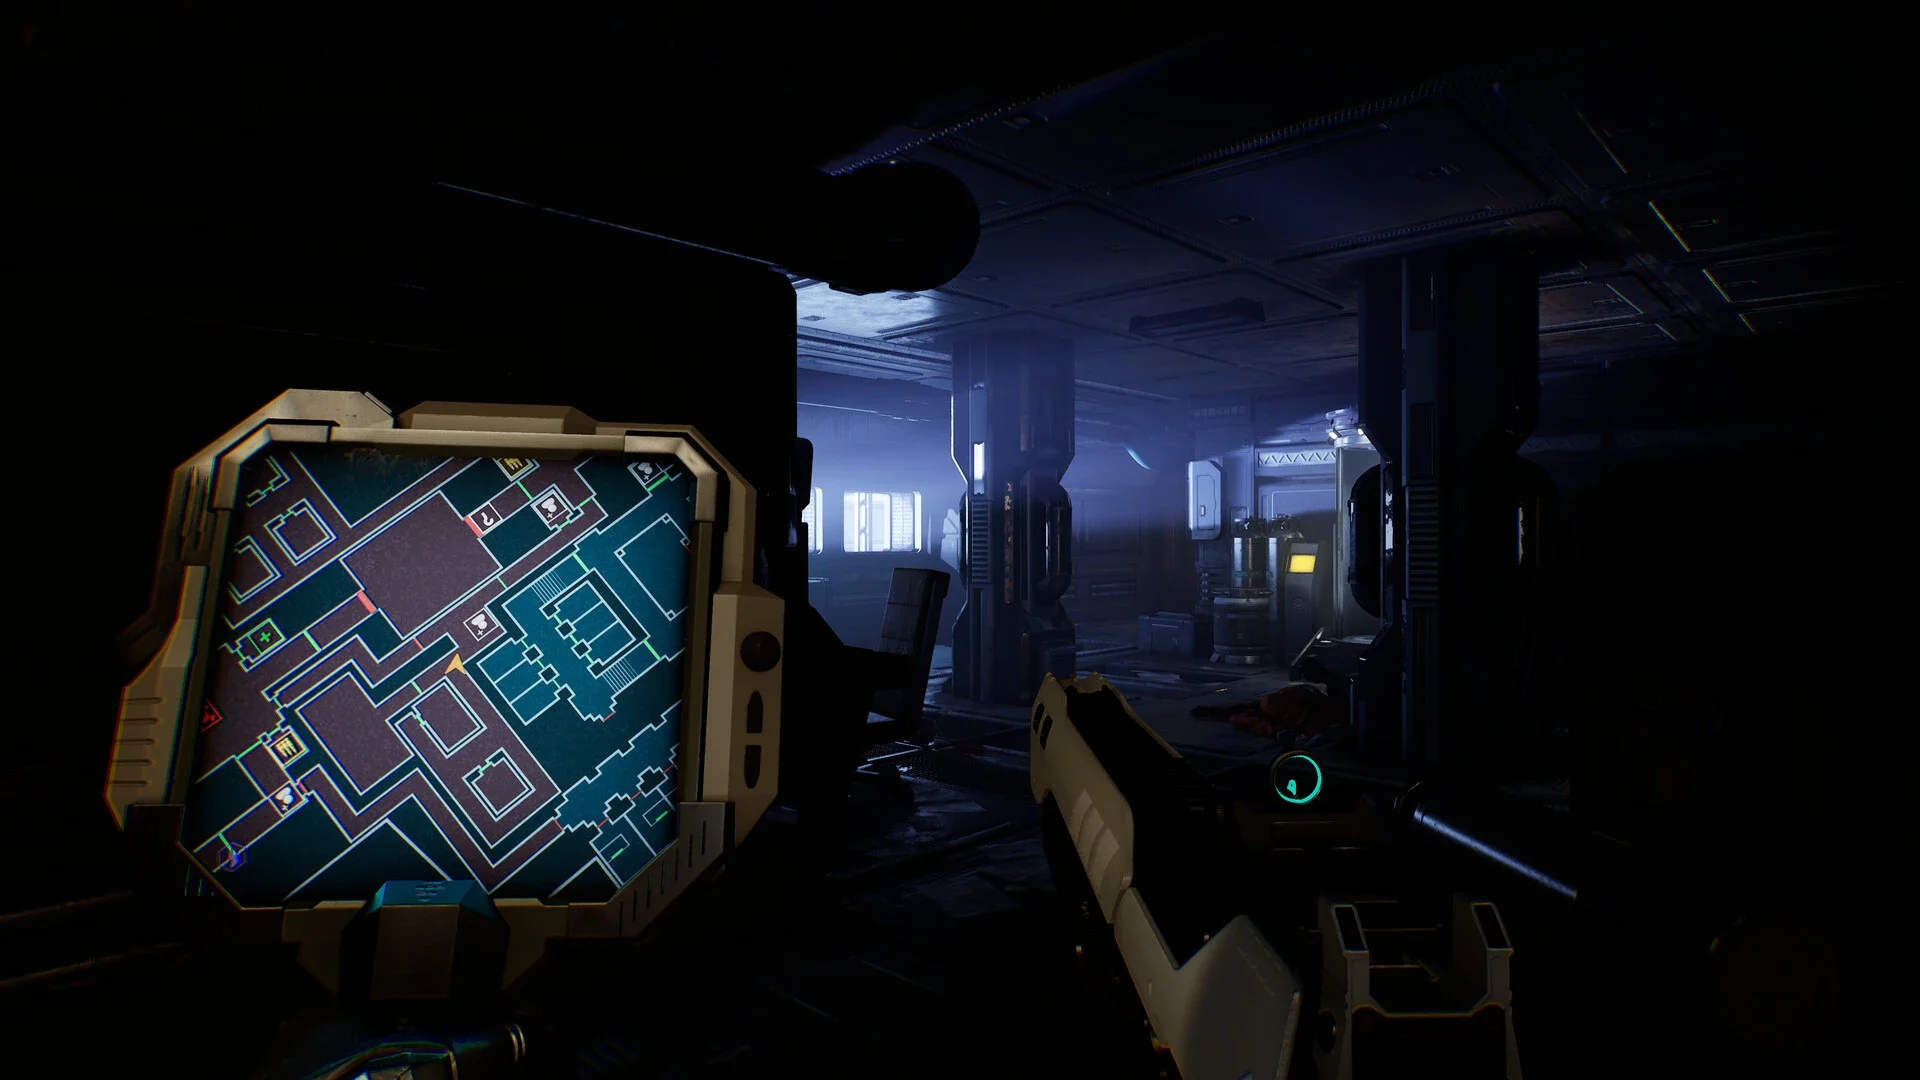
Mini-map: Portable map showing doors, objectives, key rooms. Upgrades increase range. Good for beginners.
Threat Detector: Pings enemies. Upgrades increase range. Honestly? Kinda useless right now. All the monsters are loud as hell; just use your ears.
Health Injector: Portable heal station, heals you or others. Refill at wall stations. Starts with 2 charges, upgradeable to 4. Only really vital for curing the scorpion's poison.
Energy Shield: Blocks attacks, even insta-kills if timed right. Regenerates. Upgrades improve regen/durability. Warning: Using it currently flashbangs you due to brightness. Despite that bug, this is the best tool, hands down. Essential for captures and surviving insta-kills.
Know the Layout: HSS Hawking Basics
The ship is split into sectors, and knowing them well increases your chances of not having your face eaten.
Crew Quarters: Goal is usually finding Security Passes to unlock the Officer's Quarters.
Machinery: Goal involves turning numbered valves (check terminal for which ones) in different rooms (Fuel Treatment, Turbine room area) to access the Main Core room. Be warned: running past the active core will insta-kill you if timed wrong.
Power: Ship starts powerless unless a modifier changes it. Monsters (except basic zombies) generally won't attack until power is on. Power switch is on the command deck.
Safe Rooms: The central control hub (lockable doors/shutters) and your starting shuttle (close the door) are completely safe zones.
Vents: All monsters use vents. You can only use vents in the Crew Quarters (entrances in Infirmary and Storage Room). Be extremely careful in there.
Shortcuts: The ship loops around. You can bypass Machinery entirely by going through the unlocked Officer's Quarters to reach the Engine Bay, for example. There's also a shortcut back from the Engine Room to skip the deadly reactor core.
That's the crash course. It's a lot, but understanding these basics is the difference between extraction and becoming another stain on the deck plating. Good luck out there. You'll need it.
You might also like
Species: Unknown Early Access Review - Co-op Sci-Fi Horror
DreamOut Review – Drunk Alpaca Surreal Adventure
Bendy: Lone Wolf Review – A Great Remake in a Puzzling Package

