Star Fox Switch 2 Challenge Mode Guide: Surviving All 192 Objectives
The branching campaign acts as a mere tutorial for the 192 rigorous tests hidden within the post-game interface.
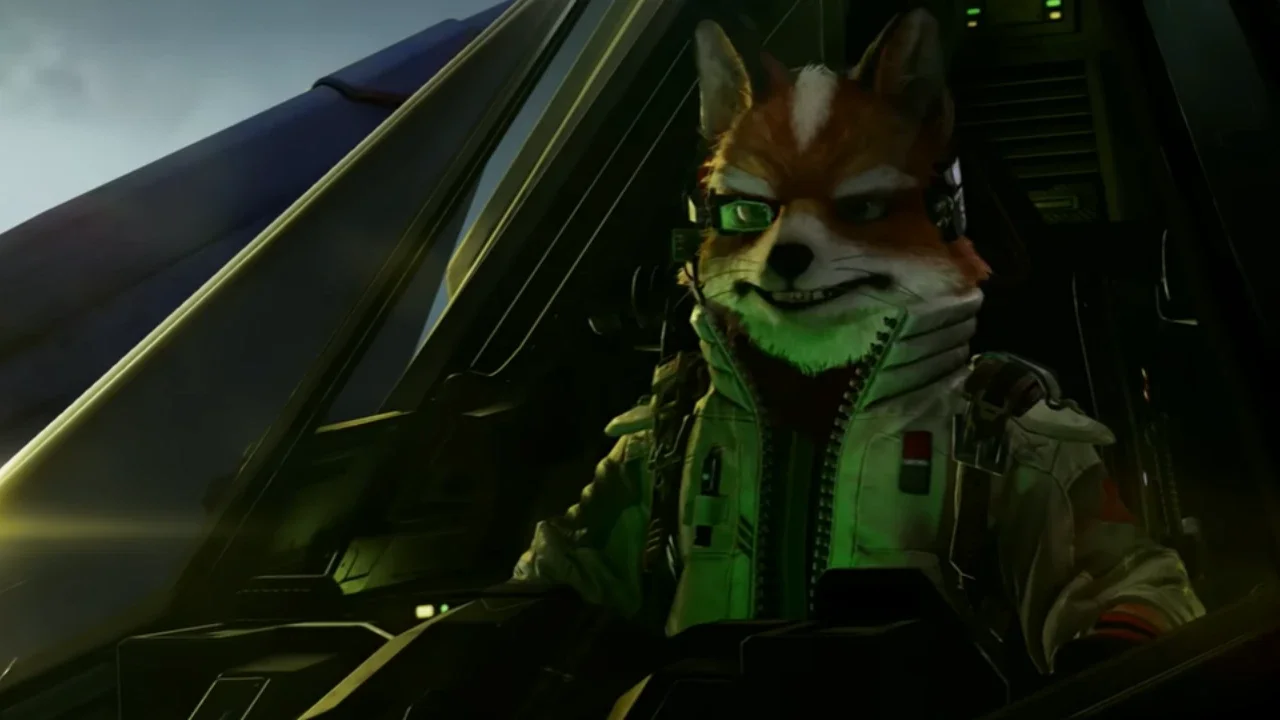
Following the June 25, 2026 launch of Star Fox on the Nintendo Switch 2, the true depth of the flight mechanics becomes apparent entirely outside of the main story path. Challenge Mode operates on an independent framework parallel to the campaign. You cannot access a level in this mode until you successfully chart a course to it through the standard branching map. Fully unlocking the grid requires navigating every alternate route the primary game offers.
Once unlocked, the system presents exactly 12 challenges per stage. These are split evenly into six Normal and six Expert tasks. The game locks the Expert tier entirely until you clear all six base objectives for a given location. You can preview the Expert layouts early, allowing you to scout the map and memorize the exact mechanical demands required for a perfect run.
Treat these tasks as an isolated ecosystem. The objectives here do not overlap with the standard medal system found in the campaign. Attempting to farm standard hit targets while operating under Challenge Mode rules splits your focus and compromises your run.
Progression Mechanics And Fail States
The structural rules of this mode strip away the safety nets found in standard play. The game disables all mid-level checkpoints. A single mistake demands a full restart from the launch sequence.
This rigid structure is balanced by a highly forgiving save mechanic. Progress triggers the instant a challenge's specific checkbox appears on your screen. You do not need to finish the actual mission. Once the interface logs the completion, you can quit the run immediately, and the game retains your success.
This fundamentally alters the optimal approach to difficult stages. If you fail a requirement mid-run, the interface box turns gray. When that happens, restart immediately. Pushing forward through the rest of the stage wastes time. Consolidating your efforts by attempting conflicting tasks on entirely separate runs, and quitting out the moment an objective registers, is the only efficient way to clear the board.
Hardware Optimization
Hitting the required score counts for the upper-tier tasks demands a volume of fire that standard thumb inputs struggle to maintain. The physical fatigue degrades your precision during the denser enemy waves found in later sectors like Area 6.
If you use the Switch 2 Pro Controller, you must manipulate the hardware settings to sustain your damage output. Hold the Home Button, navigate to the controller configuration menu, and locate the GL/GR Buttons section. Map the two underside paddle buttons directly to the A button. This configuration allows you to rest three separate fingers on fire inputs. Cycling through these inputs rapidly maximizes your fire rate without compromising your steering grip.
Flight Mechanics Under Pressure
The difficulty scaling heavily penalizes sloppy navigation. Operating on the Expert tier alters the physics engine's leniency. Any collision with the environment or an enemy chassis results in instant wing destruction.
A broken wing forces the Arwing to drift wildly, ruining the tight targeting required for high-score thresholds. Furthermore, taking physical damage intercepts your upgrade economy. The next laser upgrade item you collect will default to a wing repair kit instead of enhancing your primary weapon. Losing your twin or blue lasers mid-run guarantees you will fall short of the required hit counts. Prioritize clean flight paths over chasing a risky, isolated target.
Ally Preservation
Several high-tier tasks dictate that you reach score thresholds without inflicting friendly fire on Peppy, Slippy, or Falco. Your wingmen frequently cross your line of sight during chaotic dogfights.
Rely exclusively on lock-on charged shots to isolate enemy formations. Spraying free-fire lasers creates a wide damage cone that easily clips an ally passing through the foreground. The charged shot's splash damage eliminates enemy clusters cleanly while allowing you to maintain strict control over your firing angles.
The Reward Economy
Completing these challenges directly feeds into the multiplayer customization systems. Clearing specific milestones unlocks classic Character Avatars and AR Accessories utilized in Game Chat, provided you have a compatible USB camera connected to the hardware. While the Star Fox and Star Wolf rosters are available by default, the legacy characters require deep progression into this mode.
The progression also fuels the Battle Banner system featured in the online Battle Mode. The challenges hold the keys to 61 distinct backgrounds and 79 specific emblems. Securing these cosmetics serves as the primary visual indicator of your mechanical proficiency in the multiplayer lobbies.
Meteo
Sector Y
Aquas
Katina
Fichina
Zoness
Solar
Sector X
Sector Z
Macbeth
Titania
Area 6
Bolse
Venom
Venom 2