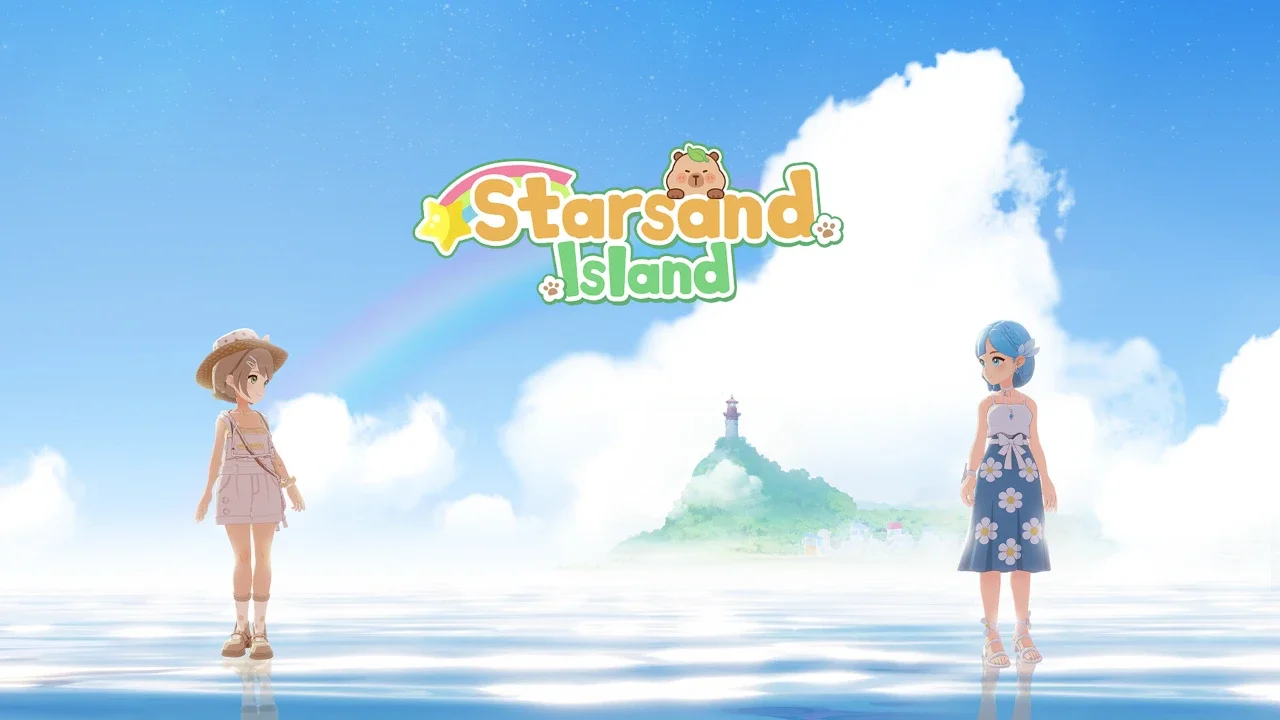
Starsand Island Profession Guide: Mentors, Skills & Tools
You didn't actually think island life was just going to be sipping coconuts and staring at the sunset, did you?
The reality of Starsand Island is a lot more like actual labor than the cute art style suggests. You land, you get a shack, and suddenly you have five different career paths staring you in the face. It is overwhelming. The game throws terms like "Workpedia" and "Certificates" at you without really explaining why you should care, or more importantly, which ones you should prioritize so you don't starve.
I have spent enough time grinding through these menus to tell you that not all jobs are created equal. Some will make you rich, and others are just a great way to waste your day. This guide cuts through the noise. I’m going to show you who to talk to, the exact order you should tackle these jobs, and the raw materials you need to stop using that pathetic wooden axe.
The Five Pillars of Employment
There are five core professions in the game. You don't pick one class and stick to it like World of Warcraft. You are expected to be a jack-of-all-trades here. Eventually, you will need to master all of them because the resources feed into each other. You can't cook high-level meals (Farming) without the right stove (Crafting), and you can't build the stove without ore (Exploration).
Here is the roster:
Crafting: Making stuff. Furniture, processors, storage. This is the backbone of the game.
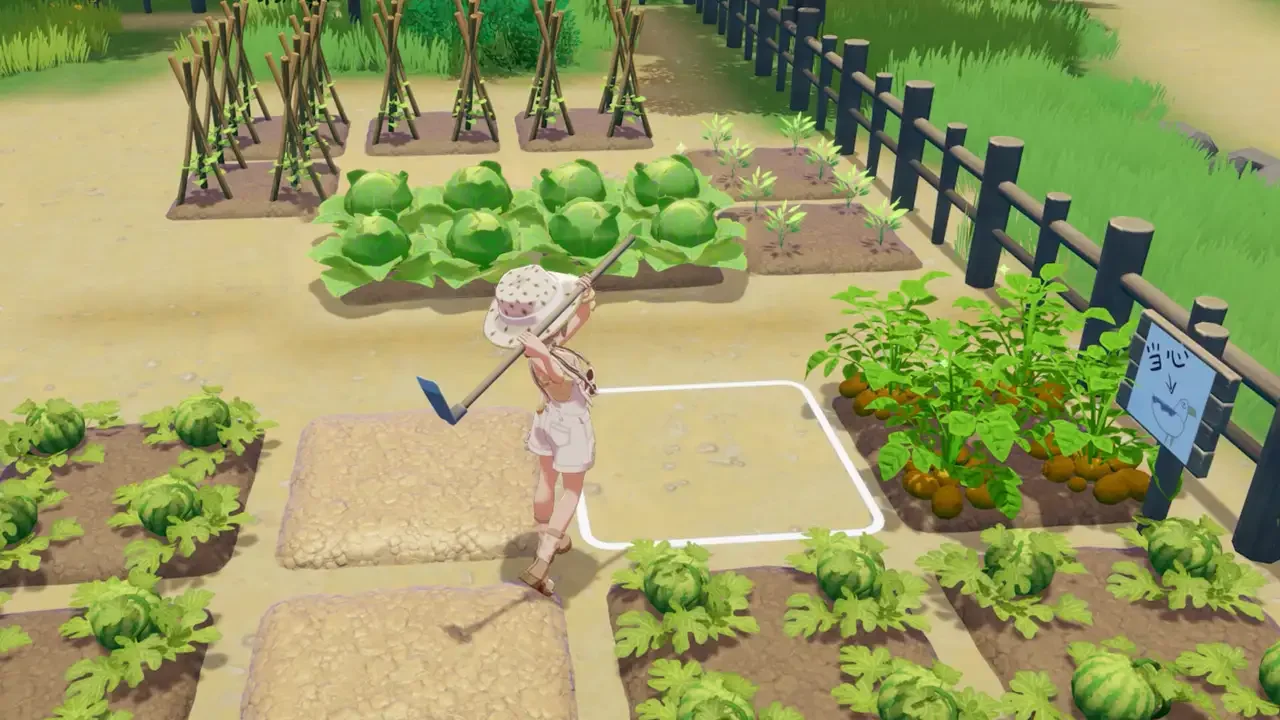
Farming: Tilling soil, planting seeds, and praying for rain.
Fishing: Standing by water and waiting. Good money, low stress.
Ranching: Raising animals. High maintenance, but cute.
Exploration: Combat and mining in the Moonlit Forest.
Tracking Down Your Mentors
The game likes to hide these NPCs from you. You can’t just start a job. You have to go kiss the ring of the local expert first.
If you are lost, open your map (press M), look at the left side list, and click Mentors. Select the person you need and hit "Track". A waypoint will pop up to guide you to them. Do not wander around aimlessly hoping to bump into them. It takes too long.
The Golden Order of Operations
You can technically do these in any order, but if you do that, you are making your life harder than it needs to be. I played through the early game the hard way so you don't have to. Here is the hierarchy of needs.
1. Crafting (The Absolute Must)
Mentor: Zerine (General Store)
Do this first. Do not pass Go. Do not collect $200. Crafting is the bottleneck for everything else. You need to upgrade your tools to mine better ore, and you need to craft storage boxes because your backpack space is laughable. Go see Zerine immediately. She will start you off with the basics like the Skateboard and the Furnace. If you ignore crafting, you will be stuck with basic tools forever.
2. Farming (The Money Maker)
Mentor: Graminova (Happiness Seed Shop)
Once you can build basic tools, go see Graminova. Farming is passive income. You plant the seeds, water them, and walk away. It is the most efficient way to keep cash flowing while you are off doing other things. Plus, you need food to restore stamina so you don't pass out at 2 PM.
3. Fishing (The Cash Cow)
Mentor: Francis (AquaBlue Outpost)
Fishing is your active income. If you need quick cash to buy a blueprint, go catch a few fish. It is boring, but it pays the bills. Francis hangs out by the coast.
4. Ranching (The Money Pit)
Mentor: Pastelle (Green Pasture Ranch)
Save this for later. Animals are expensive to buy and they require daily attention. If you don't have your farming and crafting set up to provide feed and shelter, your animals are just going to be a drain on your resources.
5. Exploration (The Combat)
Mentor: Zephyria (Exploration Club)
You can't really do this until you have a weapon. Zephyria will give you a Slingshot, which is essentially a toy, but it works. You need to do this to get ore for crafting, but don't prioritize the combat aspect until you have better food to heal yourself.
Understanding Workpedia and Skills
This is the menu you probably ignored. Open your phone and look for the Workpedia app.
As you do things (chop trees, water crops), you earn Starsand Points. You spend these points here to buy perks. Some of these are useless, but a few are game-changers.
Get these immediately:
Recuperate (Apprentice Crafter): This increases stamina recovery when you sit down. You can craft a Stump Stool, sit on it, and watch your energy bar fill up. It saves you a fortune on food.
Effortless Tilling (Apprentice Farmer): Reduces the stamina cost of using the hoe. You will be doing a lot of tilling. This pays for itself in day one.
The Tools of the Trade
You can't build a house with a twig. You need to upgrade your tools to progress. Upgrades act as gatekeepers to new areas and resources. For example, the basic pickaxe bounces off high-level rocks.
You get the blueprints for these upgrades by leveling up your profession and buying them from the respective mentor's shop.
Why You Need to Upgrade Now
I know what you are thinking. "Why do I need an Electric Drill when my pickaxe works fine?"
Because time is money. The basic tools take multiple hits to break resources and drain your stamina bar like a leak in a gas tank. The higher-tier tools, especially once you get to the electric stuff, clear resources instantly.
Also, some resources are literally invincible against low-tier tools. You can whack a high-level rock with a stone pickaxe all day and nothing will happen except you passing out from exhaustion.
What’s Next?
Now that you know how to work, you need to know what to build. I have compiled a database of every blueprint in the game, including the ones hidden in the Moonlit Forest. Check out our Starsand Island Blueprint Database to find out where to get the specific furniture or machine you are looking for.