Starship Troopers Guide: Every Secret Module Location
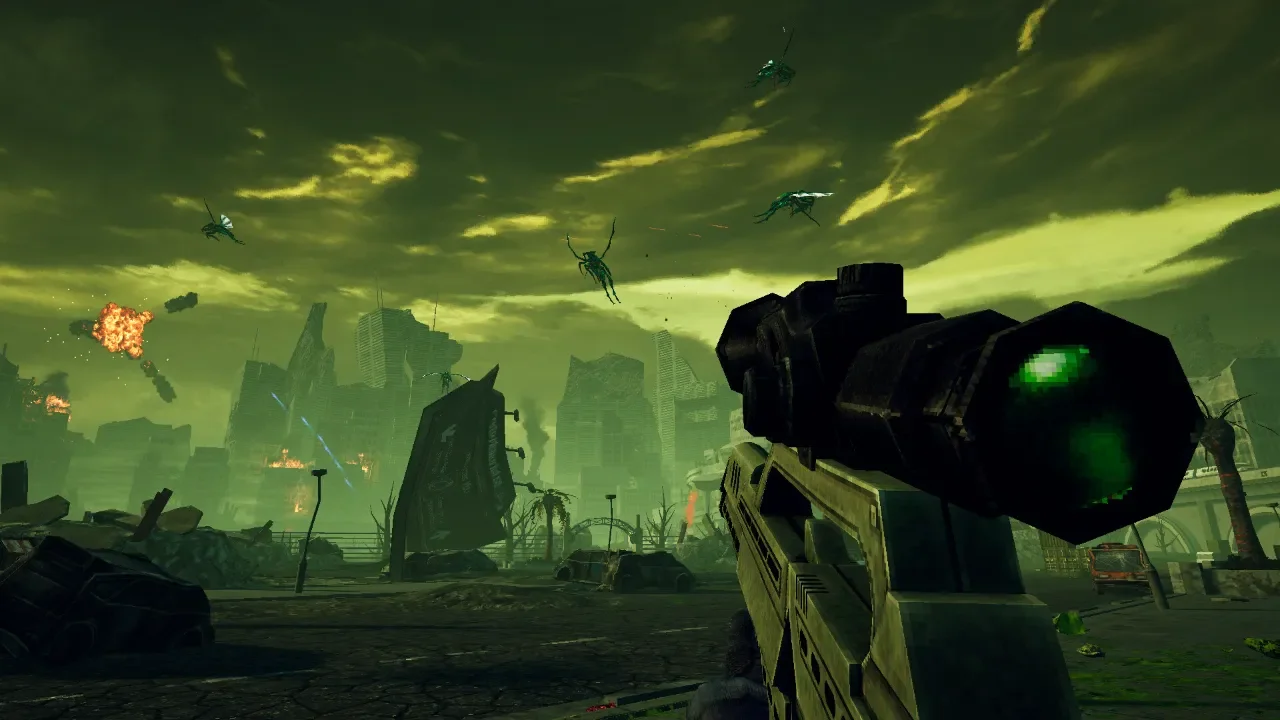
The combat in Starship Troopers: Ultimate Bug War is frantic, chaotic, and generally involves holding down the trigger until the chittering finally stops.
If you ignore the objective markers for a few minutes and explore the absolute most dangerous corners of the map, you will find secret modules scattered in the dirt. These items act as brutal gameplay modifiers that completely change how a mission plays out. Some grant you infinite ammo to turn you into a walking god, while others actively punish you by draining your health or turning all your allies against you.
I found most of these myself while aggressively clearing out arachnid nests, but I have to give a massive shoutout to Steam community member LadyRavenFire for pointing out the few I missed. Her guide was an absolute lifesaver for tracking down the final elusive items. The maps are massive, and keeping an eye out for yellow flags or dead ends is crucial. Here is exactly where you need to look to break the rules of engagement.
Basic Training And The First Drop
You do not even have to leave the safety of the tutorial to start messing with the game engine. Camp Keitel hides two incredibly potent modifiers right under the noses of your commanding officers.
Camp Keitel
Basic training is supposed to teach you how to shoot, but it actually teaches you how to parkour into forbidden zones.
Look to the right side of the obstacle course. Tucked away in a small nook right behind the barriers, you will find a box holding the One-Hit Kill module. Picking this up enables a terrifying death modifier where a single scratch will send you to the grave. If you prefer aerial superiority over sudden death, look for the tall tower positioned to the left of the obstacle course finish line. You will need to climb onto a nearby tent and execute a running jump to reach the top. Grabbing the item up here unlocks the Low Gravity modifier.
Klendathu Drop
This is where the real war begins, and the game hides some fantastic visual modifiers in the trenches.
After you wipe out the very first group of bugs, climb the hill directly in front of you. Hug the right edge of the map until you stumble into a cave. You will usually see a yellow flag marking the general vicinity of these secrets. The module hidden inside this cave aggressively dials up the gore. It is a messy, beautiful addition that makes every kill feel significantly heavier.
Later in the mission, you will complete your first three objectives and get sent down into the tunnel system. The tunnels are a claustrophobic nightmare. You are looking for a specific fork in the path marked with red flares. Instinct tells you to follow the light, but you need to take the unmarked path turning away from the flare. Follow this dead end to a cluster of dead soldiers. You will find a secret module that blankets the area in a dense, atmospheric fog.
Outposts And Power Plants
By the time you hit the mid-game missions, the secrets start actively altering your survival mechanics. Z-Day and Shock and War hold some of the most frustrating and rewarding items in the entire campaign.
Z-Day
This mission is packed with high value secrets, including one that completely breaks the ammo economy.
When you reach the absolute center of the Sierra outpost, climb the main central tower. You will find a unique laser rifle sitting up there. Picking it up immediately pops a shiny achievement and gives you a fantastic weapon.
Next, you need to head toward the pool area where you gather explosives to blow up the anti-air bug defenses. Look for a small resort building right next to the water and climb onto the roof. This module activates a masochistic modifier that causes you to take physical damage every single time you jump. I have no idea why you would subject yourself to this, but it exists.
The best secret in Z-Day is hidden near the water. Stand at the Sierra outpost and look out toward the shoreline. On the left side, there is a tiny nook. Wade directly into the water to find a module that automatically gives you a fresh weapon the exact second you run out of ammo. It completely disables manual ammo pickups, meaning you never have to stop shooting.
Shock and War
The power plant holds two secrets located right next to each other, but they drastically alter your combat experience.
Face the main entrance to the power plant and head to the left of the door. This module triggers a state of total chaos where every single entity on the map is at war with everyone else. It is a brilliant way to sit back and watch the bugs tear each other apart.
If you walk to the right side of the power plant entrance, you will find a much crueler modifier. Walk up the right staircase and carefully jump over to an adjacent rock. Grabbing this secret completely disables your medkits. If you take a hit, that damage is permanent.
The Weird And The Wonderful
The later missions embrace the sheer absurdity of the setting. If you want to inject some ridiculous humor into the grim reality of a bug invasion, you need to hunt down these specific items.
Aftermath
Head straight to the stadium and approach Gate C on the right side. Wait for a bug to physically break through the gate, kill it, and step inside the breach. You will see a glowing golden door. Walk right into it, and you will be teleported to a secret room containing the Birthday module. This replaces all in-game blood with festive confetti. It is easily the greatest visual upgrade in the entire game.
Near the main bridge objective, look for a destroyed house on the left side. Climb up to the second floor to find the UF module. This massively increases the knockback effect whenever you strike an enemy, sending them flying across the map like baseballs.
Kick the Nest
You are going to need some serious aerial mobility to reach the first secret here. Just before you hit the bridge marker, look for a red flare sitting next to a zipline. Ride the zipline down. Keep walking straight until you spot a second zipline passing directly overhead at a sharp ninety degree angle. Ride that second line to the left, which dumps you into a ruined house. Check the far end near the smoke for a module that causes every single enemy to drop a live grenade when they die.
Right before you enter the final HQ arena, stop your approach. Do not walk inside. Instead, walk around the right side of the exterior building. You will find a module sitting on the corner that grants Vampirism. Every kill you secure will actively heal you, making you incredibly tanky during massive swarms.
End Game Modifiers
The final set of secrets includes massive nods to classic cheat codes and modifiers that will actively try to ruin your speedruns.
Back to P
The moment the mission starts, do a complete turnaround. Walk toward the cliff located directly behind your drop pods and look over the edge. You will find a module that permanently increases your sprint speed.
Proceed to the Plasmabugs objective and look at the massive digging machine parked nearby. Jump onto the front tread to find the Ticking Bomb module. This causes your health to constantly and unstoppably drain. You have to play aggressively and fast to survive this modifier.
Lone Assassin
Head to the Solar Station, turn left, and cross the bridge. Climb up to the high ground. You will spot a violin sitting near a dome shaped tent and a sun lounger. It acts as a medkit, meaning you must have less than full health to actually pick it up and trigger the associated achievement.
Right in the center of the Solar Station, climb up onto the exposed pipes. This module instantly turns all of your friendly allies into hostile enemies. It turns a cooperative mission into an absolute bloodbath.
Finally, after you kill the assassin bug and enter the final cave, immediately hug the left wall. Keep walking along the rock face until you hit a raised platform. Climb up to grab the module that gives every single bug in the game a hilariously oversized head.
Finding these modules completely revitalizes the gameplay loop. Go grab the confetti modifier, turn on the big head mode, and start exterminating.