Every Killer in Welcome to the Game III, and How to Actually Survive Them
Eight killers roam one motel complex in Welcome to the Game III, and half the battle is knowing which ones are a single rule away from a non-issue and which ones need an actual defense system.
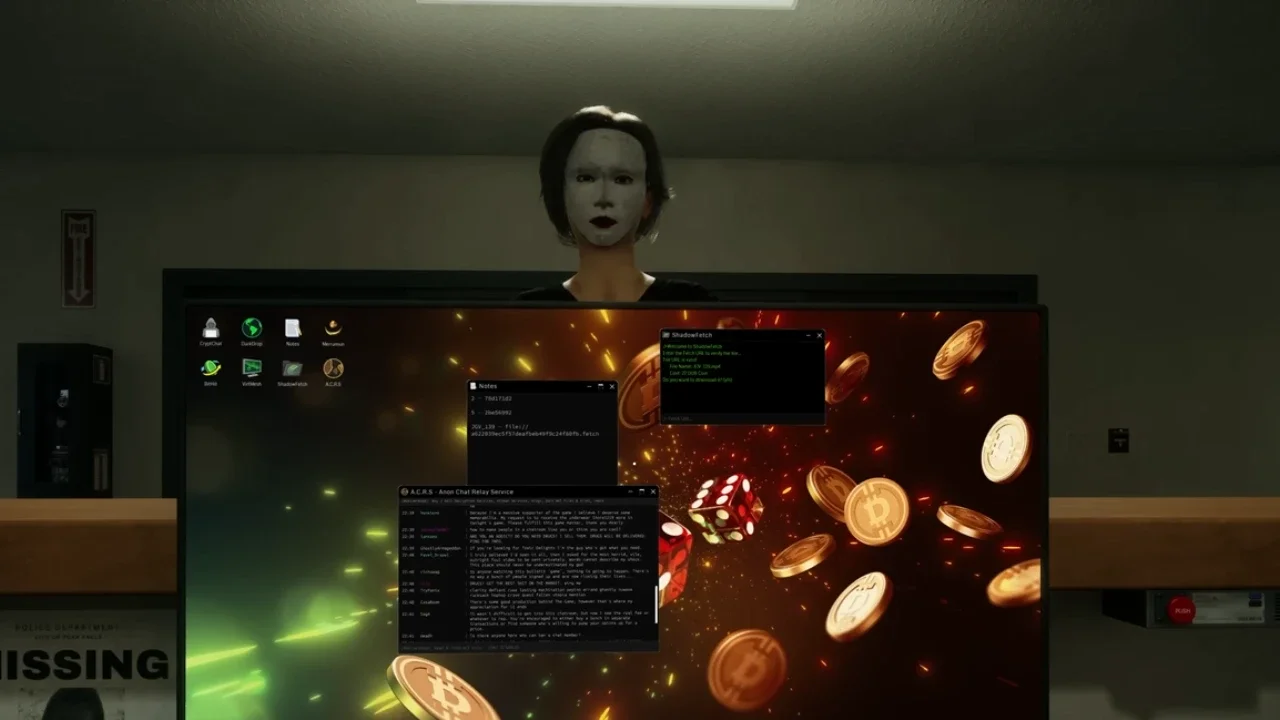
Killers don't start hunting the moment you load in. On normal mode, that begins at 9:30pm, so the first hour is prep time, not survival time. Spend it wrong and you'll hit the witching hour with no gear and no plan, which is how runs unravel in the first twenty minutes.
The economy loop worth running early: mine on VirtMesh for cash, buy surveillance gear through DarkDrop, and clear requests on A.C.R.S to build Rep and income. ShadowFetch turns URLs into MP4s for those requests, and pinging a user on the channel before the half-hour reset locks their request in instead of losing it. Everything else on this list, from motion sensors to meth baggies, gets paid for out of this loop.
One rule to bake in from minute one regardless of which killer's active: switch the computer off before heading outside or whenever you know something's coming. Leave it running and Lucas will steal your DOS coins if he shows, on top of making you generally easier to catch.
The Killers You Beat by Just Not Doing the Thing
Two threats in this game barely qualify as threats. Their entire mechanic is a single trigger you can choose not to pull.
The Bomb Maker only exists if you visit his website. He doesn't even spawn in every save, and the mechanic is a direct callback to the Dollmaker gag from Welcome to the Game 2, click the wrong link, get a countdown on screen. If you do trigger him, CryptChat gets you the disarm code straight from him, and you've got 90 seconds to find and defuse the bomb. But the real strategy is just never opening that site. There's nothing behind it worth the risk.
The Kidnapper parks a white van in the lot and grabs Simon the second you walk outside through either door while it's visible. That's the whole rule: van there, doors stay shut. The one wrinkle is what happens during a power or internet outage, when you're forced to wait him out. Sit inside too long and Noir's spawn odds climb, since fixing power means killing the lights. That's a real tradeoff, not free waiting, so don't treat holding position as a zero-cost option.
The Killers Tied to a Specific Job You Have to Do
Two more killers only show up because the game requires you to go do something risky, picking up supplies or fixing infrastructure, and punishes doing it carelessly.
The Breather has been stalking delivery points since the first game and shows up in Dead Signal too. Here he's scripted to the DarkDrop pickup under the lit bridge on the far left edge of the map. Grab a package with anything less than a full stamina bar and you're gambling with a chase that was always going to happen. Fill up first, then when he gives chase, sprint straight back to the motel. Reaching the parking lot ends it.
Tucker targets you specifically while you're out back on router duty, often catching you mid-animation during the unplug. Rustling leaves means he's near, so freeze completely the instant you hear it. A second rustle is your all-clear. There's a second version of this encounter too: music playing from a speaker outside means you need to find the motel room marked with an Ace of Spades card, get inside, and lock the door. A triumphant tune confirms he's gone. Mixing the two responses up, freezing when you should be finding the marked room, is the fastest way to get caught.
The Killer You Manage Through Inventory, Not Hiding
Cletus doesn't work like anything else on this list. He's harmless as long as you're carrying his supply, and lethal the second you're not, which turns him into a resource problem instead of a stealth one.
Restocking means checking dealers on A.C.R.S, clicking a username to see their Rep, pinging them for a Dealer ID, and feeding that ID into DAREdash to actually buy. That ID resets every save, so there's no shortcut on repeat runs. The habit that actually matters: carry exactly one baggie, never more. Cletus takes your entire stash if he catches you short, so stockpiling just means a bigger loss whenever he shows up. One baggie keeps him satisfied and keeps your replacement cost low.
The Killer Whose Danger Scales With Your Lighting Choices
Noir is a recurring pair from Dead Signal and earlier Reflect Studios games, and their spawn rate rises the longer your lights stay off, which makes power outages more dangerous than they look at first.
Your counter depends on where they're standing. Man on your left outside means shine a light and look away for five seconds. Swap in the woman and that stretches to ten. Always confirm they've actually left before moving again. Caught at the terminal with one right in front of you, look away and wait for the whisper sound, that's your cue they're leaving. Fixing power outages quickly isn't just about restoring the lights, it's cutting off Noir's spawn window at the same time.
The Two Killers That Need an Actual Defense System
Everything above this point gets solved with a rule or a habit. These two need infrastructure.
Tanner attacks from multiple angles, inside motel rooms and by vaulting the counter in the main building, and he's not something you out-hide. There's a panic button beside the computer terminal that kills the automatic doors temporarily, timed well and he crashes into the glass instead of reaching you. Lean on it too much though and you'll trigger network issues that force you back outside, trading one problem for a worse one. The sturdier setup is motion sensors on the pillars near the parking lot's edge by the road. Check the sensor icon on the taskbar and save the panic button for when the FRONT_OUTER_LOT feed actually shows movement. Cameras catch him too, just slower. Lock motel doors behind you every time, and check the peephole before leaving a room, spotting him through it confirms he's on cooldown and buys a window to handle something else.
Lucas has shown up in every entry since the second game, and he's the most consistent threat across the series. He gets in through back doors, including the Electrical Room if it's been left unlocked, so keeping every back door locked and only cracking one open when you genuinely need to fix internet or power, then relocking it right after, removes most of his danger before it starts. He gives off a subtle sound cue the moment he unlocks a door. That's your signal to move, either the lockers right of the terminal or the laundry basket on the far left. Hiding triggers a minigame, hold and release to keep a ring balanced between two moving rings, and it won't drain until he's actually gone. Turn the computer off the second you hear him coming or he'll steal your DOS coins off it. For earlier warning, two motion sensors in the ALLEY behind the main building buy enough time to kill the lights and get hidden before he's inside. Skip the relock after fixing a door and he skips his own audio cue too, which is the version of this encounter nobody wants.
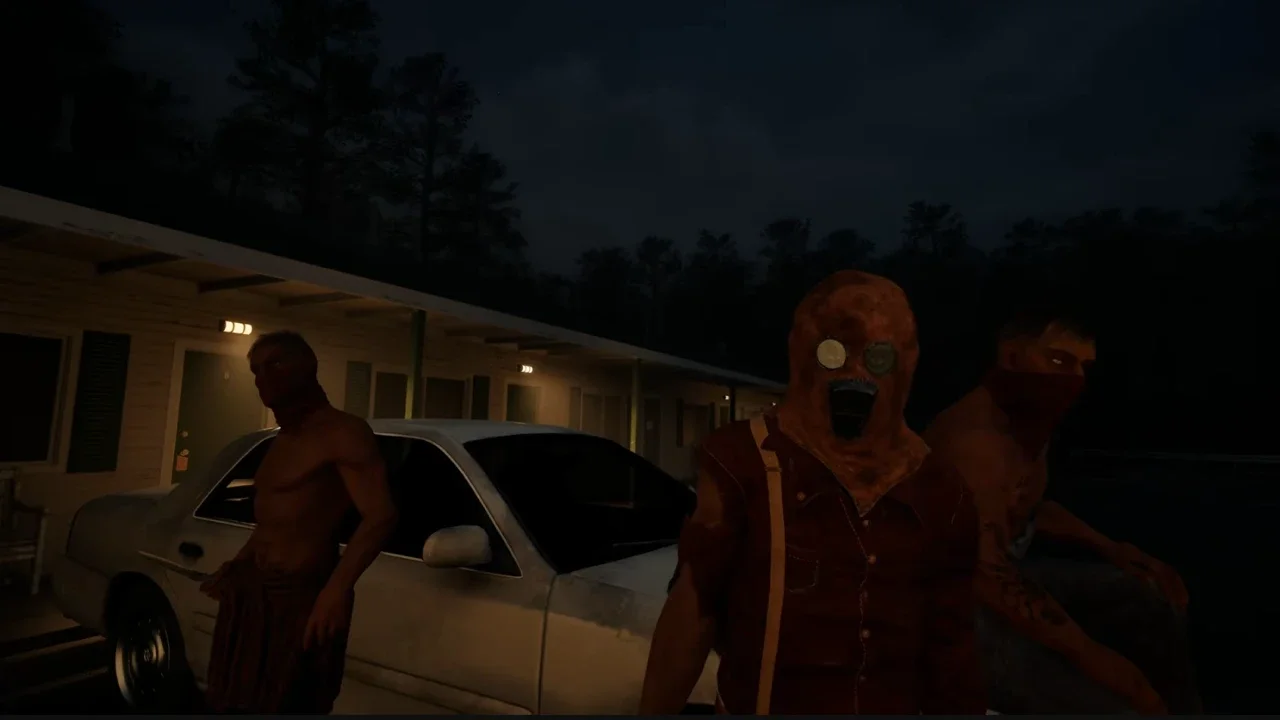
Quick Reference Table
Putting the Whole Routine Together
None of these killers exist in a vacuum, and the prep hour is where you decide how much overlap you're dealing with later. Lock the back doors immediately. Dim two or three lights for Lucas's hiding trigger, which also happens to help mask you from Noir depending on timing. Get sensors up in the ALLEY and on the lot pillars before 9:30 hits. Carry one baggie for Cletus from the jump. Check for the van before every single door you open.
The runs that fall apart usually aren't the ones where Tanner or Lucas catches you head on. They're the ones where Cletus runs dry because you got distracted, or the Kidnapper's van shows up right as you're mid-outage and stuck choosing between Noir and a longer wait. Build the supply check and the van check into your muscle memory before you touch a door, and the rest of this roster becomes a lot more manageable.