Assassin's Creed Black Flag Resynced Guide: How to Sink Every Legendary Ship
Surviving the six endgame naval bosses requires mechanical discipline rather than just holding down the fire button.
The encounters function like classic arcade boss fights, prioritizing strict pattern recognition over pure attrition. The base Jackdaw lacks the defensive tools to survive the high damage output of these encounters. You must recruit all three naval officers to fundamentally alter your combat capabilities.
Tobias Smith provides an extra salvo of cannonballs. This allows you to deal heavy burst damage during the brief windows when an enemy vessel misses an attack. Lucy Baldwin unlocks a perfect brace. This completely negates incoming damage when you inevitably get caught inside a mortar blast radius. Finally, The Padre grants the ram dash attack. This serves as your primary gap closer against targets that constantly try to kite you outside of standard cannon range. I strongly advise completing the side content to secure these officers first.
Most of these encounters are repeatable. Except for the story restricted HMS Ipswich, the legendary bosses respawn over time. If a ship icon fails to appear on the map, sail to the exact coordinates and fast travel to a different port. This action forces the world state to refresh and spawns your target.
Legendary Ship Locations And Combat Styles
Single Ship Boss Fights
Taking on a single massive Man O' War requires patience and a strict adherence to their specific combat loops.
La Dama Negra
Operating in the southwestern corner, this vessel relies entirely on sustained mortar fire and heavily armored flanks. Chipping away at its port or starboard sides yields minimal results and wastes your heavy shot. You have to exploit the exposed bow and stern. Stay directly behind the ship to neutralize its mortar trajectory advantage. Repeatedly strike the stern with your bow chasers to maintain pressure. When the ship halts to launch a mortar strike, drop your own mortars directly onto its deck. Keep your perfect brace active while your cannons reload to absorb any retaliatory fire.
El Impoluto
This northwestern target relies on aggressive ramming maneuvers. The ship will collide with you, sail in a wide arc just outside standard cannon range, and then initiate another charge. Surviving this loop requires mirroring the exact movement pattern. Hoist your sails and turn sharply away at the last possible second to avoid the initial ram. Once parallel, fire your broadside cannons. When it loops around for another charge, activate your own ram dash to meet it head on. Fire your mortars while it turns out of range, and depend heavily on the perfect brace to survive the close quarters impacts.
HMS Prince
The environment dictates the terms of this battle in the southeast. A dense fog bank obscures the arena, requiring you to mark the HMS Prince with your spyglass immediately. The UI marker tracks the target even when visibility drops to zero, giving you a critical navigation point. The encounter splits into three distinct phases. Between each health segment, the ship accelerates out of view and blankets your position with blind mortar fire. Do not attempt to chase it through the fog. Hoist your sails to limit your forward momentum and sail in wide circles to avoid the yellow mortar indicators on the water. When the ship finally reenters visual range, execute a head on ram dash and unload your burning shot.
The Twin Terrors And The Endgame Boss
The final two encounters discard the standard rules of engagement entirely.
HMS Fearless and Royal Sovereign
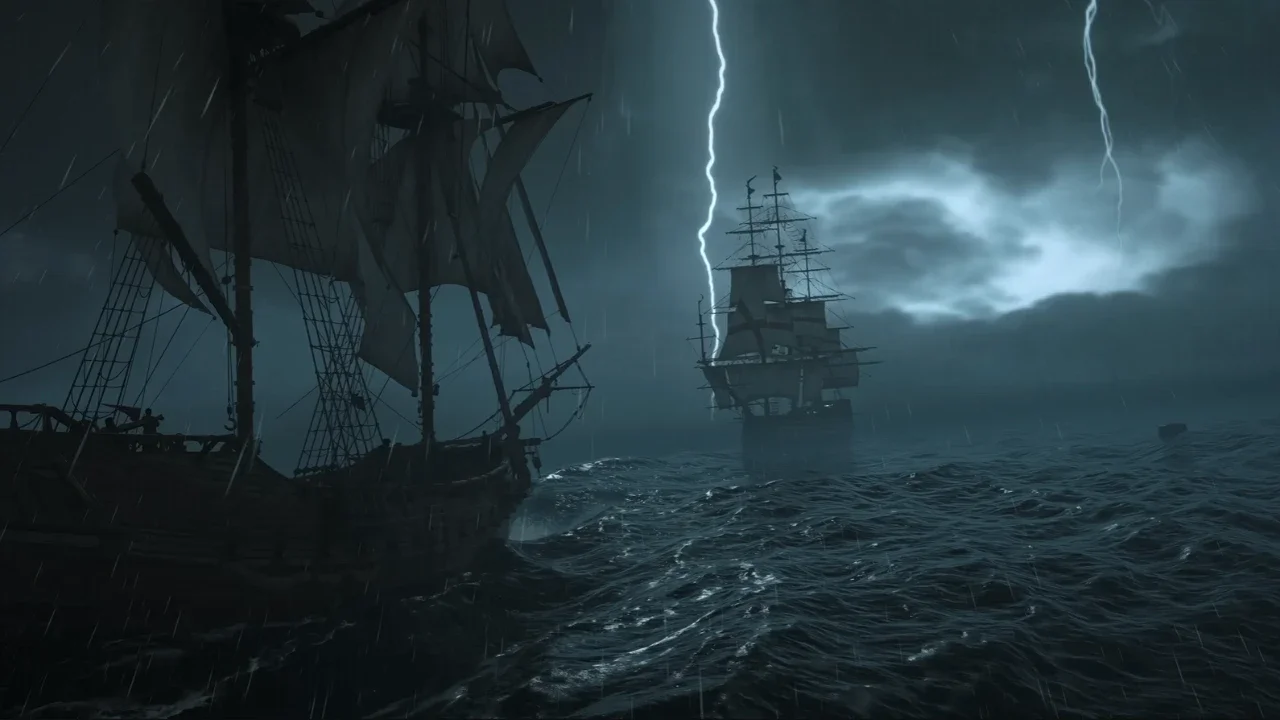
This northeastern encounter pits you against two ships simultaneously. One vessel features black sails, the other white. The only rule that matters is maintaining proper positioning. If you sail between the two ships, their synchronized broadsides will instantly destroy the Jackdaw.
Their attack patterns are entirely scripted. They sail parallel to each other before executing a sharp turn toward your position. Drop a mortar strike during this turn, follow up with a ram dash against the nearest hull, and fire at their sterns as they disengage. You must balance your damage output evenly across both targets. If you sink one while the other retains full health, the survivor ignites itself and repeatedly rams you with elevated speed. Keep their health bars identical to prevent this rage state. You cannot board either ship to repair mid combat.
HMS Ipswich
The Resynced edition introduces this final encounter during the A World Without Gold endgame chapter in Sequence 11. You won't find this ship roaming the open map. Similar to La Dama Negra, the HMS Ipswich features impenetrable side armor. Standard broadside exchanges just waste your ammunition.
The optimal method relies on forced errors. Position the Jackdaw directly behind the target to avoid its broadsides and brace against any incoming mortar fire. Wait patiently for the enemy to deploy fire barrels into your path. As soon as the barrels hit the water, target them with your swivel gun and detonate them while they are still resting against the enemy hull. The resulting blast bypasses the armor and deals quite a bit of structural damage. Maintain this defensive loop until the ship sinks.
Spoils Of The Sea
Dismantling these ships provides substantial material rewards. Sinking the original five vessels unlocks the Devil of the Caribbean achievement. In the classic release, this milestone granted the charge ram ability. That specific upgrade is now tied entirely to The Padre officer quest, so expect a different payout here.
Each classic Legendary Ship you sink yields 12,000 Reales and unlocks unique cosmetic parts for the Jackdaw, including specific wheels, hulls, sails, and figureheads. The story restricted HMS Ipswich does not offer a large currency payout, but sinking it adds the exclusive HMS Ipswich Ship Model to your collection.