ARC Raiders Firefly Guide: How to Kill the Flying Flamethrower and get the burner
If you thought the standard ARC Hornets were annoying, the Shrouded Sky update just introduced their much angrier, heavily armored cousin.
Progressing the final stage of the new Weather Monitor System Project requires a specific piece of salvage called the Firefly Burner. To get it, you have to hunt down the Firefly, an airborne menace that trades the standard electric shock attack for a literal flamethrower. If you get caught out of cover when this thing swoops in, you will be roasted alive in seconds.
While learning how to kill the Comet requires you to deal with a massive deadline on wheels, the Firefly requires precision and anti-air tactics. Here is exactly where you can find the Firefly, the loadout you need to shoot it down, and the weak points you need to target.
Where to Find the Firefly
Unlike the Comet, which is restricted to outdoor maps, the Firefly can spawn absolutely anywhere in the game. It shares the same spawn logic and patrol routes as the standard Wasps and Hornets.
The Spawn Rules: Fireflies rocket down from orbit and immediately join existing airborne patrols. Because they share the standard Wasp spawn pool, they can even spawn inside Stella Montis. Look for them in the larger, more open caverns like the Loading Bay or the Lobby.
The Best Locations: If you want to farm them quickly, load into the Dam Battlegrounds map. The airspace around the Hydroponic Dome Complex and the open swamp areas are completely infested with flying ARCs.
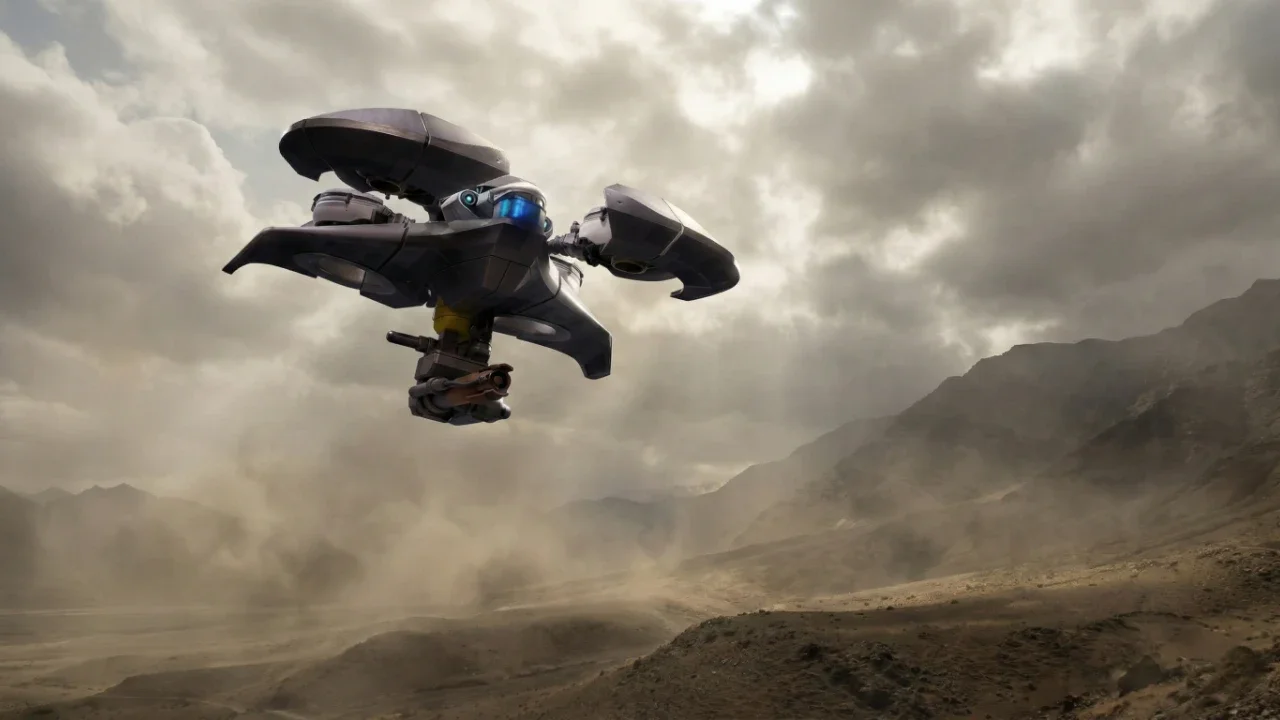
Visually, they look very similar to a Hornet, but they have a pointier, jet-fighter silhouette and a distinct metal armor plate on top that makes them look like they are wearing a tiny hat. If you are unsure what is flying above you, just ping it to check the tag.
How to Kill the Firefly (And Exploit Its Weakness)
The Firefly is heavily armored, making it significantly harder to kill than a standard drone. If you just spray bullets wildly at its chassis, it will close the distance and melt your shield.
The Required Loadout
You need a weapon that hits hard enough to strip the armor plating quickly.
Primary Weapons: The Anvil is arguably the best weapon for this specific fight due to its sustained, heavy damage. The Ferro also works perfectly as a designated anti-air gun. If you need help stabilizing these guns, check my Weapon Attachment Guide.
Explosives: If you want a cheap, dirty, and highly effective solution, just throw a Seeker Grenade at it. Seekers absolutely decimate flying ARC enemies and will usually knock the Firefly out of the sky instantly. For more details on explosive loadouts, read my Complete Grenade Guide.
Extracting the Burner
Unlike the frustrating bug associated with the Comet Igniter, looting the Firefly is straightforward. As long as you destroy the machine (whether by shooting the rotors or exploding the fuel tank), it will drop a lootable husk.
The drop rate for the Firefly Burner is incredibly high, dropping almost every single time you kill one. Grab the Burner, check your surroundings for fake-friendly raiders who might have heard the explosion, and head to the extraction zone to finish your Weather Monitor project.