Battlefield 6 Helicopter Guide: How to Fly Without Immediately Exploding
So you wanna take to the skies, huh? This guide is your ticket out of the mud and into the rotor-blade rumble of Battlefield 6. We’ll cover everything from clumsy first flights to basic air maneuvers and how not to become a flaming lawn dart.
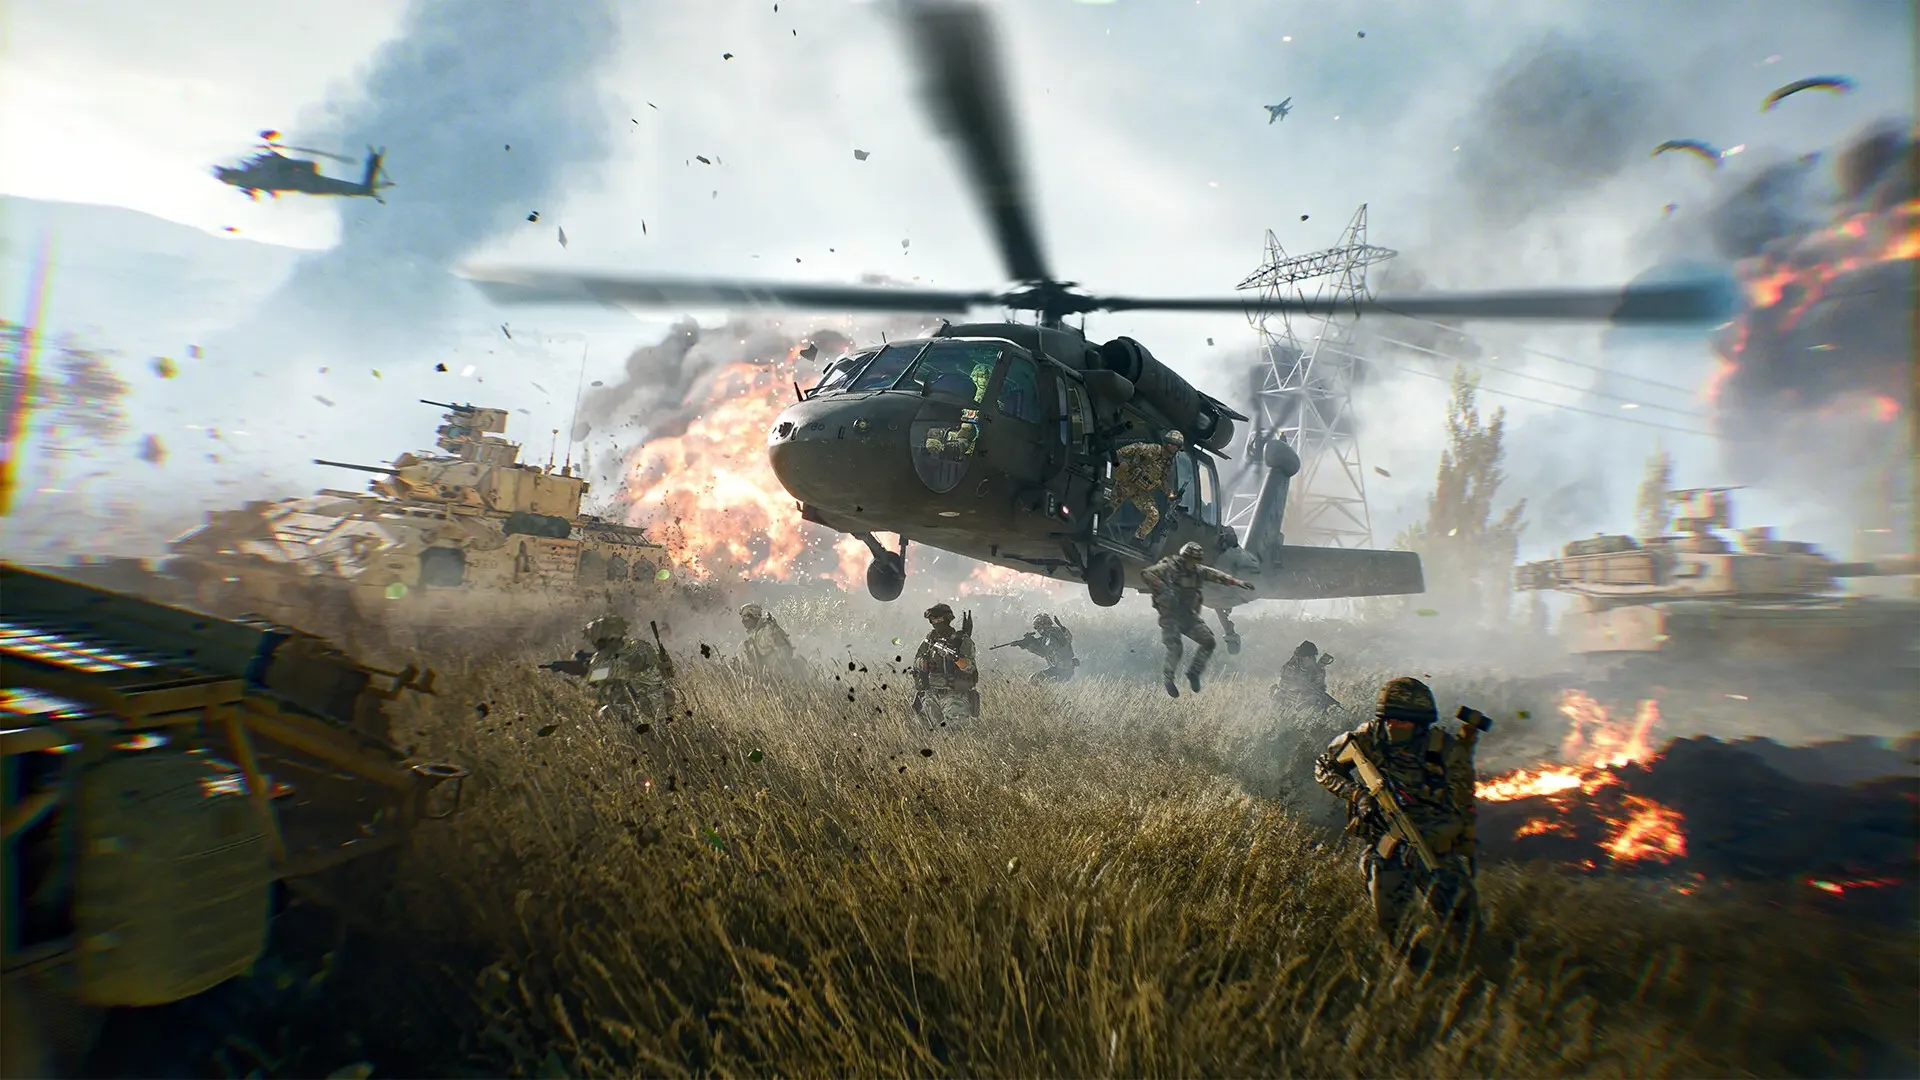
Welcome, Pilot. Let's be honest: flying a helicopter in Battlefield 6 can feel like wrestling a metal dragonfly in a hurricane. You're a massive, noisy target, and every soldier on the ground with a rocket launcher has your name on it. This guide isn't for the aces already doing impossible aerial ballets. This is for the rest of us: the ground-pounders who want to be useful in the air, not just a taxi service that explodes on arrival.
The controls are twitchy, the maps feel small, and you're a 360-degree target for everything from tanks to snipers. But that's also what makes it so damn rewarding when you finally get it right. Let's get you flying.
The Basics: Your Pre-Flight Checklist
Before you even think about lifting off, get these fundamentals down.
Master the Controls (or at Least Don't Fight Them): Spend time in an empty server or the firing range. Get a feel for the sticks. The default controller layout is rough for choppers; I highly recommend switching to the "Alternate" button scheme in the settings. It moves your throttle to the triggers, which feels way more intuitive.
Tweak Your Settings: Your sensitivity and dead zones are crucial. Fine-tune them until the controls feel responsive, not jerky. A smooth pilot is a living pilot.
Camera is Your Best Co-Pilot: The first-person cockpit view is great for precise aiming. The third-person chase cam is essential for situational awareness—seeing that incoming rocket or enemy jet. Get in the habit of switching between them constantly.
Altitude is Armor: The higher you are, the harder you are to hit for ground troops. But it also makes you a prime target for jets. The lower you are (under 30 meters), the harder it is for enemies to get a missile lock. Use terrain like hills and buildings to mask your approach.
That Beep Means Business: Don't ignore the lock-on warning. When you hear that steady "beep," someone is looking at you. When it turns into a frantic "screaming," a missile is in the air. Pop your flares only when you hear the "Incoming" warning, then get behind cover immediately.
The Workhorse: Transport Helicopter Strategy
Your job in a transport chopper isn't to get kills; it's to win the match. Think of yourself as a mobile spawn point, not a gunship.
Keep Moving: A stationary transport helicopter is a free kill. Your strength is your mobility. Drop your squad, and then get out. Circle back, reposition, or go pick up more troops. Never hover in the open.
Pick Smart Drop Zones: Don't land directly on the objective. Drop your team just outside of it, in a position with good cover. A good drop-off gives your team an angle of attack the enemy isn't expecting.
Fly Under the Radar: Stay low. Hugging the terrain makes it harder for enemy jets and anti-air to lock onto you. Approach objectives from the flanks, not in a straight, predictable line from your spawn.
You're a Bus, Not a Fighter Jet: Your door guns are for suppressive fire, not for dogfighting. Your primary role is to get your team where they need to be. Let the attack choppers and jets handle the air-to-air combat.
The Predator: Attack Helicopter Strategy
The attack chopper is a different beast entirely. You are a hunter, a tank-killer, and a high-priority target.
Hit and Run: Your strategy should be surgical strikes. Use terrain to mask your approach, pop up to unleash a volley of rockets on an enemy vehicle, and then immediately duck back into cover. Lingering is a death sentence.
Prioritize Your Targets: Your number one threat is enemy anti-air. Hunt down AA tanks and soldiers with rocket launchers first. Once they're dealt with, you can focus on the enemy armor. Ignoring the AA will get you sent back to the respawn screen in seconds.
Work With Your Gunner: If you have a second player in the gunner seat, communicate. You should focus on piloting and taking out heavy armor, while they shred infantry and light vehicles with the cannon. A coordinated two-person crew is devastating.
Have an Escape Plan: Always know your way out. Before you commit to an attack run, identify a safe retreat path back toward friendly AA or behind a large piece of cover. Don't chase a single kill into a known enemy stronghold.
Your Flight Plan: Game-Round Strategy
Early Game: As the round starts, either fly low and fast to a safe, intermediate objective, or climb high to get a lay of the land. Your first move should be to secure a forward base for your team, giving them a spawn advantage. Don't be a hero and fly straight into the enemy's main objective.
Mid to Late Game: The battlefield is now a chaotic mess. Avoid the central meat grinder. Fly wide around the edges of the map, hitting softer, less-defended objectives to disrupt the enemy's frontline. Use your mobility to reinforce pushes and cut off enemy reinforcements. Your job is to create pressure where they least expect it.
Flying helicopters in Battlefield 6 is a high-skill, high-reward endeavor. It's a brutal learning process, but once it clicks, there's nothing more satisfying than turning the tide of a battle from the sky. For more tips on how to dominate on the ground, check out our general multiplayer guide. Now, get to the choppa!

