Cinderia Character Guide: How To Unlock The Full Roster And Survive
Getting handed a single default character in a tough roguelike is a brutal tradition, but you do not have to suffer through it forever.
Cinderia hides a deeply punishing combat loop underneath its beautiful storybook aesthetic. The game expects you to die repeatedly while learning enemy attack patterns, and it expects you to do it using a single starting character. Having only one playstyle available makes the early hours incredibly repetitive. Thankfully, there are three additional characters hidden within the game world, but the developers decided to lock them behind a mix of random number generation and heavy resource grinding.
The single saving grace here is that you do not have to start from scratch when you swap to a new character in the Shelter. All of your Accessories, Support Skills, and permanent Soulfire Prayer upgrades are completely shared across the entire roster. If you spend hours grinding baseline stats on your starter character, those buffs carry over immediately. You just have to survive long enough to actually find the rest of the cast.
The Exact Unlock Requirements
If you want to access the full roster, you have to actively hunt for specific events during your runs instead of just pushing for the boss room.
Breaking Down The Playstyles
Every character fundamentally alters how you approach combat. If you try to play the slow, methodical parry character exactly like the fast paced starter, you will get obliterated.
Rue: The Default All Rounder
Rue is the character you are forced to learn the game with, and she is surprisingly versatile. She boasts the fastest movement speed in the roster and comes equipped with a reliable five hit melee combo. When you need distance, she can throw knives at a rapid pace.
Her entire kit revolves around an Energy mechanic. Energy restores passively over time and generates quickly when you land hits on enemies. A lot of her skills consume this Energy, and the overall duration or damage output of those skills scales based on how much Energy you currently have banked. She rarely outputs the absolute highest burst damage in the game, but her fast cooldowns and ability to seamlessly swap between close quarters and ranged attacks make her incredibly forgiving when you are learning a new boss pattern.
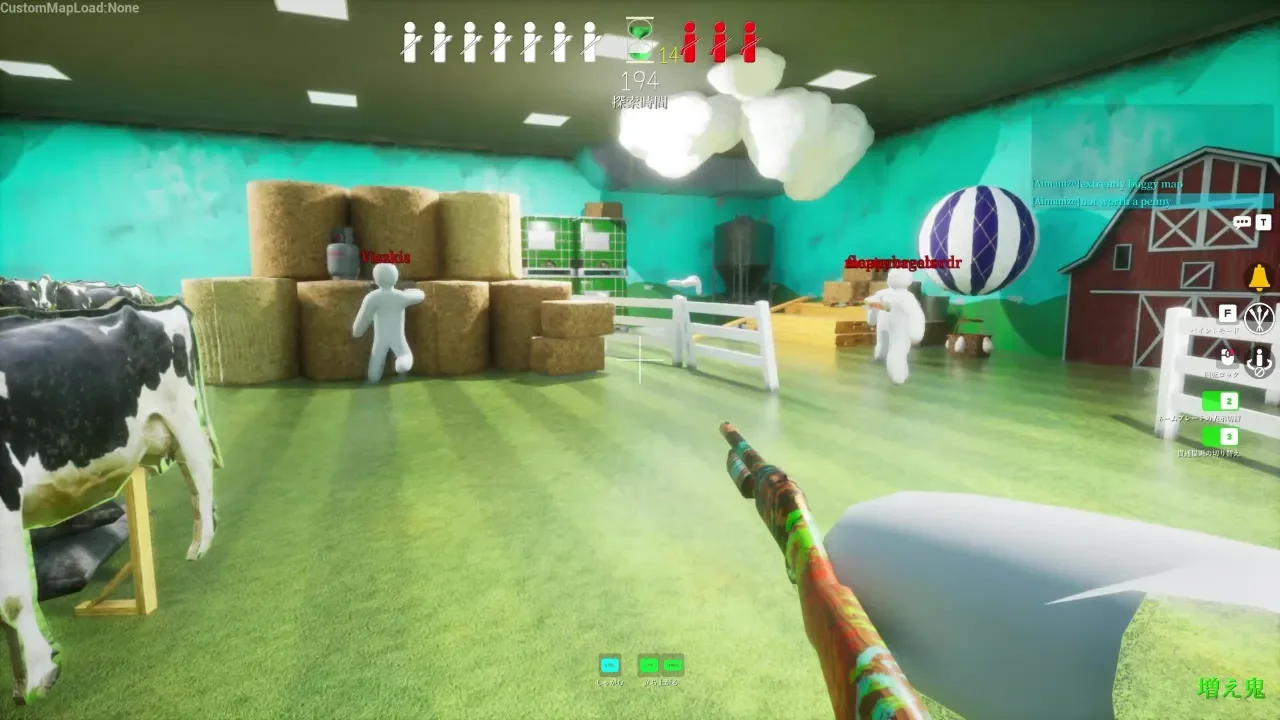
Rivet: The Ranged Tactician
Once you save the Blacksmith and stumble across Rivet in the first zone, your tactical options expand dramatically. Rivet is a highly technical character designed for players who hate getting their hands dirty.
Her basic three hit melee combo is borderline useless due to its incredibly short range. You should almost never use it. Instead, you rely entirely on her gun. It holds multiple rounds, auto reloads infinitely without interrupting your movement, and allows you to constantly kite enemies across the room. The true power of Rivet lies in her turret construction. Her skills revolve around placing and upgrading automated turrets on the battlefield. You just drop your machines, run in circles around the arena, and let the turrets melt the health bars while you take potshots from a safe distance.
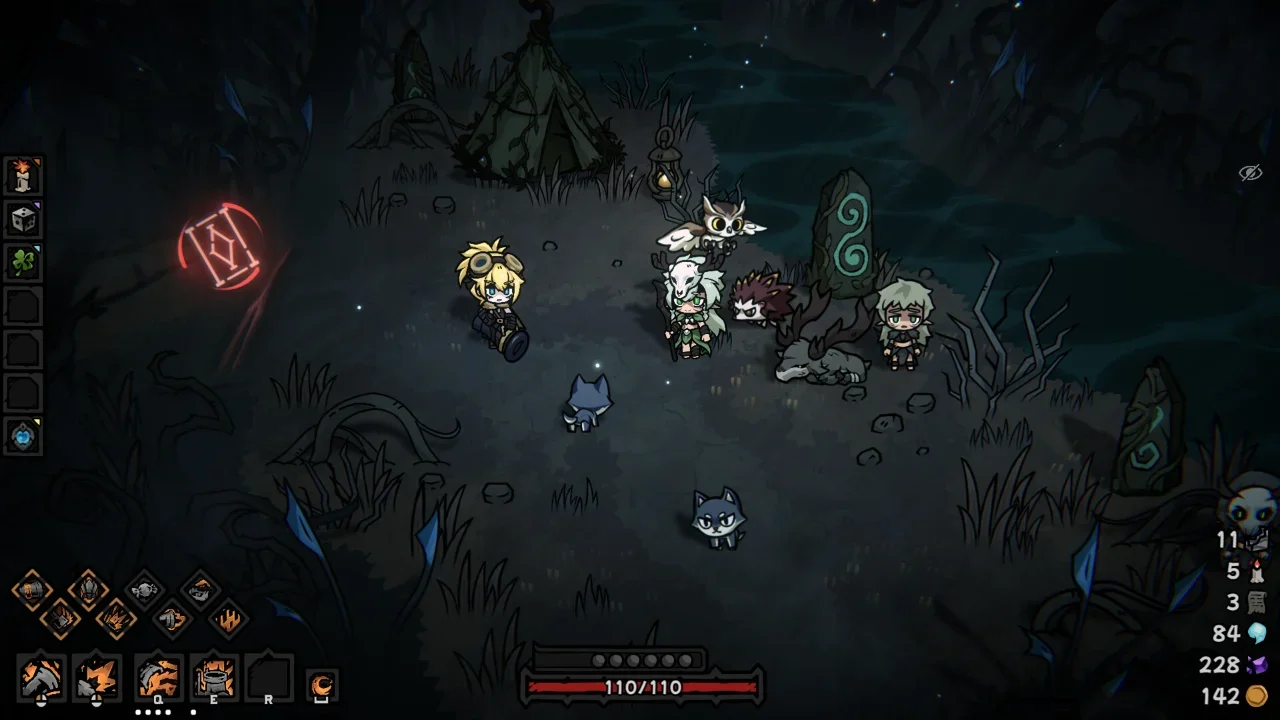
Uma: The RNG Beastmaster
Unlocking Uma is a miserable experience. You are entirely at the mercy of the game deciding to spawn her specific Mystery Room in the Lightless Forest. If you manage to dump the required Equipment Material shards into her questline three separate times, you unlock a wildly unique Beastmaster playstyle.
Uma relies on a resource called the Summon gauge. She attacks with a nature blast that holds exactly three charges before forcing a cooldown. As she deals damage, the Summon gauge fills up. Her skills consume this gauge to call in woodland spirits that attack within a designated ring around her. The ultimate goal is to generate 100 Summon points without spending them, which automatically spawns a massive wolf to fight alongside you and resets the meter to zero. You spend the entire run managing this economy, flooding the screen with animals to overwhelm your targets.
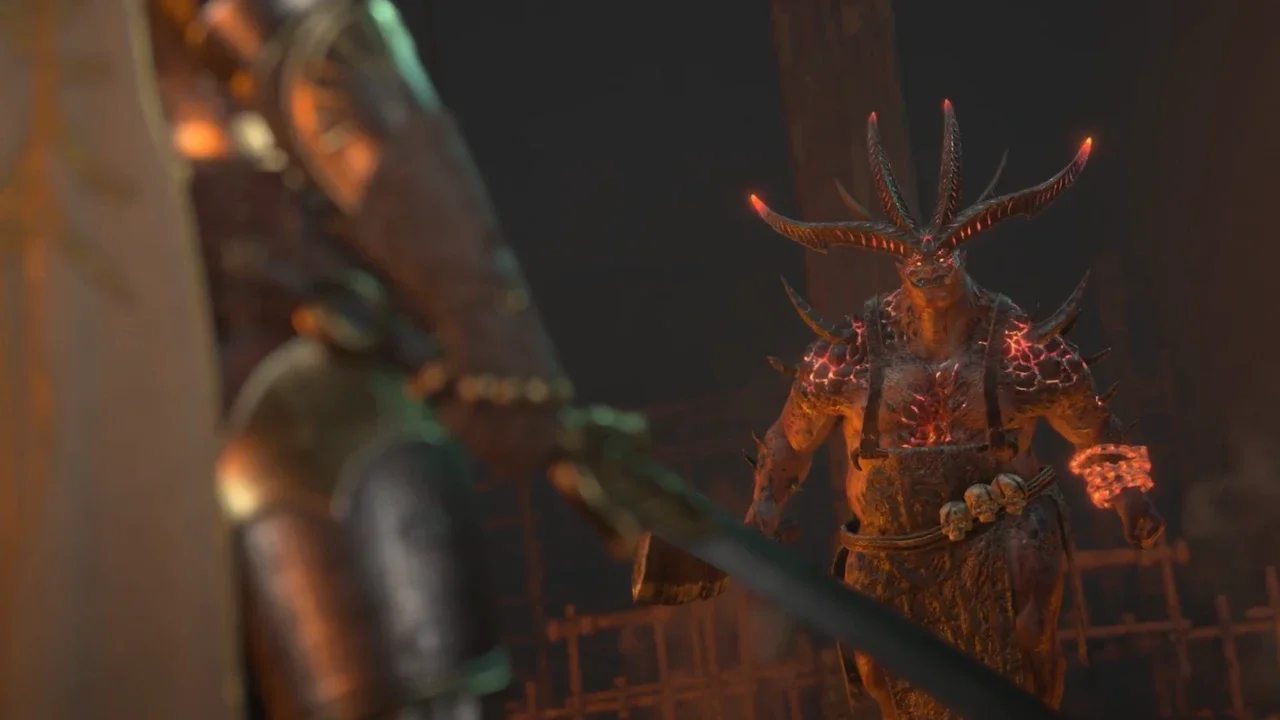
Isdra: The Parry God
If you are willing to grind an absurd amount of Candles to unlock the Ancient Ice Magic Research III topic, you get access to the most high risk, high reward character in Cinderia.
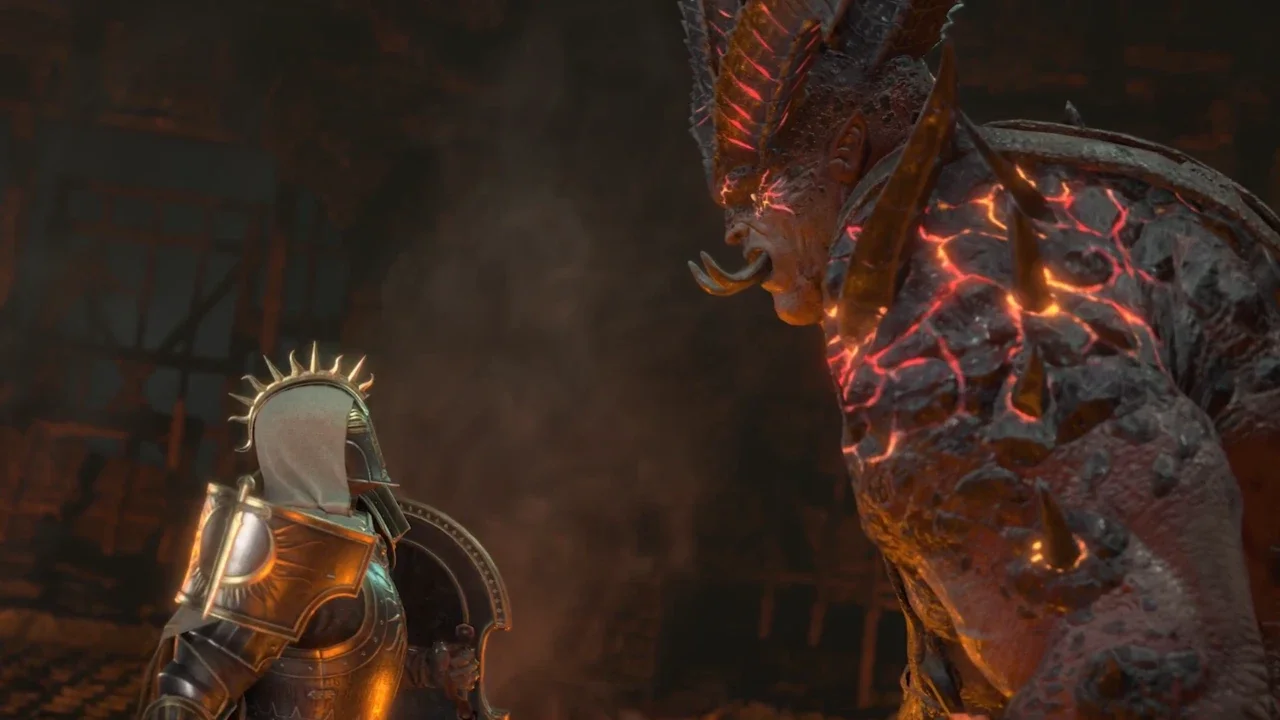
Isdra is a nightmare to play if you have terrible reflexes. She is the only character in the game that does not have a default ranged attack. You cannot hide in the corner and spam projectiles. Instead, she features a directional block and relies entirely on the Perfect Parry mechanic. You trigger a Perfect Parry by timing a block right as an attack connects, by dashing through an attack, or by landing the third hit of her combo string.
When you successfully pull off a Perfect Parry, you negate all incoming damage and reflect a massive chunk of it straight back at the enemy. She also manages a Frost Gauge that builds up during attacks and slowly drains over time. The higher you keep the Frost Gauge, the more violent her attacks become. If you can master enemy timings, Isdra completely shatters the game balance and turns brutal boss fights into a joke. If you miss your parries, you will die instantly.