Code Vein 2 Boss Guide: How to Kill Everything That Moves
Code Vein 2 decides early on that it hates you, and the boss fights are the primary way it expresses that hatred.
The boss encounters in this game are narrative centerpieces, which is a nice way of saying they are former friends who now want to rip your throat out. I spent more time staring at the "You Died" screen than I did actually playing the game during my first run, mostly because I tried to brute-force mechanics that required finesse. This isn't a hack-and-slash. It is a rhythm game where missing a beat means losing half your health bar. Below is the breakdown of how to survive the main story bosses, the optional headaches, and the specific strategies I used to put them in the ground.
General Survival and Combat Prep
Before you even step through the fog gate, you need to accept that your build probably sucks for the specific fight you are walking into.
Partners Are Bait
Code Vein 2 lets you bring a partner. Do not let your ego get in the way—bring one. I treat partners like Noah or Craig less like allies and more like infinite distractions. They draw aggro, which lets you heal or attack from the blind spot. If you die, they can trigger Restorative Offering to revive you, sacrificing their own health. It is basically an extra life. Use it.
Resistance and Buffs
You cannot ignore the prep phase. If a boss uses fire, you need fire resistance gear. It sounds obvious, but I see people running into Hero Zenon's fight wearing paper mache armor and wondering why they melted. Pop your Attack Injections and cast Iron Will before you enter the arena. Ichor is your mana—spend it or lose it when you die.
Main Story Boss Strategies
These are the roadblocks you cannot progress without beating, and they are designed to test if you have actually learned the game's parry and dodge mechanics.
Franz the Dejected Assailant
Location: MagMell Island Franz is the first real skill check. He has two distinct phases. In phase one, he is all melee. His attacks are telegraphed like a billboard, so use this time to practice your parrying. I used the Mutinous Bracer forma to catch his claw dashes. In phase two, he backs off and starts spamming ranged lasers. Do not try to parry these. Just dodge. Keep moving, close the gap when he reloads, and punish him.
Josee the Blind Hero
Location: Sunken City This thing is a nightmare to look at. She is huge, armored, and has a neck that whips around erratically. The hitbox on her main body is tough, so you need to aim for the head. I found that jump attacks or ranged weapons like the Statesman's Longbow worked best here. She is aggressive, so backpedaling is your best defense. When she hits 50% health, she starts doing drain attacks. If you get hit, you lose Ichor. Avoid that at all costs.
Hero Holly the Reaper
Location: Undead Forest Holly is annoying because she teleports. She casts spells, vanishes, and then drops miasma on the floor. Watch for the blue glow on her hand—that is your cue to move. In phase two, she summons a clone. Kill the clone immediately. If you don't, you will get stun-locked by two scythes at once. The clone has a small health pool, so burst it down and then go back to parrying the real Holly.
One-Armed Hero Lyle
Location: Corroded Scar He might only have one arm, but he hits like a freight train. His sword swings have massive wind-ups, which actually makes them harder to dodge because you will instinctively dodge too early. Wait for the swing. Watch out for his tackle. It has zero wind-up. I switched to a ranged magic build for this fight using Bolt Blast just to stay out of his tackle range.
Timeline Shift Bosses
Later in the game, or through specific narrative choices, you fight "Hero" versions of the bosses who are faster, meaner, and have expanded movesets.
Hero Lyle (Reprise)
Location: Corroded Scar (Pioneer Castle) This is Lyle on steroids. He relentlessly chases you. You cannot run away effectively, so you have to stand your ground and parry. Bringing Craig as a partner here helps because Craig is tanky enough to hold Lyle's attention while you cast buffs.
Hero Holly (Reprise)
Location: Undead Forest (Sanatorium) She has a gatling gun now. Trying to dodge the bullets is a fool's errand. Instead, sprint sideways. When she tries to kick you with her Ice Kick, dodge towards her and slightly to the side. Her kick has a massive blind spot behind her. Punish her while she is stuck in the animation. If you have Lou as a partner, his support abilities can inflict Slow, which makes this fight a joke.
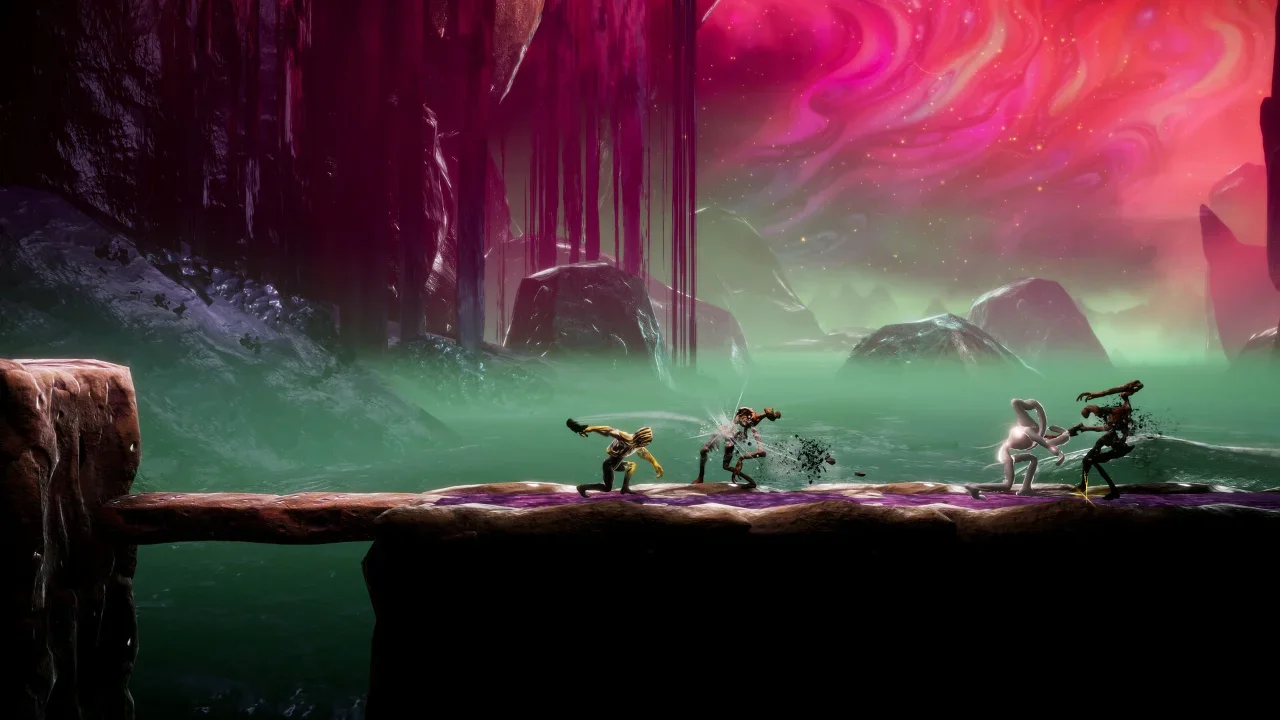
Alessandro Gobbo
Location: Undead Forest (Bureau's Castle) This is a 2v1 fight. You are fighting Gobbo and his knight buddy, Oskar. Ignore Gobbo at first. Kill Oskar. If you leave the knight alive, you will get overwhelmed. Once the knight is dead, Gobbo starts using Blood attacks that inflict Luna Rapacis, a status effect that stops you from healing. If you get hit by this, just run until it wears off. Do not try to trade damage when you can't heal.
Hero Zenon
Location: Insula Carcere Zenon starts with a hammer and shield. Hug him. His hammer swings are so wide that if you are standing right next to his toes, the hitbox often goes right over your head. At 60% health, he goes nuclear. He gets ranged fire attacks and a "Big Bang" ultimate. When he casts Big Bang, stop moving and focus entirely on dodging the orbiting suns. He stands still after casting it, which is your window to kill him.
Mini-Bosses and Optional Encounters
You don't have to kill these guys to beat the game, but they drop Formae and Haze that you probably want.
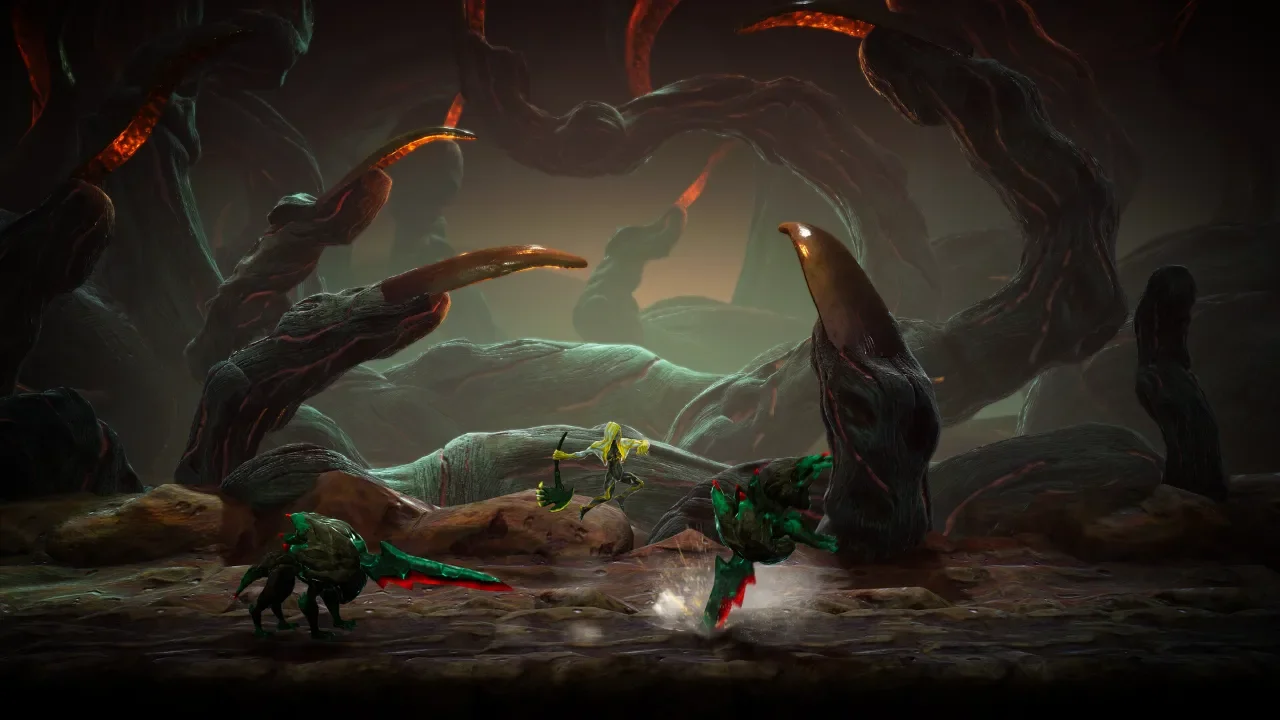
Edward the Lost Corporal
Location: MagMell Island He is a guy with a hammer. Circle strafe him. When he slams the hammer down, dodge behind him and backstab. He summons a "Blood Rain" occasionally—just roll backwards and wait for the red puddle to disappear.
Resurgence Abomination
Location: MagMell Water Treatment This thing is just aggressive melee spam. I used the Bleeding Shield forma to block his combos and counter-attack. If you try to dodge everything, you will run out of stamina. Block, then strike.
Code Vein 2 doesn't pull punches, so neither should you. Use the cheese strategies, summon the partners, and abuse the i-frames.