Berry Bury Berry Endings Guide: How to Unlock All 4 Conclusions
The only thing cuter than a sentient berry is watching it descend into eldritch horror, and this game delivers that in spades if you know where to look.
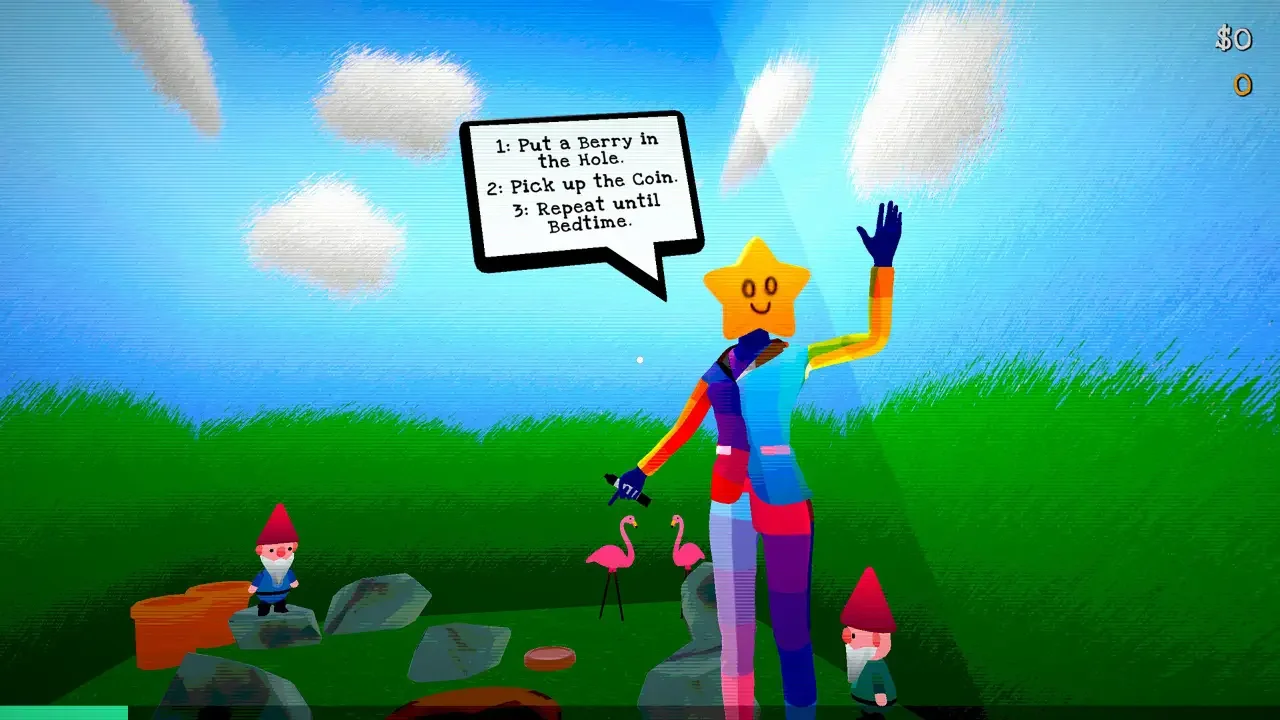
The premise of Berry Bury Berry sounds incredibly simple on paper. You have a bottomless pit, and you need to feed it. It is a gameplay loop we have seen before in titles like Donut County, but this particular game hides a deeply unsettling underbelly beneath its bright and colorful aesthetic. You spend your time dragging physical objects into a singularity, watching your star count tick upward, and upgrading your setup. It is pure dopamine manipulation, and I admit that I fell for it completely.
However, the base game is just a smokescreen. The developers tucked four distinct endings into the code, and reaching them requires you to step outside the standard idle game loop and start experimenting with the environment. If you want to see the true nature of this digital abyss, you have to get a little weird. I spent hours throwing every physical object in this world into the void just to see what would happen. Here is exactly how you bypass the default conclusion and trigger every hidden scenario the game has to offer.
Ending 1: The Standard Conclusion
This is the participation trophy of endings. You honestly have to try harder to miss this conclusion than you do to actually achieve it.
The Default Path
There is no secret trick or hidden mechanic here. You do not need to hunt for disguised pixels or decipher strange clues in the background. You just play the game exactly as it instructs you to. Feed the hole, progress through the basic stages, click the upgrades when you can afford them, and eventually, the credits will roll.
It is the default state of the world. While it is satisfying enough for a casual playthrough, it leaves a lot of unanswered questions. You get the distinct feeling that you missed the main event. If you stop here, you have barely scratched the surface of what the developers actually built.
Ending 2: The Gnome Incident
This is where the game starts showing its true colors. To get this ending, you have to actively ruin the digital ecosystem, which happens to be my favorite way to play any game.
Lawn Ornament Liquidation
The requirement here is simple but demands absolute thoroughness. You need to unlock the achievement for consuming all the Gnomes. That means every single lawn ornament you see needs to go directly into the pit. You have to clear out the entire population.
The catch is that the game tracks this in a single instance. If you reset your progress or restart the game, the counter resets completely. You have to drop them all into the void in one continuous run. It takes a bit of sweeping to ensure you did not leave one hiding behind a larger prop, so check your corners. I highly recommend doing a final perimeter check before you assume you are finished.
The Floppy Disk
Once you have successfully purged the map of every last gnome, the environment changes. A brand new Gnome will spontaneously spawn in the main room right next to the computer terminal.
This surviving garden decoration is not there to judge you for your actions. Instead, he holds a floppy disk. You need to pick up that disk and insert it directly into the computer. I will not spoil the sequence that plays out on the monitor, but it certainly puts your recent lawn ornament removal project into a strange new context. Once the cutscene finishes, the second ending is officially yours.
Ending 3: The Dark Star Hunt
This path requires a bit more legwork. It feels like a classic hidden collectible hunt ripped straight out of an older platformer.
Cosmic Collectibles
Your primary objective is to collect all seven Dark Stars scattered across the game world. You cannot trigger the final sequence for this ending until every single one of these stars is sitting safely in your inventory. They are placed in deliberately obscured spots, usually tucked behind large pieces of scenery or resting in the far corners of the outer areas. Keep your eyes peeled for anything that looks slightly out of place.
Once you have secured all seven Dark Stars, you need to head back inside to the main room with the computer.
The Desktop Trash Icon
Sit down at the PC monitor. You will see a standard desktop interface. You need to click the Trash Icon. It seems entirely counterproductive, but emptying the digital trash triggers a physical event in the room behind you.
Doing this spawns a familiar character leaning against the wall on the left side of the room. Just like the previous secret ending, this new entity is holding a floppy disk. Take it from them, shove it into the computer drive, and watch the chaos unfold. It is a fantastic payoff for a tedious scavenger hunt.
Ending 4: The 10,000 Star Grind
I hope you really enjoy the mechanics of idle games, because this final ending demands a level of resource grinding that borders on disrespectful to your free time.
The Idle Game Tax
You need to save up exactly 10,000 stars. This is a massive currency gate. The absolute best way to do this without losing your mind is to focus entirely on feeding the larger props from the outer areas of the map into the hole. Heavy items yield higher star counts.
The problem is that the map has a finite amount of high value junk. If you get sloppy and feed all the big items to the pit before you optimize your star multipliers, you might run out of props. If that happens, your star generation slows to a crawl, and you might have to perform a soft reset. A reset wipes your map progress but keeps your currency, which is incredibly frustrating but sometimes mathematically necessary.
The Dark Berry Buddy
Once you finally secure the 10,000 stars, the game will prompt you that a brand new upgrade is available for purchase. Buy it immediately.
This transaction spawns a Dark Berry Buddy into your world. This little creature is the entire point of the grind. You need to wait for him to fully form and begin wandering around. Eventually, after a bit of pacing, he will spit out a Dark Fruit. Pick up that specific fruit, walk over to the void, and throw it in. The game immediately takes over from there, rewarding your hours of grinding with the strangest conclusion of the four.
The Ending Requirements Cheat Sheet
If you just need a quick reference guide to keep on your second monitor while you play, I have broken down the exact triggers for all four paths below.