Corsair Cove: The Numbers Behind Your First Colony
Corsair Cove hands you a cliff, a campfire, and four Drifters, then lets Cohesion decide whether any of it survives the week.
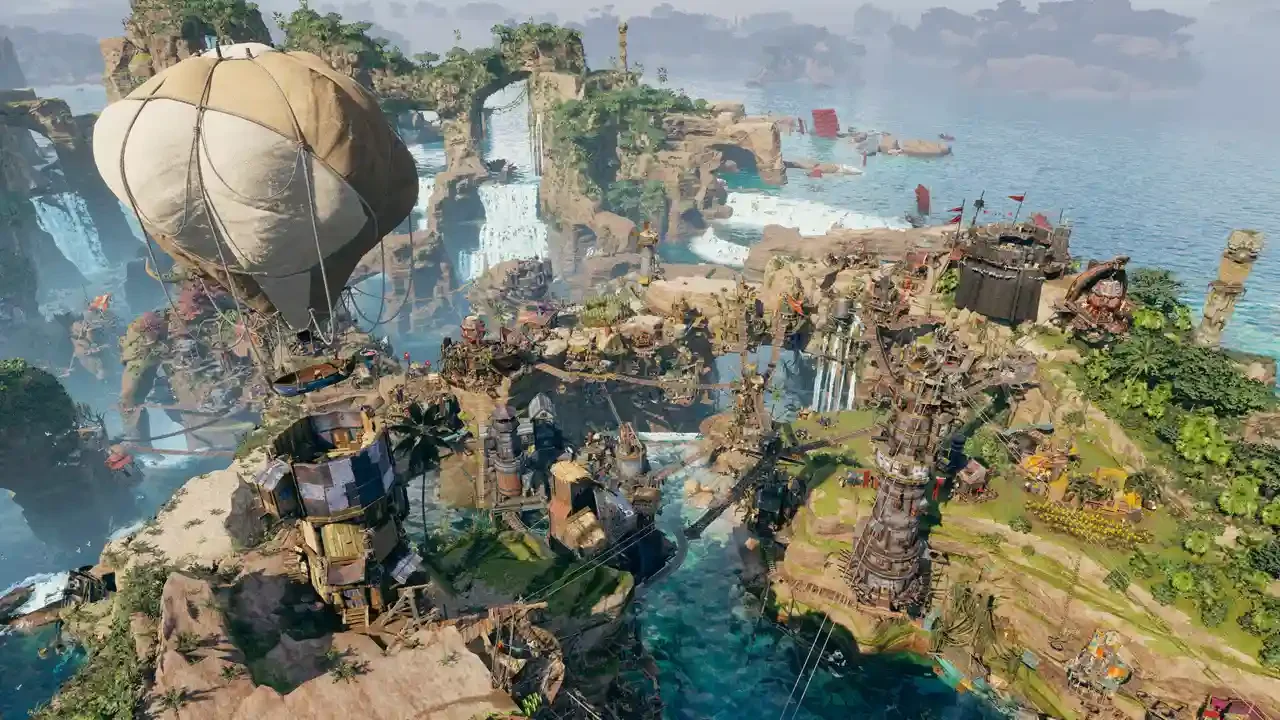
Uncharted Mode skips the tutorial completely. Story Mode covers the basics, but neither one explains what actually decides whether a colony holds past the first few hours: Cohesion, Housing, and food output.
Cohesion Is the Only Number That Ends Your Run
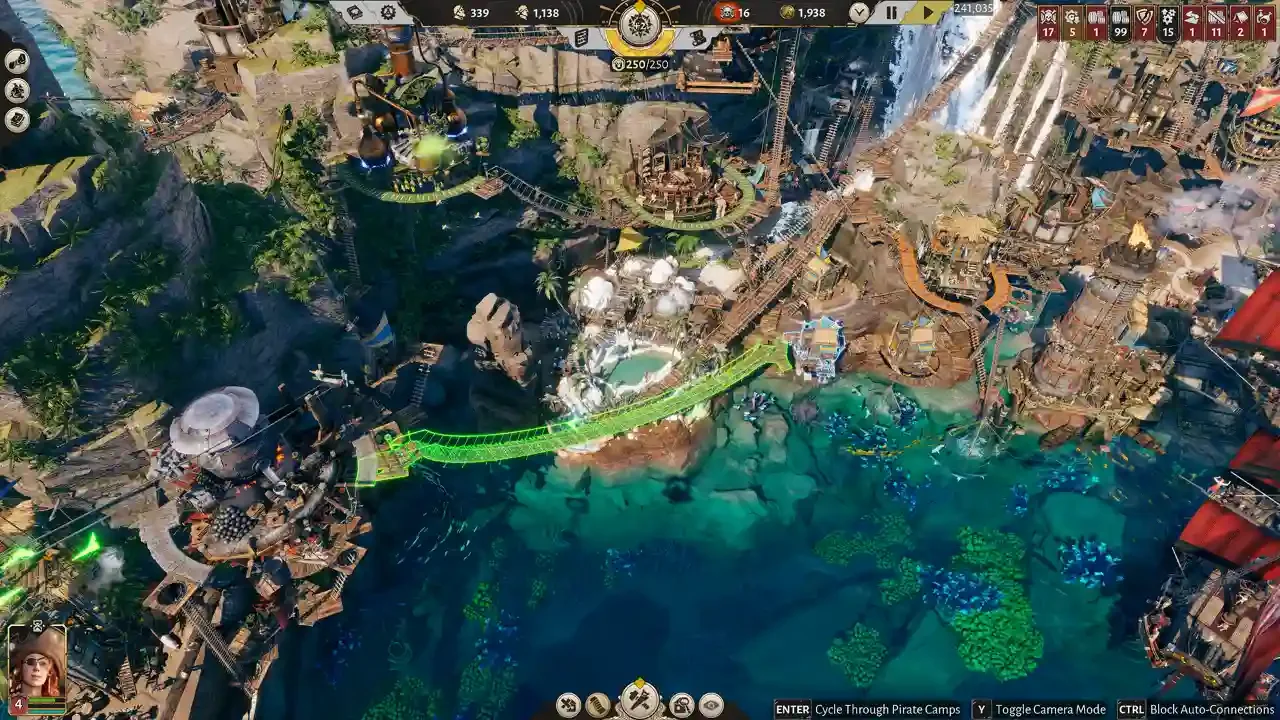
The Island View runs everything. Settlement Operations gives you a health check on the colony. The Compass tracks Principle Points and Cohesion. Cohesion sits quietly in the corner until it hits zero. Then the run is over. Full stop.
Quests and Deeds split into Main Quests, Side Quests, and Deeds. That panel is the actual progression track.
Hover over any resource in the top bar for real time production against consumption. Check it obsessively. I've seen more early colonies collapse from an unnoticed shortfall than an actual raid.
The Campfire Math
The Campfire tops out at 16 Stew per minute. Enough for a starting crew. Nothing more.
Three ways to push past that. Fireside Feast, unlocked through Notoriety, raises output to 31. The Buccaneer's Grill upgrade swaps the input to Pigs and hits 35. All Hands on Deck doubles the workers on any building for 50% more output, at a cost of 50% more input. It works everywhere there's a surplus and idle Drifters to spare, Stew included.
Pigs available, take the Grill. If not, Fireside Feast does the job for one Principle Point.
One Resource Feeds More Than One Chain
Stone splits two ways once it's mined, into Stone Blocks and into Charcoal. Most raw resources branch the same way, feeding more than one chain at once.
One Quarry or Woodcutter usually supplies more than a single building. Account for that overlap early. Finding out mid-game, when two production lines are pulling from the same node, costs more time to untangle.
Housing Is the Real Cost of a Drifter
Drifters build things. They cost nothing to maintain. They still need Housing.
Assigned Pirates work specific jobs. They need upkeep resources on top of Housing, and they're the ones actually running production.
Idle, unhoused Drifters carry a Housing cost that shows up later, whether you're tracking it or not.
Connections Decide Whether Production Actually Works
Flat land is scarce. Cliff faces and hilltops carry most of the colony.
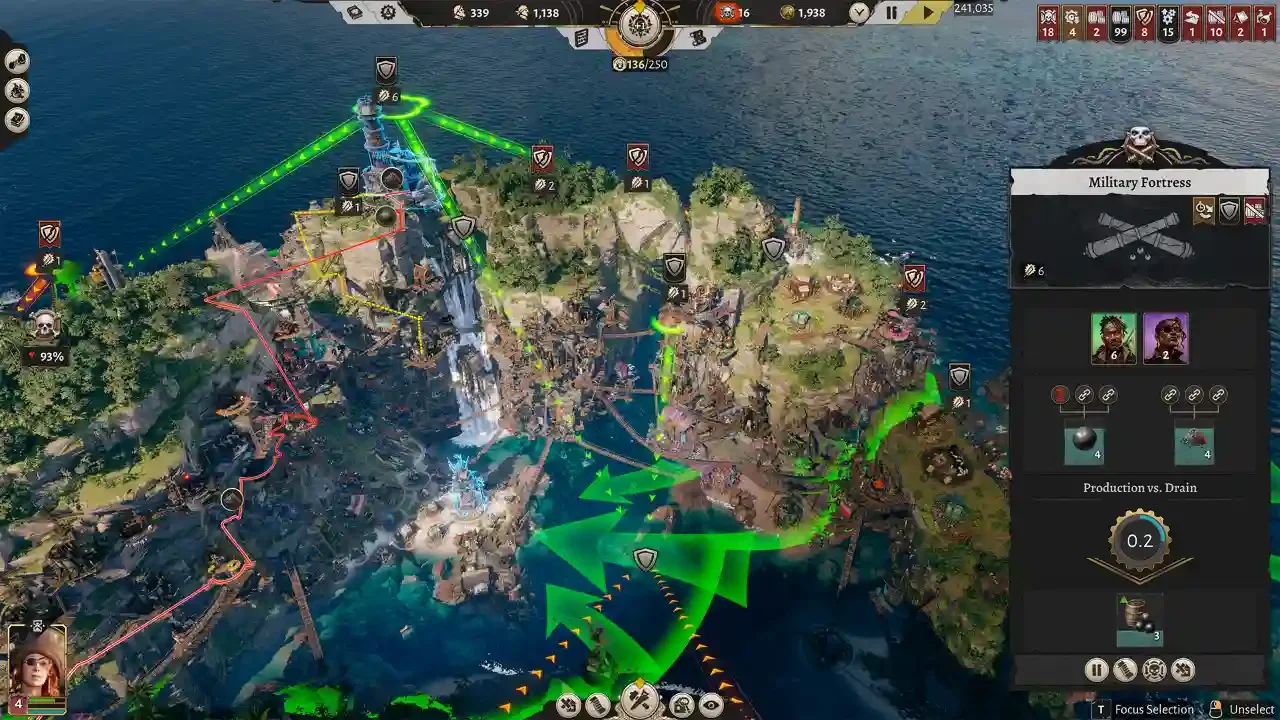
Select a building and the game usually makes the Connection on its own. When it doesn't, look for the green arrows marking hub buildings and connect manually.
Connection colors tell the story once things are running. Green means a short, clean link. Yellow means the link holds but drags a little. Red means the path is long enough to slow output down, worth fixing before it turns into a bottleneck.
Scroll Lock hides the UI for a clean look at what you built. Doesn't change a single stat. Just easier on the eyes.
Principle Points and the Builds Worth Knowing
Four paths on the Compass: Notoriety, Empire, Seafaring, Wealth. Points come from clearing Deeds and Side Quests. Spend them however you want. One path or spread across all four, both work.
A handful of early builds are worth knowing by name:
Zip Line (Notoriety, 10 coins) paired with a Mast (Seafaring, 20 coins) gets cheap transit from high ground to low. No cliff nearby? Build the Mast instead.
Cabins replace tents at a real space discount. One Cabin covers what 4 to 6 tents used to.
Trading Post (Wealth) converts spare Stew or Booze into Coin.
Shrine of the Sea (Seafaring) grants temporary ship buffs after Seven Seas events, up to three stacked at once. Enough stacking lets a Tier 2 ship handle Tier 3 content.
Salvage Dock (Empire) cuts ship build and repair costs by 20% each, and the reduction stacks multiplicatively. Two Docks bring the cost to 64% of the original. Three bring it to roughly 51%.
Camp Placement Is a Math Problem
Check what's in range before committing to a spot. Stone and Fresh Water nearby carry real value early. Minimal overlap with camps already built matters too, and a Pier Slot means more ships on the water.
Check what attack points a placement opens up as well. The Crown finds them eventually. A gun tower, or a ship parked nearby to intercept, keeps that from turning into a problem you didn't see coming.
Ship Stats Decide Combat
Dice apply to chance moments only, things like Parley or investigating clues. Combat and objectives run on your ship's actual stats. Hover over any action, yours or the opponent's, and the numbers behind it show up.
Full crew a ship before it leaves port. Swabbies don't count toward that. A full crew doubles your stats, and it costs nothing but time sitting in port.
Combat also generates Treasure, up to 100 per event. Low on Supplies mid-fight? Burn Treasure to restock instead of losing Health or Crew. Whatever's left converts to Coin and Supplies once the event wraps.