Corsair Cove: Tips and Tricks Worth Knowing Once the Colony's Running
The building queue doesn't get less crowded once the tutorial ends, it gets more expensive.
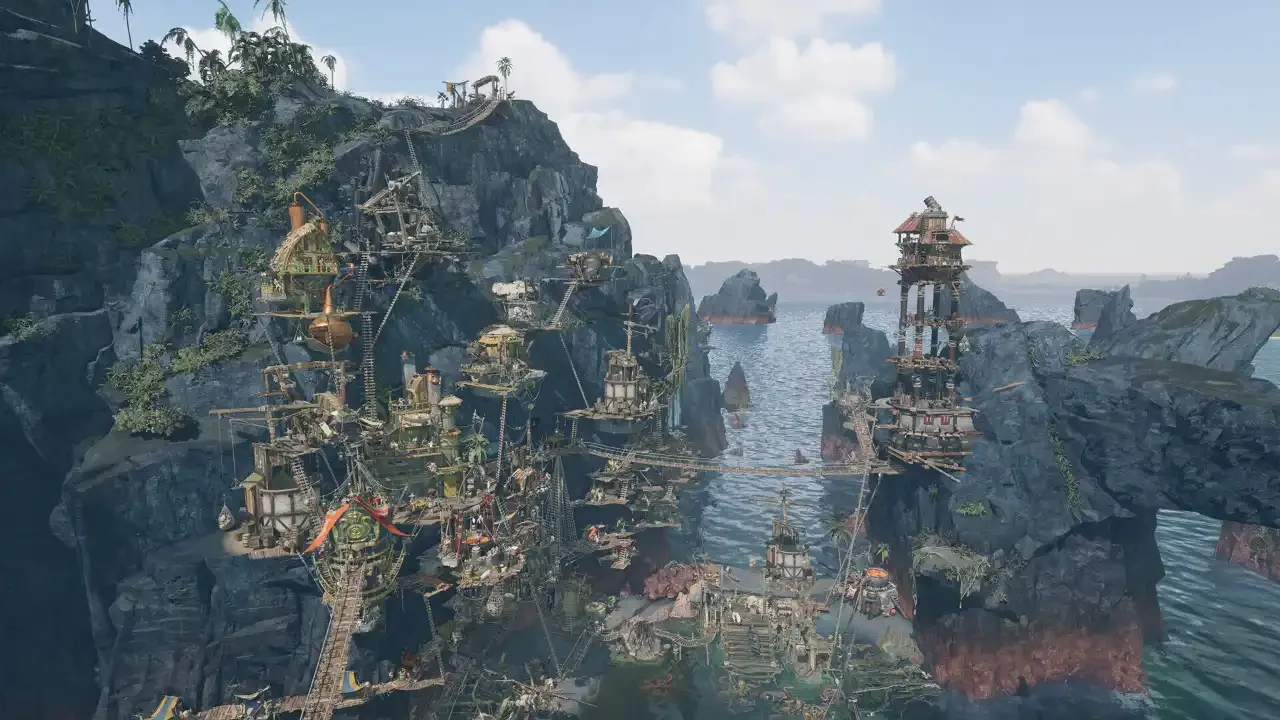
The early hours are about survival. Past that, the question changes to whether you're spending resources efficiently or just building things because you can. This covers the systems that separate the two.
Reassign Buildings Instead of Rebuilding Them
Some buildings sit within range of more than one Pirate Camp. That's not a display quirk, it's a choice. If a building's upkeep resource sits in one camp but not the other, reassign it there instead of tearing it down and starting over.
Select the building. Click the skull and crossbones icon next to Start Connecting. Click the same icon above the camp you want it tied to. Done. Cheaper than demolishing, and it fixes upkeep problems that look like production problems.
Hybrid Chains Beat Straight Lines
A Stone Quarry produces 6 Stone per minute. A single Stonecutter only needs 2 of that to run at full output.
Run the numbers and you've got room for two Stonecutters and something else entirely. Two Stonecutters take 4 Stone per minute between them. That leaves 2 Stone per minute doing nothing, which is enough to run a Charburner and start producing Charcoal on the side. One Quarry, two separate outputs, no wasted production.
I default to checking this on every raw resource node now. Straight one-to-one chains are the easy setup, not the efficient one.
Warehouses Aren't Just Storage
A Warehouse holds 15 tiles of goods and can run 5 total connections, with no more than 3 of those tied to a single resource. That's a transit hub, not just a shelf.
Request a resource in one Warehouse, then request the same resource from a second Warehouse pulling off the first. That's a supply chain spanning two Pirate Camps without a direct road between them. Zip Lines make the connection cheap, and Warehouses have natural attachment points on both the top and bottom, which makes them a clean starting point for a two-way line.
Hit the Control Resources button and set your transit goods to a 1-slot cap instead of the default 5. Left at default, resources pile up in transit and eat into your 3-resource storage limit. Capped at 1 slot each, a single Warehouse can juggle 5 resource types instead of 3.
Ship Tiers, and Why the "+" Versions Matter
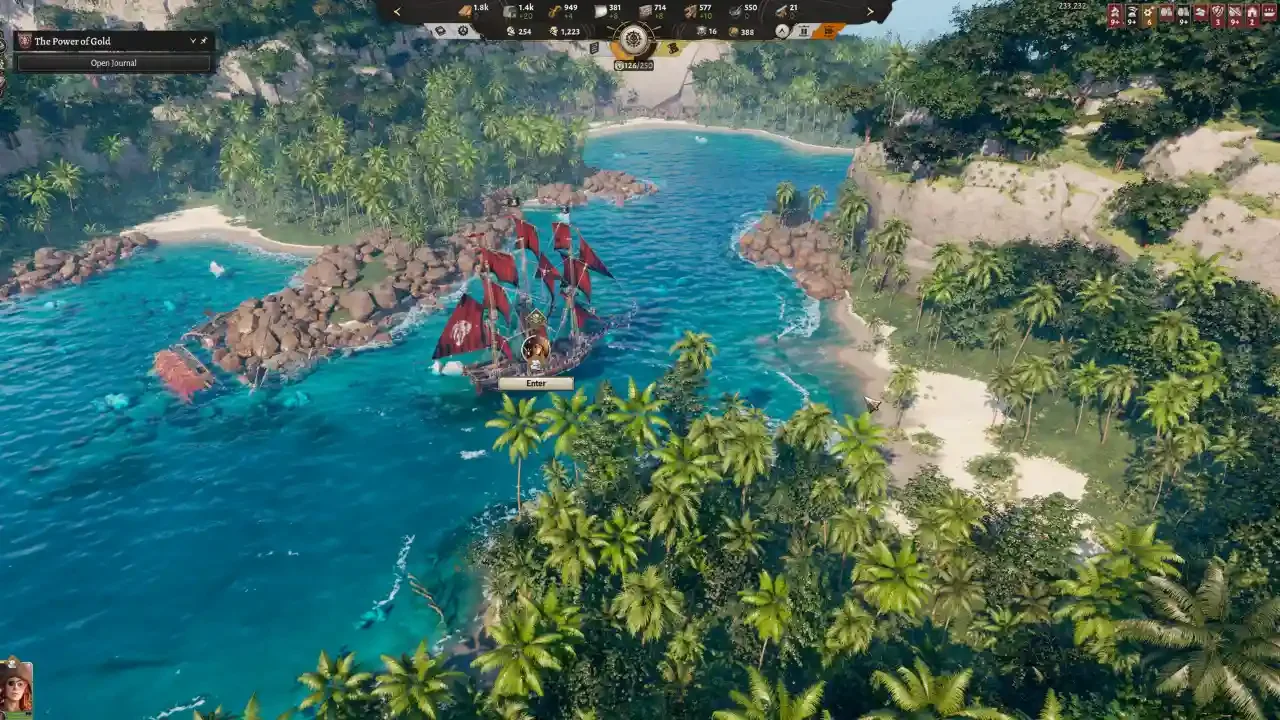
Four ship types map to four Principle paths. Prowlers lean into Maneuverability and fit Notoriety objectives. Destroyers carry Gun Damage and Armor for Empire missions. Hunters run on Speed for Seafaring content. Reavers hit Boarding Damage hard, built for Wealth.
Six tiers per type, from a weak Tier 1 Landlubber up to Tier 6. Tiers 2 and 4 each split into two options. The standard version needs points in one tree. The "+" version needs points split across two, and it's better across the board for the extra requirement. The Steel Edge, a Tier 2+ Destroyer, needs 3 Empire and 3 Seafaring points and beats the standard Tier 2 Destroyer on Boarding Damage, Maneuverability, and especially Speed.
Build the + version whenever you can hit the point requirement. There's no scenario where the standard Tier 2 or 4 ship is the better pick once the hybrid option is unlocked.
Upgrades Worth Making Once You Have the Points
A handful of buildings are worth swapping out the moment you unlock the replacement.
Entertainers' Guildhall (Notoriety T3) pushes All Hands on Deck from a 50% boost to 80%, at no extra input cost. Put one near any hub running the buff regularly.
Spy Nest (Empire T3) expands Pirate Camp range, which matters once you're trying to fit an Entertainers' Guildhall or Corsair Cuisine into a radius that's already full.
Crow's Nest (Seafaring T1) replaces the Trading Post once you're spending real time on the World Map. Explored regions fog over without a ship present, and sailing back in triggers a discovery worth 20 coins. Five re-explorations and the building's paid for itself.
Houses (All T4) replace Cabins. A Salty Cabin holds 8, the Salty House holds 20. A Fancy Cabin holds 12, the Fancy House holds 25. More space-efficient than the Cabin upgrade, just not as dramatic a jump as tents to Cabins was.
Shipwrights' Guildhall (Seafaring T3) replaces Salvage Docks at a 50% cost reduction that stacks multiplicatively. One brings ship costs to 50%. Two gets you to 25%. Three to 12.5%. Four to 6.25%. Build 3 or 4 and shipbuilding stops being a resource concern.
The Late-Game Buildings That Change the Math
Ocean Colosseum (Notoriety T5) resurrects any crew lost in a Seven Seas event. Losing a ship now only happens if its Health hits zero, and a depleted crew just fails the event with a free retry instead of costing anything permanent. Build it the moment it unlocks.
Great Lighthouse (Seafaring T5) cuts upkeep costs by 50% across every Pirate Camp. Crew upkeep is the single biggest drain in the game. This doesn't stack, so one is all you need, and one is worth building immediately.
Corsair Cuisine (Notoriety T4) buffs every building inside its Camp's radius, same category as the Entertainers' Guildhall. Pair it with a Spy Nest so the radius actually covers what you want buffed.
Aerial Lift (Wealth T1) works across every terrain type where Zip Lines and Elevators don't. 300 coins each, so this is a late-game upgrade once coin stops being the bottleneck, not an early one.
Golden Palace (Wealth T5) stops resource deposits from expiring. A depleted deposit normally drops to 50% efficiency. This one keeps every deposit at full output permanently.
Situational Buildings, Not Priority Buildings
These solve specific problems. Build them when the problem shows up, not before.
Banners (All T2) raise your Cohesion cap past 100, useful once event rewards start overflowing a capacity you haven't expanded.
Gibbet (Empire T2) trades 1 Drifter for +5 Cohesion. Dismantle it later to free the Drifter, though the Cohesion doesn't come back with them.
Bounty Hunters' Guildhall (Wealth T2) buys Raid Goods at roughly 50 coins per 200. A backup, not a plan. Raiding is cheaper.
Grand Market (Wealth T4) does the same job for other upkeep resources. Same logic applies, it's a patch, not a supply chain.
Provisioner, Tinkerer, Master Shipwright, and Copper Smith each let you build a specific Tier 5/6 ship without raiding for that ship's rare resource, Grain, Lenses, Silver, and Blubber respectively. Only worth it if that raid good is a genuine bottleneck.
Elevator (Empire T1) handles vertical transit on cliffs an Aerial Lift can't reach cheaply. Pricier than a Zip Line, cheaper than an Aerial Lift, useful only where the terrain forces it.
Well (Wealth T3) cuts the impact of a negative event outcome by 25% per Well. Skippable if you're resolving events cleanly enough to avoid the debuff in the first place.
Don't Be Afraid to Tear Things Down
Early resources stop mattering the way they used to. Cassava Bread and Rum cover upkeep on your first Scallywags and Picaroons, and once better ships replace them, that demand mostly disappears.
Dismantle production you've outgrown. Keep a small buffer of most resources for events that ask for them without warning, but don't hold onto a full production chain feeding a ship type you stopped building three tiers ago. That space and those workers have better uses.