Death Howl Tips & Tricks: 7 Ways To Stop Dying Like A Rookie
Death Howl is designed to kill you constantly, but these seven tips will give you an actual fighting chance instead of just repeatedly dying to the same wolf spirit.
Death Howl is a brutal card battler inspired by Soulslike design, and if you are struggling, I promise that is completely normal. The game throws convoluted lore, punishing combat, and zero tutorials at you while expecting you to figure everything out through repeated death. While the early game feels impossibly difficult, things get significantly easier once you understand the underlying systems that the game refuses to explain.
I have died countless times learning these lessons the hard way. These seven tips cover exploration strategies, resource management, card synergies, realm mechanics, and the grinding necessary to actually progress. Let's get into what works.
Explore Every Corner Because The Good Stuff Is Hidden
Exploration is genuinely one of the best ways to gain advantages in this game. The spirit world is filled with items providing combat bonuses that drastically improve your survival chances. Some of the best early rewards, like the Tree Root Totem, are hidden behind tough Elder Spirit encounters that you will completely miss if you are rushing toward the objectives.
Nests are marked on your map once you unlock Sacred Groves, but hidden cave entrances exist that you can only find by actively clicking on them while exploring. These locations often contain crafting materials for powerful cards and unique Totems. Going straight from point A to point B means missing equipment that makes your runs substantially smoother.
You also need to remember that not all resources come from combat. Some are sitting on the ground waiting to be collected. Take time to check branching paths, click suspicious rocks, and investigate areas that look slightly different because the game rewards thorough exploration with better resources.
Craft Cards Before You Rest Or You Will Lose Everything
The game forces you to convert Death Howls into Teardrops when you rest at Sacred Groves. This is a nasty trap. If you want to heal, you will automatically spend your Death Howls whether you wanted to or not. If you were saving those Death Howls to craft a specific card, that money is gone the moment you rest.
You must craft your cards before resting at Groves. Once you heal, any Death Howls get automatically converted into Teardrops with no option to cancel. This is why I suggest crafting cards first when entering new realms and using leftover Death Howls for Teardrops only when you desperately need healing.
The resource tension between crafting and skills is intentional design, but the automatic conversion catches everyone off guard. If you are sitting on enough Death Howls to craft a card you need, do that first, then rest and convert whatever is left.
Every Realm Resets Your Skills So Grind Before Transitioning
The spirit world has four realms, and each one has multiple sub-regions. Here is the kicker: every realm has its own Teardrop Skill Tree that you must unlock separately. If you maxed out the tree in realm one, you still start from scratch in realm two. This makes new realms feel brutal because you have lost all your combat advantages.
You should grind the previous realm for extra Teardrops before transitioning. This lets you grab essential upgrades immediately in the new zone instead of struggling through early encounters with zero skills. Prioritize defensive and mobility upgrades first because these keep you alive long enough to farm offensive skills later.
Understanding this prevents the frustration of feeling inexplicably weak in new realms. You are not weaker, but you just lost access to your skill tree. Don't transition until you have stockpiled enough Teardrops to unlock at least two or three essential skills immediately.
Old Cards Get Expensive So Use Realmless Cards
When you enter new realms, cards from previous realms cost more mana to use. A two-mana card from realm one might cost three or four in realm two, making it significantly less efficient.
This is why Realmless Cards are vital. Realmless Cards maintain consistent costs across all zones. Having a foundation of Realmless Cards is the intended strategy. Once you unlock realm-specific cards for your current area, you can optimize your deck for that zone's enemies.
Don't get attached to your deck composition from previous realms. Gradually phase out old cards in favor of new realm-specific options that maintain efficient mana costs. The game forces adaptation rather than allowing you to rely on one overpowered deck throughout the entire game.
Sacred Groves Are Your Roadmap
Sacred Groves are effectively the bonfires of Death Howl. They are your save points, heal locations, fast travel destinations, and checkpoints. Using a Grove respawns all enemies, which is a farming opportunity for Death Howls rather than a punishment.
Groves are also strategically placed to guide progression. If you are unsure where to go next, just find the next Sacred Grove. The game uses Grove placement to naturally funnel players toward objectives without explicit quest markers constantly cluttering the screen.
Treat reaching new Groves as your primary short-term goal rather than worrying about distant objectives. Each Grove unlocked expands your fast travel network and creates new farming loops. More Groves means more flexible exploration and grinding options for you.
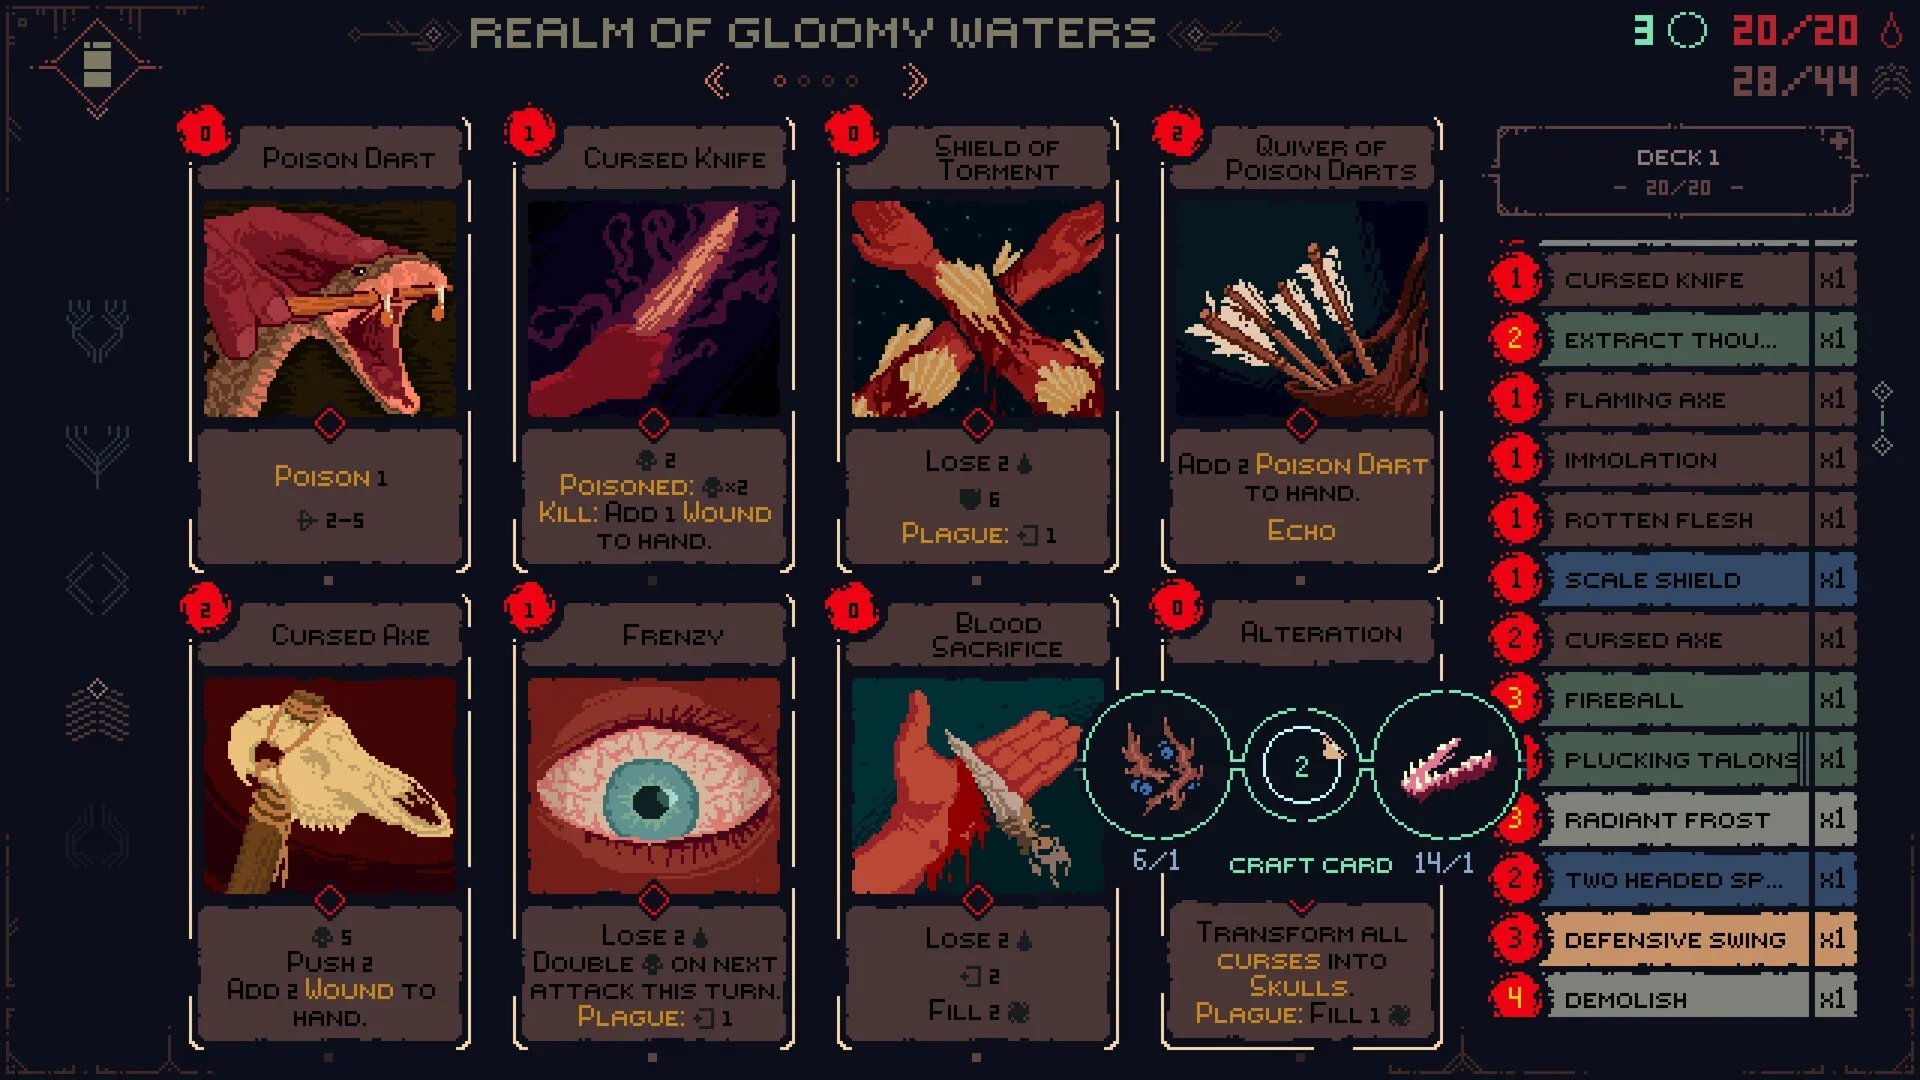
Card Synergies Are How You Win
Some cards trigger effects based on conditions like shield points, cards played this turn, or enemy positioning. Understanding these creates combos dealing extra damage while reducing enemy pressure.
There is a great advanced combo you can use early on. Start with Quick Strike to push the enemy back and deal damage. Follow up with Hurl Rock to hit them at range. Then use Block of Wood to grant yourself a shield. This shield activates the passive on Defensive Swing, reducing its cost so you can deal cheap damage. Finally, you can use Sprint to reposition for safety by sacrificing your remaining card.
This five-card combo maximizes damage while minimizing mana waste and setting up defensive positioning. As you unlock more cards, your synergy options will expand dramatically. Pay attention to cost-reduction mechanics and build decks around triggering those conditions consistently.
The Grind Is Mandatory So Just Accept It
Death Howl is grindy as hell. If you rush for objectives, you will hit impossible difficulty spikes. You need to fight spirits repeatedly to farm Death Howls and learn attack patterns.
Find a Grove near spirits you can reliably defeat. Rest there to respawn enemies, then cycle those encounters. Over time you will unlock cards and skills, building a deck optimized for your current realm. This also improves your personal decision-making and positioning.
The grind is the core progression loop and not poor design. Death Howl tests pattern recognition and strategic deck building rather than twitch reflexes. Each cycle through familiar enemies should feel progressively smoother as your understanding deepens and your decks improve. Do not view grinding as failure because it is exactly how the game is designed.