Heroes of Might and Magic: Olden Era Combat Masterclass
Sending your highest tier units blindly across the hex grid is a guaranteed way to lose your entire army.
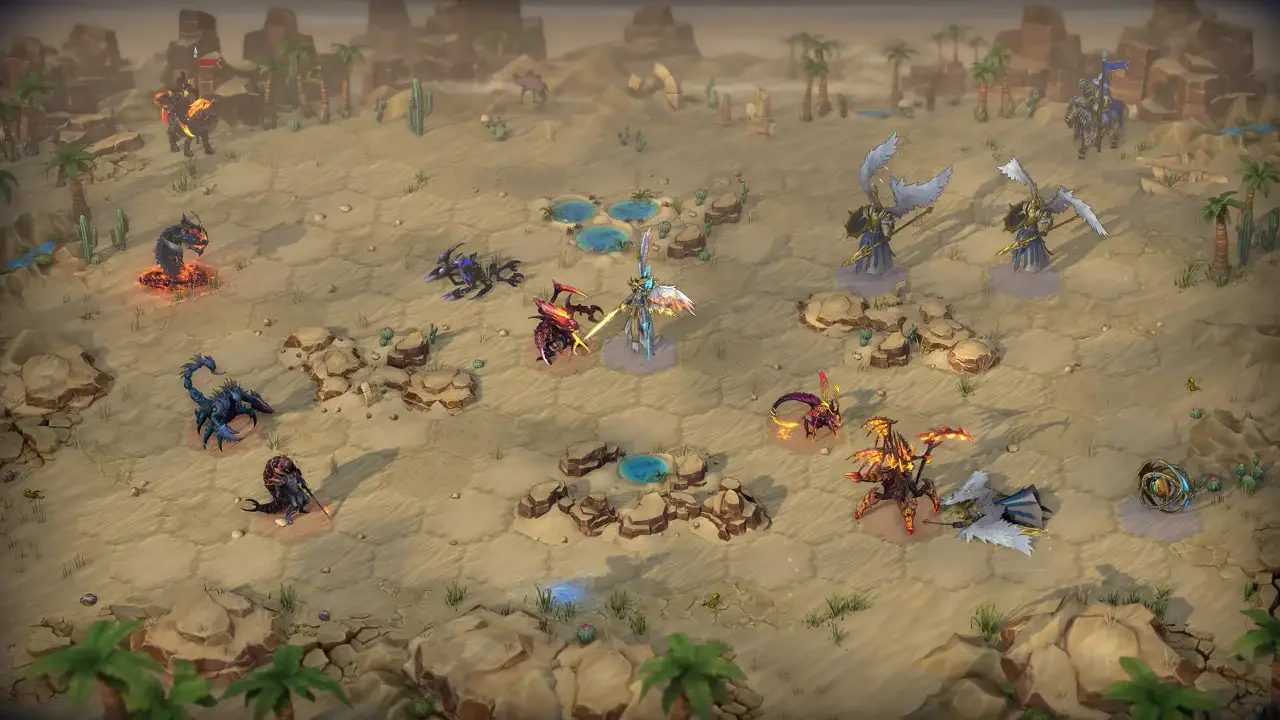
Combat in Jadame is brutal and unforgiving. You might have spent hours perfectly optimizing your economy using the steps in my HoMM Olden Era Beginner Tips guide, but a massive army means nothing if you do not understand the hidden math governing the battlefield. Brute force will only get you so far before a numerically inferior enemy wipes you out using superior positioning and spellcasting. You need to treat every encounter like a puzzle. To win with zero casualties, you must manipulate the turn order, exploit attack ranges, and calculate exactly how much damage a strike will actually do before you commit to it. I am going to walk you through the core mechanical rules of war so you can stop taking bad engagements.
Controlling the Flow of Time
Whoever dictates the turn order controls the entire match. You must understand how the game decides which unit moves first.
Initiative and Tiebreakers
The order of operations during a round is dictated entirely by a unit's Initiative stat. Higher Initiative moves first. When two units share the exact same Initiative value, the game looks at their Movement Speed stat as a tiebreaker. If both Initiative and Speed are identical, the attacking side gets to move first. In massive battles where multiple units on both sides share the exact same stats, the game will alternate turns back and forth between you and your opponent round by round. Stepping on native terrain grants your units an automatic +1 to their Initiative, giving you a massive tactical advantage when defending your homeland.
The Power of Waiting and Skipping
You do not always want to attack immediately. The "Wait" command is arguably the most powerful tool in your arsenal. Selecting Wait pushes a unit's action to the very end of the current round. The game essentially flips the initiative order for waiting units, meaning the fastest waiting unit will act last. This forces the enemy to move towards you, allowing your melee fighters to strike first without wasting movement points closing the gap.
Alternatively, you can use the "Skip Turn" command. This simply ends a unit's action entirely for the round. Skipping is crucial when you need a small stack of expendable creatures to act as a meat shield, body-blocking an enemy from reaching your valuable ranged attackers. Skipping also prevents you from triggering a devastating counterattack from a superior foe.
Positioning and Attack Types
Understanding exactly how your units strike on the hexagonal grid will save you from unnecessary retaliations.
Ranged and Long Reach Mechanics
Ranged creatures can hit any target on the board, but they suffer severe penalties if they are not positioned correctly. If an enemy is more than three hexes away, your ranged unit loses 10% of its total damage for every additional hex of distance, capping out at a massive 50% damage reduction. You must either close the gap or utilize units with the passive Sharpshooter trait to negate this penalty. If an enemy steps into an adjacent hex, your ranged unit is forced into melee combat and cannot shoot at all.
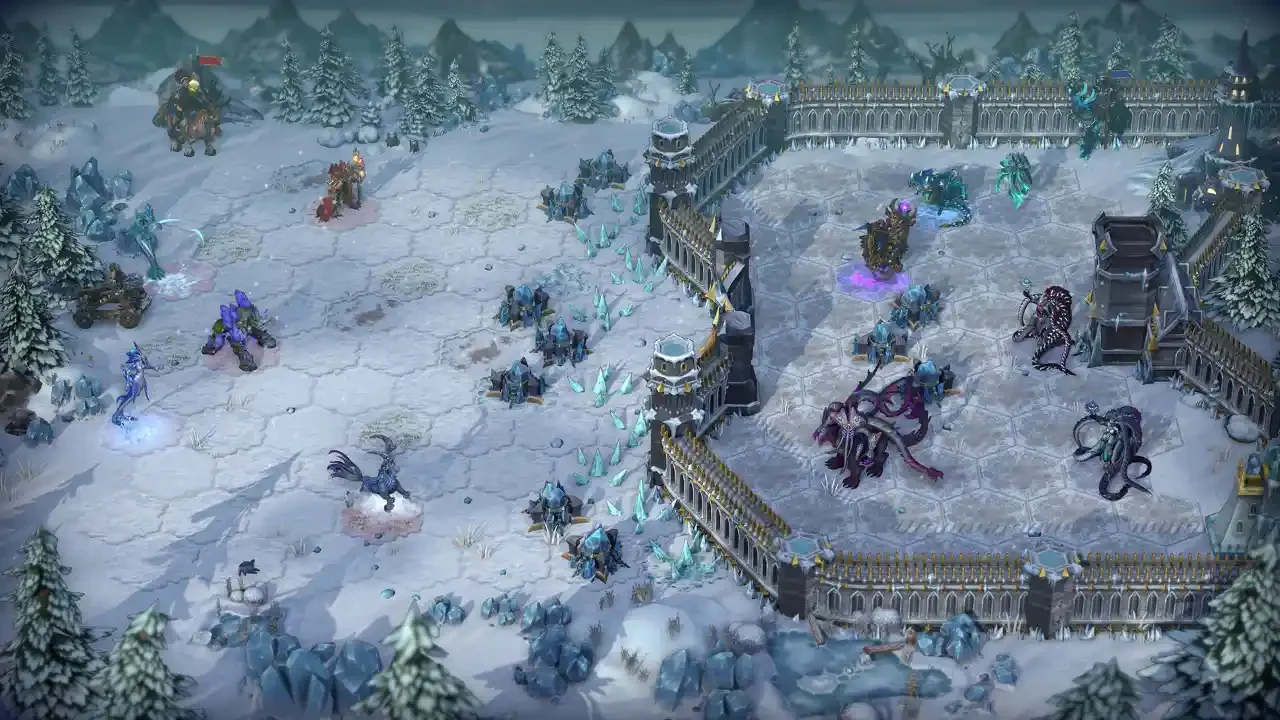
Long Reach attackers are incredibly valuable. They strike from exactly one hex away. Because they are not in a directly adjacent hex, the enemy cannot counterattack them. You can use Long Reach units to safely poke dangerous enemies or attack over battlefield obstacles like castle walls.
The Hidden Math of War
Before you click on an enemy, you need to know exactly how the game calculates the resulting bloodshed.
The Damage Formula Explained
Whenever a unit attacks, the game adds your hero's Attack and Defense stats directly to the creature's base stats. The core damage modifier formula is (20 + ATK) / (20 + DEF). If the resulting number is above 1, your unit deals bonus damage. If it is below 1, your unit deals reduced damage.
Morale and Luck Scaling
The battle is not decided purely by static numbers. Morale and Luck introduce chaotic RNG that can instantly turn the tide of a fight. Every point of positive Morale gives a unit a 4% chance to act twice in a single round. Conversely, negative Morale introduces a 4% chance per point to completely lose an action. Luck functions similarly, providing a 6% chance per point to trigger a Lucky strike for massive bonus damage, or an Unlucky strike for severely reduced damage. You can permanently increase these vital stats through meta progression, which I detail fully in my HoMM Olden Era Faction Laws Guide.
Focus and Magic Systems
Your standard attacks are only half of the equation. You must utilize your active abilities to survive difficult encounters.
The Focus Bar
As your units deal and receive damage during a match, you will generate Focus Points. This resource powers unique creature abilities. You can activate these mid-combat by pressing the 1 through 0 hotkeys on your keyboard. Do not hoard this resource. Use it to heal your troops, dispel negative effects, or deal burst damage to high priority targets.
Spellcasting in Combat
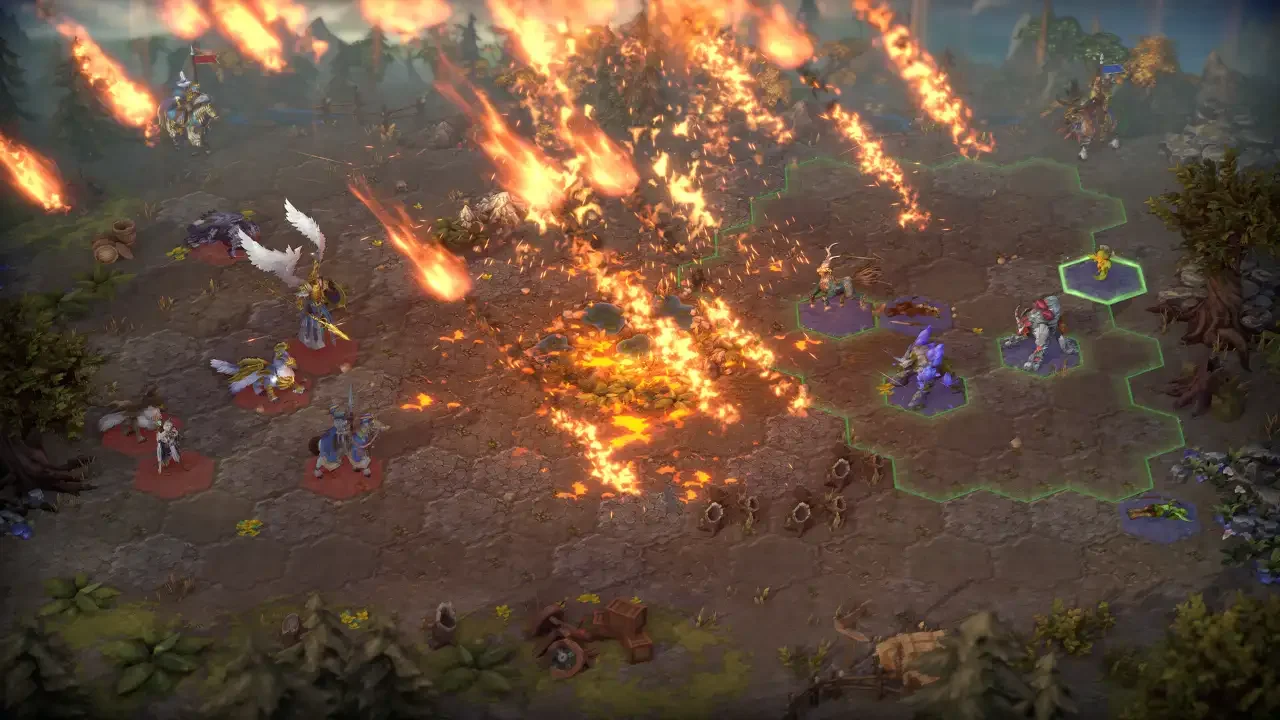
Your hero is not just a passive stat stick standing on the sidelines. You can cast devastating spells to alter the terrain, buff your troops, or directly damage the enemy. Casting requires spell points, which scale directly with your hero's Knowledge attribute. The magical ecosystem is incredibly complex and requires careful planning to unlock higher tier spells. I have broken down exactly how to manage your Mage Guilds, Observatory, and individual hero spellbooks over in my HoMM Olden Era Magic System Guide. Keep your mana pool healthy and use your magic to break enemy formations before they even cross the map.