Marathon Consumables Guide: What To Pack And What To Leave On The Floor
Every time you drop into a zone, you should assume you are already dead.
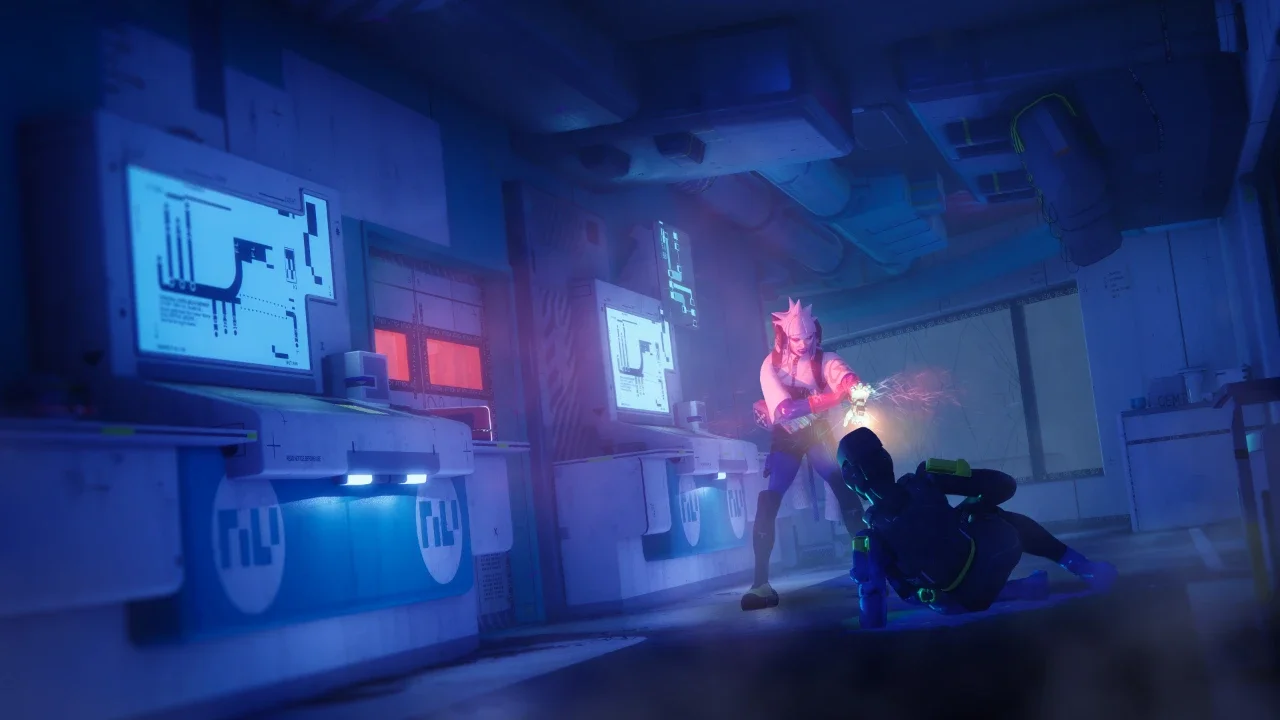
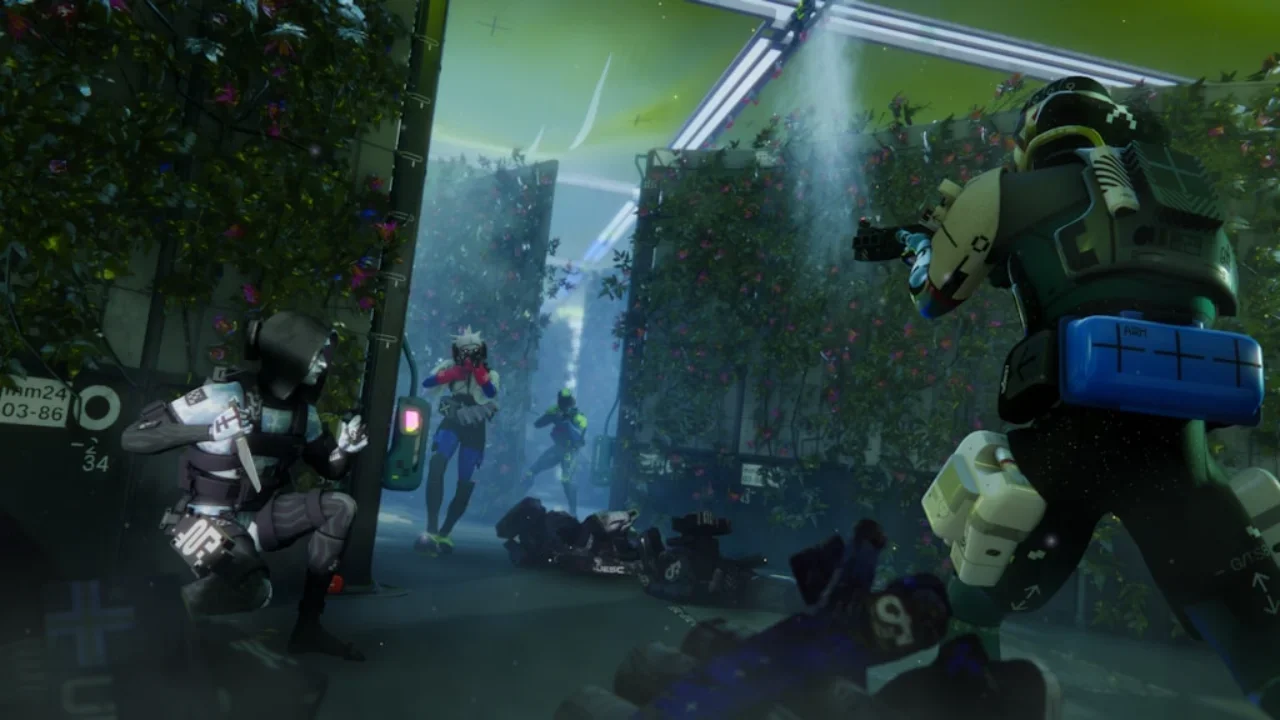
The extraction shooter loop is inherently brutal, and Marathon does not care if you planned your route perfectly. You can drop in with a flawless tactical plan, but if you take a stray sniper round to the chest without a way to patch the hole, your run is officially over. Survival completely hinges on what you shoved into your pockets before deployment and what you are willing to scavenge while under fire.
You have extremely limited space. Knowing the exact difference between a standard Patch Kit and a Pangea Kit is the line between extracting with a god tier loadout and losing everything you own. I spent entirely too much time dying to status effects and bleeding out in random corridors to figure out how this inventory economy actually works. You do not need to hoard every single glowing syringe you find. Between managing your ammo economy and hauling out high value loot, your backpack space is at a massive premium. I have cataloged every single consumable item in the game so you can stop guessing and start surviving.
The Absolute Essentials
If you are not bringing medical supplies into a raid, you are actively throwing the match. The time to kill in this game is unforgiving. You need a reliable way to top off your health and recharge your shields after an engagement.
You will constantly find "Depleted" versions of these items scattered around the map. Depleted Patch Kits and Depleted Shield Charges are strictly scavenge items. They offer a microscopic bump to your vitals. You should absolutely pop them the second you find them if you are missing even a sliver of health, but do not hoard them. They will automatically sell or vanish upon extraction. This makes them completely useless for long term inventory vault space management.
When packing for a serious run, you want a full stack of standard Patch Kits and Shield Charges. They provide moderate and reliable recovery. If you are incredibly wealthy or preparing for a high stakes mission, you upgrade to the Advanced variants. The undisputed kings of this category are the Pangea Kit and the Self Revive. Do not leave home without them if you are playing solo.
The Scrubber Trap
Getting shot is only half the problem. You are also going to get hacked, frozen, poisoned, and hit with EMP blasts. The tactical consumables exist to scrub these miserable debuffs off your character and keep your hardware functioning.
If you are just learning the ropes and reading my beginner survival guide, you probably should not waste loadout space on these items before a raid. They take up slots that should be dedicated to raw healing or extra ammunition. Instead, treat these as situational drops to scavenge.
The Mechanic's Kit and Advanced Mechanic's Kit handle the physical ailments. If you are hit with Frost, Overheat, Toxin, or an Immobilize trap, popping one of these clears the effect and temporarily boosts your Hardware stat. The Advanced version just makes the stat boost last significantly longer.
On the software side, the OS Debug and Advanced OS Reboot handle digital warfare. Getting hit by an EMP or a Hack is a miserable experience that strips away your HUD and leaves you completely blind to enemy movement. The Debug clears the software infection and spikes your Firewall stat to prevent immediate reapplication. If you are grinding specific faction contracts that force you into heavy robotic territory, having an OS Debug on hand will save your life. Otherwise, do not pull them from your stash.
Performance Enhancers And Stealth Tools
Now this final category is purely about raw stat manipulation. These are the items you pop right before you breach a room or when you need to run for your life across an open courtyard.
The Cardio Kick temporarily spikes your Agility and Heat Capacity. It essentially gives you a massive burst of stamina, allowing you to rotate around a flanking squad or outrun a closing threat. The Depleted version only offers a tiny bump to Agility, making it largely forgettable unless you just need a quick sprint to the extraction zone.
The Energy Amp is a severely underrated piece of kit. It drastically increases the recharge rate of your prime and tactical abilities. If you are running a build heavily reliant on your cooldowns, popping an Energy Amp right as a massive firefight kicks off gives you a ridiculous advantage over players relying purely on gun skill.
If you are trying to rat your way through a high danger zone with a backpack full of premium loot, popping a Signal Jammer is your best chance of slipping past a fully kitted squad unnoticed. Couple that with a gun from the top of the meta weapon tier list and you might actually survive the trip back to the menu.
Keep your pre-raid inventory simple. Secure your health with a stack of Patch Kits, secure your armor with Shield Charges, and let the utility consumables remain exactly what they are meant to be. They are situational tools you find in the dirt when you desperately need them.