Pokémon Champions Guide: The Definitive Doubles Meta Tier List
If you step onto the ranked ladder with a squad built for 1v1 fights, you are going to get flattened before you can even pick your first move.
The competitive Doubles landscape in Pokémon Champions rewards clever synergy far more than slamming raw stats onto the board. A monster that dominates in my Pokémon Champions Singles meta tier list might be completely useless when forced to handle two targets simultaneously. The introduction of Regulation M-B completely shifted how I approach field control. After spending my week grinding through the high-tier brackets, I figured out exactly which structures actually function in the current format. Before you waste your weekend testing awful combinations, here is my definitive breakdown of the current tier list.
The Complete Doubles Tier List Overview
Before I break down exactly why certain monsters are dominating the ladder, here is the full ranking of the current meta. Use this as a quick reference guide when you are staring at the team builder screen.
S Tier: The Meta Anchors
These are the defining forces of the current format. If you aren't running them, you better have a hyper-specific plan to survive them.
Incineroar
I am completely convinced that Incineroar is immortal. It has dominated Doubles formats for years, and it carries that exact same suffocating pressure directly into Pokémon Champions. Its Intimidate ability is the sole reason it sits at the absolute peak of the ladder. Every single time I switch Incineroar onto the field, it drops the Attack stat of both opposing monsters simultaneously.
The Fire and Dark typing gives it six resistances and a complete immunity to Psychic moves, letting it hang around forever. I use Snarl to systematically dismantle special attackers, then click Parting Shot to tank their stats further before pivoting out to an offensive threat. It cannot deal any meaningful damage on its own, but it really does not need to. Just keep an eye out for opponents leading with Defiant monsters (more on that below) because your Intimidate will hand them a free attack boost that flips the match instantly.
Kingambit
Kingambit is an absolute powerhouse that serves two crucial roles for me. It acts as my direct answer to enemy Intimidate spam via its Defiant ability, or it works as my late-game insurance policy thanks to Supreme Overlord. Its signature Dark-type move, Kowtow Cleave, never misses. That is a massive relief when you want to eliminate the awful accuracy RNG that plagues high-stakes matches.
The Steel and Dark typing grants nine distinct resistances, making it feel like a brick wall against neutral hits. Sucker Punch gives it immediate priority to bypass its atrocious base 50 Speed. The massive gaping flaw is its four-times weakness to Fighting moves, meaning you absolutely must carry a partner that can redirect Fighting-type threats before they touch you.
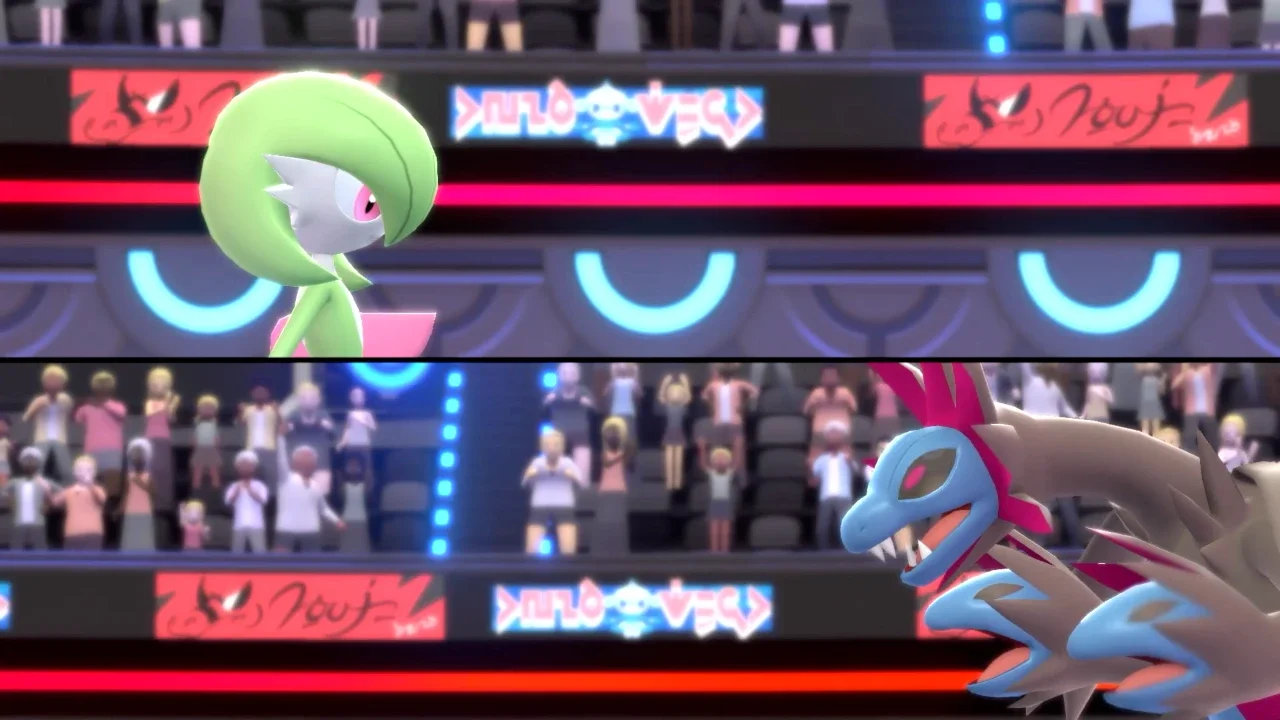
Garchomp
While Garchomp handles itself fine in Singles, it becomes a terrifying offensive nightmare in Doubles due to its access to devastating area-of-effect moves. It applies constant pressure to both opposing slots at the exact same time. Its Rough Skin ability is also phenomenal for punishing physical attackers who make contact, chipping away at their health for free. You just have to navigate its massive four-times vulnerability to Ice moves. Keep it away from clear blizzards and you will be fine.
Eternal Flower Floette
This thing is a massive special threat right now, largely because the complete absence of Assault Vest in the current item pool gives it free rein to tear holes through defensive lines. Its Fairy Aura powers up its own and its ally's Fairy-type attacks, turning simple STAB moves into absolute nukes. It completely scares off major physical threats like Garchomp. The obvious catch is that it immediately eats up your Mega slot, and its physical Defense is low enough that any decent Steel-type attacker will end its run quickly.
A Tier: Meta Staples and Weather Kings
These choices form the backbone of most high-tier compositions. They are incredibly strong but carry explicit, predictable counters.
Sneasler
Sneasler is easily one of the fastest non-Mega monsters available. The real reason I love running it is Dire Claw. The move applies completely random status effects that can instantly paralyze, sleep, or poison an opponent, entirely breaking their carefully planned strategy on turn one. It can abuse a ton of different held items to trigger its Unburden ability for a stupidly high Speed tier. Just make sure to keep it away from Psychic moves because a four-times weakness means it evaporates if a special attacker even sneezes in its direction.
Glimmora
Glimmora is my go-to hybrid for entry hazards and special offense. Its Toxic Debris ability automatically drops Toxic Spikes onto the enemy side the second it gets touched by a physical move. Once you Mega Evolve it, it gains Adaptability, which transforms its Meteor Beam into a terrifying offensive tool. Watch out for its four-times Ground weakness, and realize that a smart opponent will try to use Taunt to shut down your setup before you can lay down hazards.
Tyranitar
The premier choice for sandstorm control. Its Sand Stream ability immediately alters the field on entry, chipping away at opponents and boosting its own Special Defense. It is incredibly slow, and that four-times weakness to Fighting-type attacks means you have to play defensively if a fast physical attacker is across the board.
Charizard
Charizard is incredibly customizable because both of its Mega forms are completely viable, allowing you to run it as a physical threat or a special sun-sweeper. It has a deeply diverse movepool and synergizes perfectly with standard solar teams. The massive caveat is that its base form is pretty underwhelming without Mega Evolution, and Stealth Rock will instantly take half its health if you aren't careful.
Sinistcha
An absolute masterclass in team support. Sinistcha uses its Hospitality ability to instantly heal its partner upon switching in, completely shifting the damage math for your main attacker. I use Matcha Gotcha to keep its own health topped off while fishing for burns, and access to Rage Powder gives it immense utility for board control.
B and C Tier: Niche Specialists and Supports
Instead of running down every single monster in the lower tiers, you need to understand the highly specific roles these picks fill. These monsters are not inherently bad. They just require you to build your entire strategy around them to get any real value out of their kits.
The Weather Setters
Pelipper and Torkoal live in the B tier entirely because of their abilities. Pelipper sets up Rain with Drizzle, which is the absolute baseline infrastructure needed to make an attacker like Archaludon function. Archaludon thrives under rain because its Electro Shot skips the usual charging turn. On the other side, Torkoal sets the sun with Drought and drops maximum-power Eruptions. Both are completely predictable and will fall apart instantly if your opponent overwrites your weather with a Tyranitar switch-in.
Speed Control and Redirection
If you are running a frail attacker, you need board control. Whimsicott provides priority Tailwind and Encore setups thanks to Prankster, but it will drop to a single dedicated physical hit. Farigiraf is an excellent Trick Room setter whose Armor Tail ability completely blocks enemy priority moves like Fake Out.
If you want pure redirection, Maushold uses Friend Guard to reduce the damage its partner takes while spamming Follow Me to draw attacks. Just remember that a single well-placed Taunt from a fast opponent will completely shut down these support strategies, leaving you with dead weight on the field.