Pragmata Endings Guide: How to Survive the Dead Filament and Unlock the True Conclusion
Watching the protagonist slowly rot from an alien infection after spending thirty hours keeping an android child safe is an incredibly bitter pill to swallow.
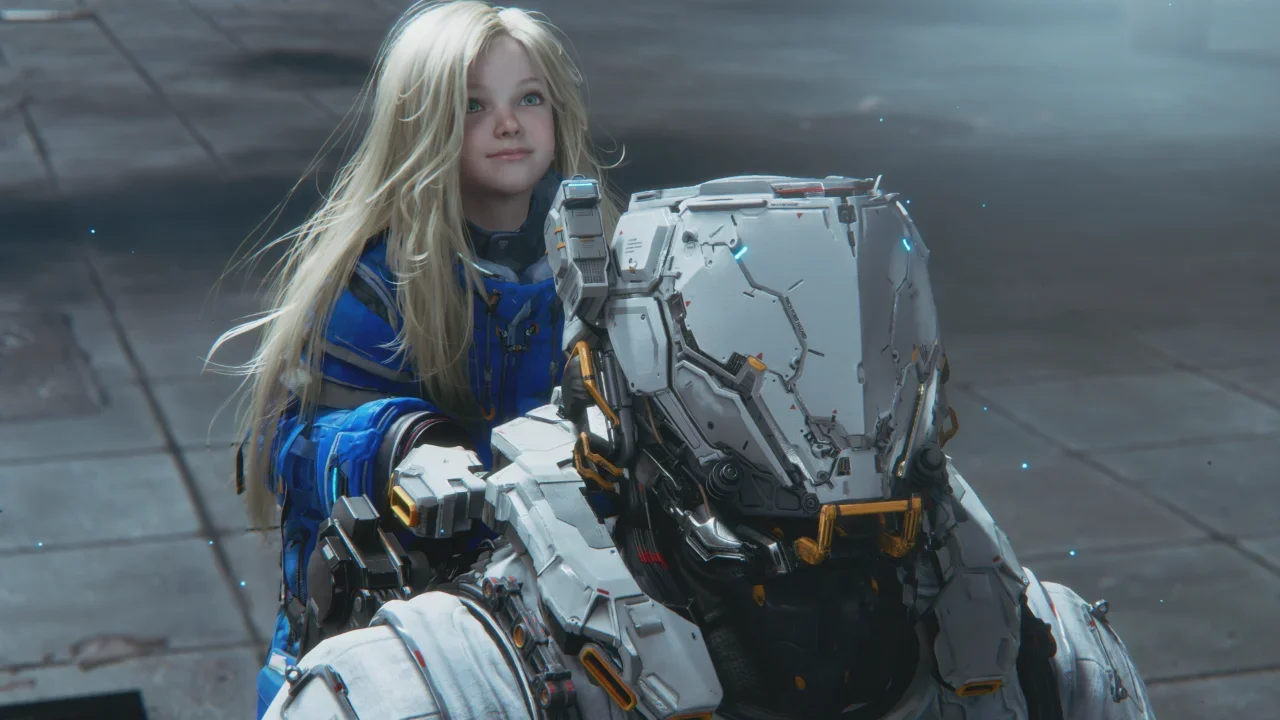
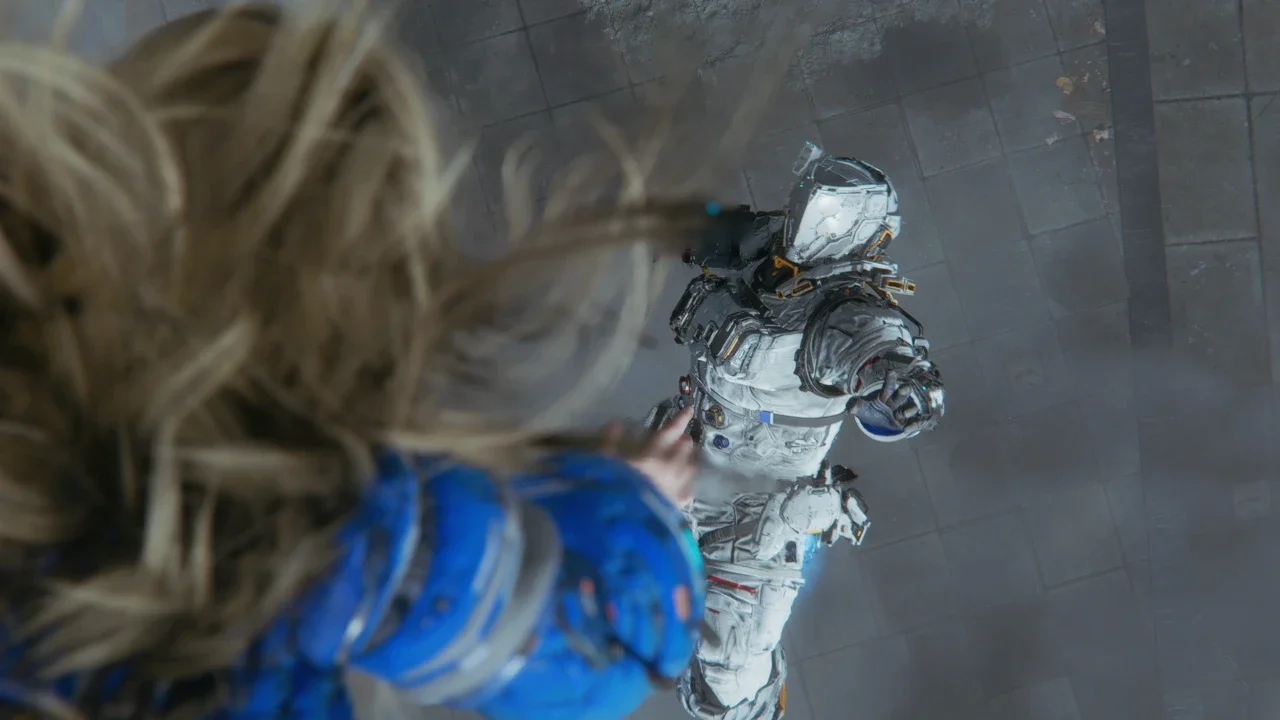
Capcom pulled absolutely no punches with the narrative climax of this game. You spend your entire journey on the Lunar Base building a bond with Diana, hoarding Read Earth Memories to make her smile, and throwing yourself in front of towering security mechs to protect her. Then, the game rips the rug out from under you. If you go into the final chapter completely blind, you are going to get an ending that feels like a punch to the gut. Hugh sends Diana to Earth, and he stays behind to die.
It is brutal. But it is not the only outcome.
Pragmata actually features three distinct endings, and the game does absolutely nothing to guide you toward the best one. There is no convenient branching dialogue choice at the final boss door. The ultimate conclusion is locked behind a massive, incredibly specific post-game grind.
If you just hit the credits and are staring at your screen in disbelief, you are in the right place. Let us break down exactly what happened, what you missed, and how you can actually bring Hugh home.
The Abandonment Ending: The Grim Reality
I am putting this one first because it is the absolute worst possible outcome. You really have to go out of your way to be terrible at the game to see this.
The Abandonment Ending triggers if your Synchronization level with Diana is abysmally low. This happens if you treat her like a burden rather than a companion. If you ignore all the optional dialogue prompts in the Shelter, intentionally fail the escort sequences, speedrun past every piece of lore, and completely ignore the memory cubes, the game punishes you.
In this timeline, Diana manages to restore the atmosphere of Earth, but Hugh completely loses his consciousness to the infection. It is a bleak, hollow victory. Unless you are a morbid curiosity hunter trying to see every cutscene, avoid this route entirely.
The Default Ending: A Bittersweet Goodbye
This is the conclusion ninety percent of you will get on your first playthrough.
If you play the game normally, grab a decent amount of upgrades, and keep your Synchronization level relatively low to medium, you get the standard finale. You fight the final boss in Sector 06, the dead filament overtakes Hugh, and he forces Diana into the escape shuttle. She heads to Earth alone while Hugh stays behind on the moon to stabilize the catastrophic AI failure.
It is a well directed, highly emotional sequence. But once you wipe your eyes and return to the main menu, you will notice the game has unlocked a new mode called Unknown Signal. This is your ticket to fixing the timeline.
Beware the Points of No Return
Now before you waste hours backtracking for the True Ending requirements, you need to understand the lockouts. Pragmata has three highly specific triggers that will permanently ruin your completion run if you cross them unprepared.
The True Ending: Surviving the Unknown Signal
You cannot get this ending on a fresh save file. The game demands that you witness the tragedy of the Default Ending first. Once you clear Sector 06 and hit the credits, you are given access to the Unknown Signal post-game mode.
Loading this drops you back into the timeline right before the final boss, but it opens up a brand new area in the Shelter called the Hidden Chamber. Inside, you will find ten locked pods. This is the ultimate gauntlet.
Step One: The 100% Sector Grind
To even open those pods, the game requires absolute perfection. You must achieve 100% completion across every single sector in the game. This means tracking down every hidden mod, pure lunum drop, and lore datapad.
There is a slight mercy here. The game does not count your Upgrade Components or the hidden Mini Cabin figures toward this specific completion metric. If you are going crazy trying to find the last piece of loot in the Terra Dome, you need to abuse Diana's scanning tools. I wrote a dedicated breakdown on How to Easily Find All Hidden Items that will save you hours of wandering.
Step Two: The Boss Rematches
Once you clear a sector, you have to return to the original boss arenas. You will face significantly harder, buffed versions of the first four major bosses. Your baseline weapons will barely scratch them. You need to approach these fights with endgame builds. If your loadout feels weak, reference my Best PC Settings and Upgrades Guide to ensure you are maximizing your damage output.
Step Three: The Secret Sector Pods
With the map cleared and the bosses dead, the ten Sim Pods in the Hidden Chamber will unlock. Do not confuse these with the standard Training Sims like "Bad Blood" or "Floor It". These are unique, highly demanding mechanical challenges.
Clear all ten of them, and the central chamber opens. Inside, you will find a massive loot cache. You get the Lim Cannon Attack Unit, two new outfits (Obsidia and Black Neon), and the most important item in the entire game. The Black Box Mod.
Changing Fate
The item description for the Black Box Mod casually mentions that it combats the spread of dead filament in organic matter. That is your golden ticket.
Equip the mod to your loadout. You will not see a new cutscene immediately, and Hugh will not suddenly look healthier. You have to walk back through the final doors and fight the powered-up version of the final boss all over again.
When you strike the final blow, the cinematic plays out exactly like the Default Ending. Hugh puts Diana in the shuttle. The doors close. The music swells. But do not touch your controller.
During the credits, you will notice brand new concept art illustrating Hugh and Diana. And when the screen finally fades to black, the audio kicks back in. You hear heavy footsteps echoing against metal, followed by the pneumatic hiss of a door opening. Then, Cabin's robotic voice chimes in over the speakers.
"Welcome back! What's this? Traveling alone today?"
That is the definitive confirmation. The Black Box Mod worked. Hugh purged the infection, survived the AI meltdown, and made it back to the Shelter alive. It completely recontextualizes Diana's final words looking up at the moon, transforming a tragic sacrifice into a promise of a reunion.
The grind to get there is an absolute nightmare, but hearing those footsteps makes every single hour of backtracking worth it. For more deep dives into the lore and mechanics of the lunar base, check out our complete Pragmata Hub.