Road To Vostok Guide: Surviving The Minefield And The Permadeath Border
Walking into the final zone of this game is a massive gamble that will completely erase your save file the second you make a fatal mistake.
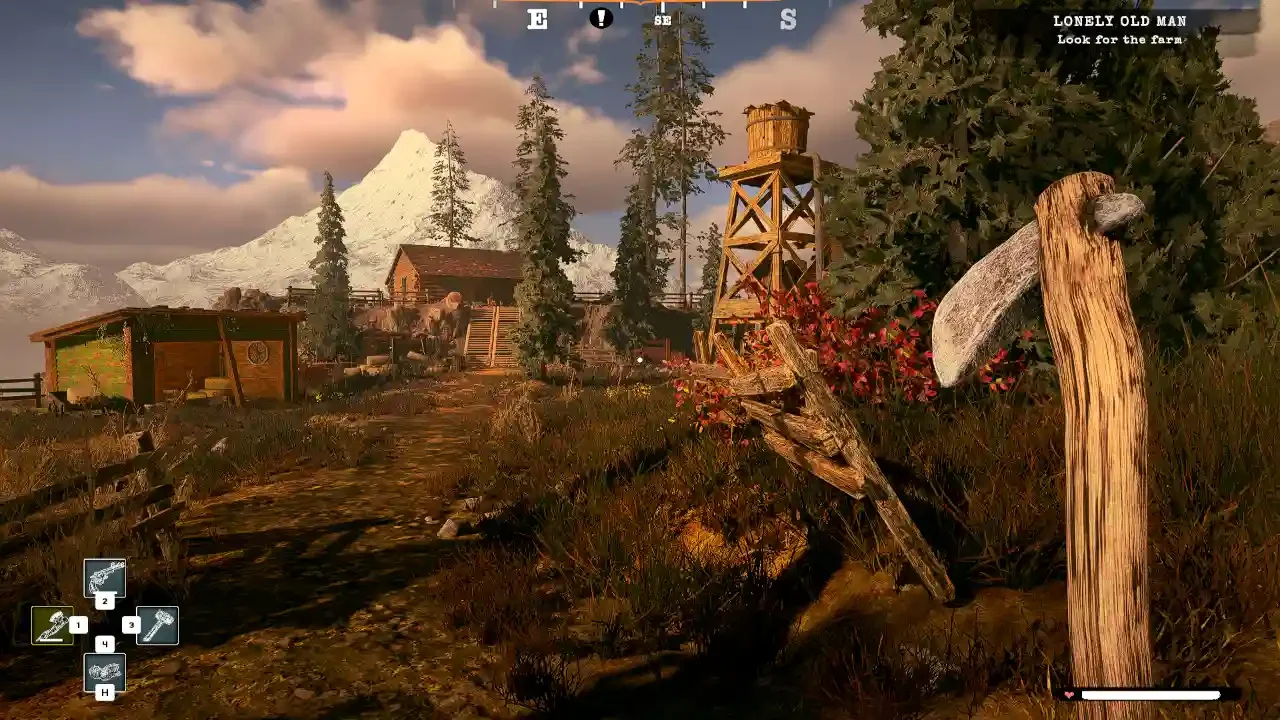
Everything you have done up to this point has been a dress rehearsal. Gathering loot in the starting village, trading for better suppressors, and figuring out how to actually reload your weapon were all just stepping stones. The real game begins when you decide to leave the relative safety of the Border Zone and cross into Vostok.
I need to make the stakes perfectly clear before you even look at the map. Vostok is a dedicated permadeath region. If you die in the Apartments or the Terminal map, you do not respawn in your bed. You do not drop your backpack and run back to get it. Your entire save file is wiped out. You lose all of your accumulated wealth, and you lose access to every single hidden shelter location you painstakingly unlocked.
To actually reach this hellish endgame area, you have to cross a heavily fortified minefield guarded by elite military units. If you walk into this chokepoint without a rigid plan and a flawless inventory, you are going to end up as a red smear in the snow.
The Mandatory Shopping List
You cannot cheap out on your loadout for this run. Every single item in your backpack needs to serve a distinct survival purpose. If you are lacking any of the core items listed below, turn around and go back to the trader.
Understanding The Medical Requirements
The medical list might look like overkill, but it is actually the bare minimum. The 10 bandages and 8 painkillers give you roughly 300 to 400 extra hit points of sustained healing during prolonged firefights. The splints are mandatory because stepping on a rigged explosive or taking a heavy caliber round will instantly fracture your limbs.
The most important item in that entire table is the Medkit. Do not even approach the border if you do not have at least one full Medkit in your rig. If you sustain a Deadly Injury status effect during combat, basic bandages will not save you. You will bleed out and lose your save file if you do not have a Medkit ready to instantly patch the catastrophic wound.
Calibrating Your Food And Water Rations
Your caloric requirements depend entirely on which part of Vostok you plan to infiltrate. Carrying too much food wastes valuable grid space that you need for looting, but carrying too little means you will starve before you can extract.
If you are aiming for the Apartments map, you only need to pack roughly 120 Energy points and 200 Hydration points worth of supplies. The apartment complex is littered with abandoned residential food, so you can easily scavenge your meals once you arrive.
If you are ignoring the residential sector and pushing straight for the Terminal map, you have to pack significantly heavier. You need around 240 Energy points and 320 Hydration points. This specific ration size guarantees you have enough sustenance to skip one full night cycle and make the dangerous trek back home without starving to death in a concrete hallway.
Executing The Crossing
Once your backpack is sorted, you have to mentally prepare for the actual route. The environment is actively trying to kill you just as much as the guards.
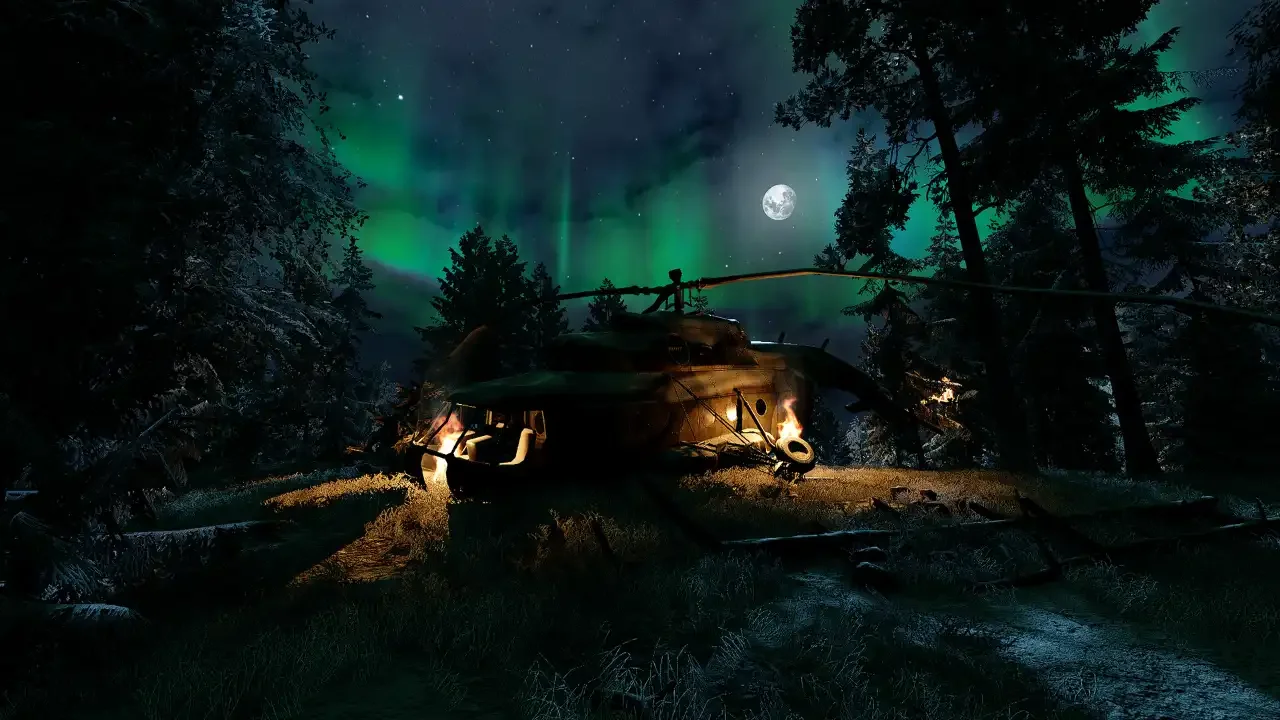
Waiting For Miserable Weather
As I mentioned in my beginners survival guide, walking into Vostok on a bright sunny afternoon is practically suicide. The military presence in this region has absurdly strong detection metrics.
You need to camp in a shelter and wait for the weather to turn completely miserable. You only want to cross the border when there is heavy rain or dense fog blanketing the map. These specific weather conditions drastically reduce the visual range of the AI. You also need to time your push between 10 AM and 4 PM so you do not accidentally get caught in the pitch black night cycle while navigating a field of live explosives.
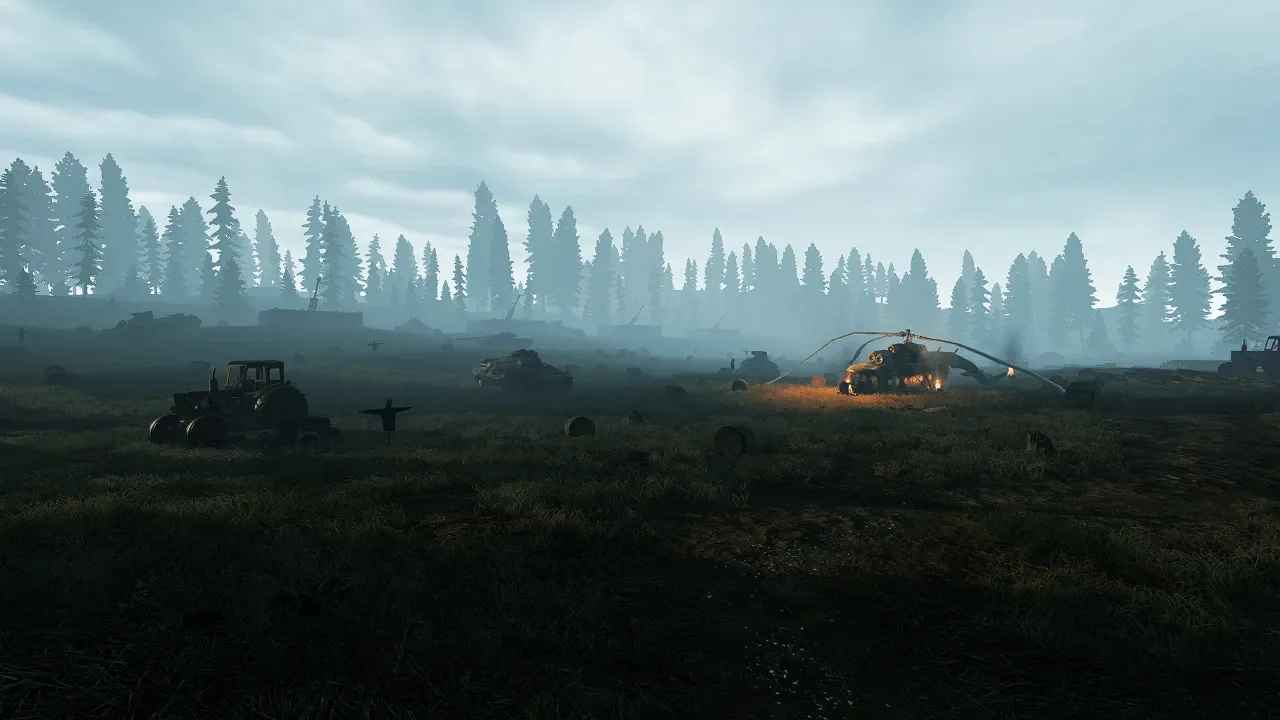
Navigating The Explosives
The first half of the crossing is a literal minefield. You cannot just sprint through the snow and hope for the best. You have to take your time, keep your weapon raised, and scan the ground furiously.
When you spot a mine, do not try to walk around it. Shoot it from a safe distance to clear the path permanently.
If you make a mistake and accidentally step on a hidden mine, your immediate instinct will be to panic and run away from the blast zone. Do not move a single muscle. Running blindly after an explosion usually means you are just going to sprint directly into a second mine and kill yourself instantly. Stop moving immediately, open your inventory, fix your fractures with a splint, and heal yourself back to maximum health before taking another step.
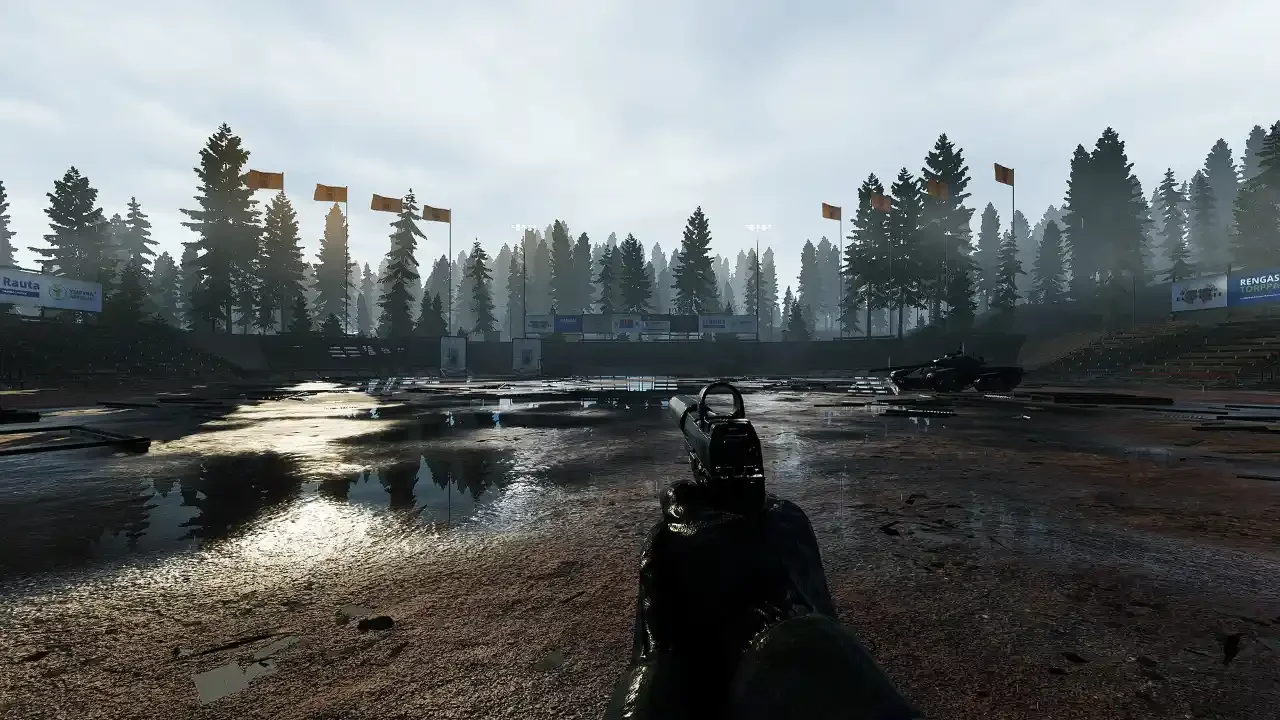
Eliminating The Border Guards
The second half of the crossing introduces the human element. There are roughly ten Border Guard NPCs patrolling this chokepoint. The biggest threat comes from the two massive watchtowers located near the bottom half of the map.
You will typically find anywhere from two to six heavily armed guards stationed on or around these towers. This is exactly why a magnified optic was a mandatory requirement on your shopping list. You cannot push these towers with a basic shotgun or iron sights. You have to locate a solid piece of hard cover, lean out, and systematically eliminate the snipers from a distance.
Take your time and pick them off one by one. Once the towers are clear and the ground patrols are dealt with, you can finally push past the gates and enter Vostok.