Three tanks, three completely different ways to play Splatoon Raiders, and the game hands you the choice way before you've got enough information to actually make it.
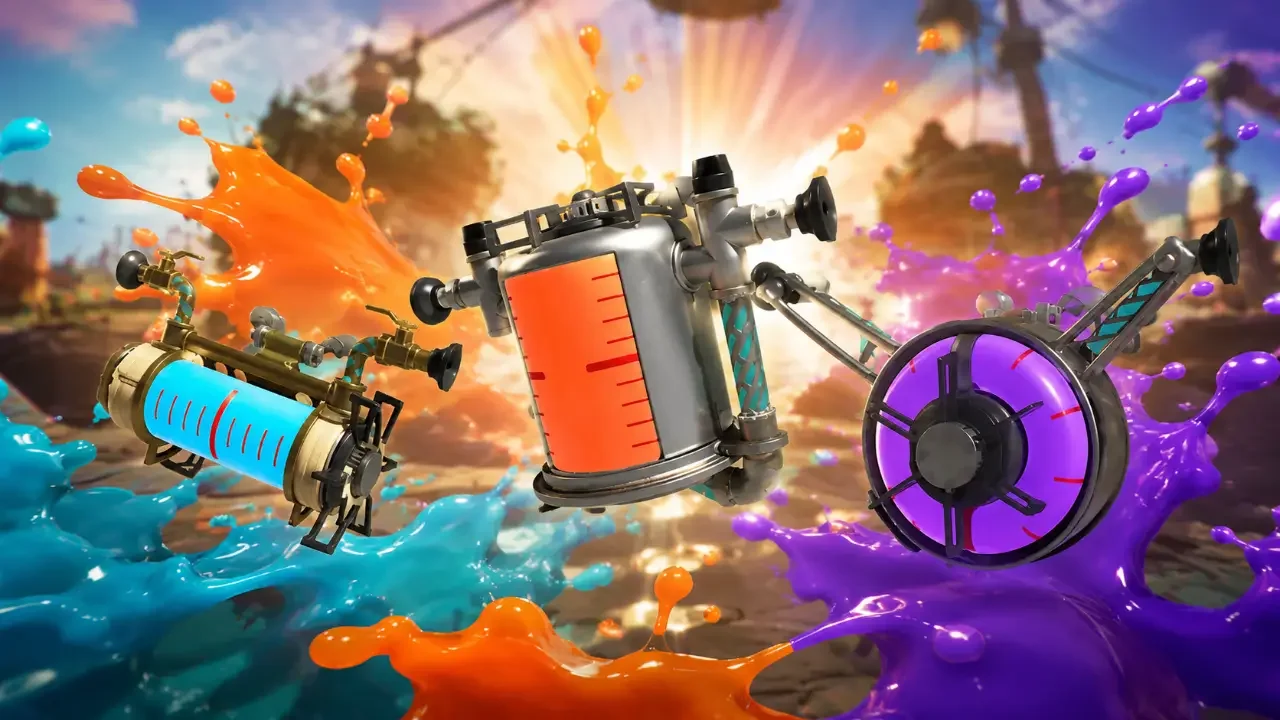
What Each Tank Actually Does
Your ink tank starts out doing the bare minimum, fueling your weapon and topping off when you swim. Once you unlock Tank Types, that changes completely, because each one opens up its own set of Gadgets and eventually Relic powers, and none of them play the same.
Speed Tank gear is built around getting you somewhere fast, usually with a burst of ink or a small explosion tagging along for the ride. Power Tank gear wants you up close, dealing heavy damage in tight spaces. Tactical Tank gear leans into deployables, things you place down that handle enemies while you're busy elsewhere. None of them touch your actual ink capacity or refill speed either, that stays identical across all three, so the choice really is about playstyle and nothing else.
The Starting Gadgets
Speed Tank's Blast Boot
This one's a jump with an explosion attached when you land. It's handy for hopping into a fight and doing a bit of damage on arrival, or for getting yourself out of danger and landing safely back in your own ink. Its range is fairly short though, so leaning on it against a big group of Salmonids won't do a ton of work on its own.
Power Tank's Splatchet
A forward charge with a wide slashing arc attached. It's great against clusters of smaller enemies since it hits several at once, and it still does solid damage against bigger single targets. The catch is commitment, you're charging in a straight line, so misjudging where enemies are or getting swarmed mid-charge can leave you exposed.
Tactical Tank's Shot Pot
A little turret buddy that fires on its own at nearby crates and Salmonids. It sticks around for a while before its cooldown kicks in, which makes it feel less like a one-and-done gadget and more like a second set of hands covering ground your weapon can't reach. It won't hit as hard as the other two starters, but it buys you room to focus elsewhere.
Which One To Pick First
Here's where I won't pretend there's one obvious answer, because there isn't. Tactical Tank makes a strong early case for its staying power, the Shot Pot buys you room to learn enemy patterns without getting swarmed. But Power Tank has a real argument too, damage output matters a lot in this game, and the Splatchet clears crowds fast once you're comfortable aiming it.
Neither take is wrong. It really comes down to how you want your first few hours to feel. If you'd rather ease in and lean on something that covers your back while you get a feel for enemy spacing, Tactical Tank's low-stress support angle is worth trying first. If you'd rather just start hitting things hard and figure out positioning as you go, Power Tank gets you there faster. Speed Tank sits in a slightly different lane entirely, it's less about raw output and more about staying mobile, which matters a lot in dungeons with tight time limits or when you'd rather dodge a fight than wade into it.
The good news softens all of this anyway, none of these choices are permanent. You're free to swap tanks and gadgets around back at the hideout whenever you like, so treat the first pick as a starting point rather than a commitment.
Customizing And Crafting Gadgets
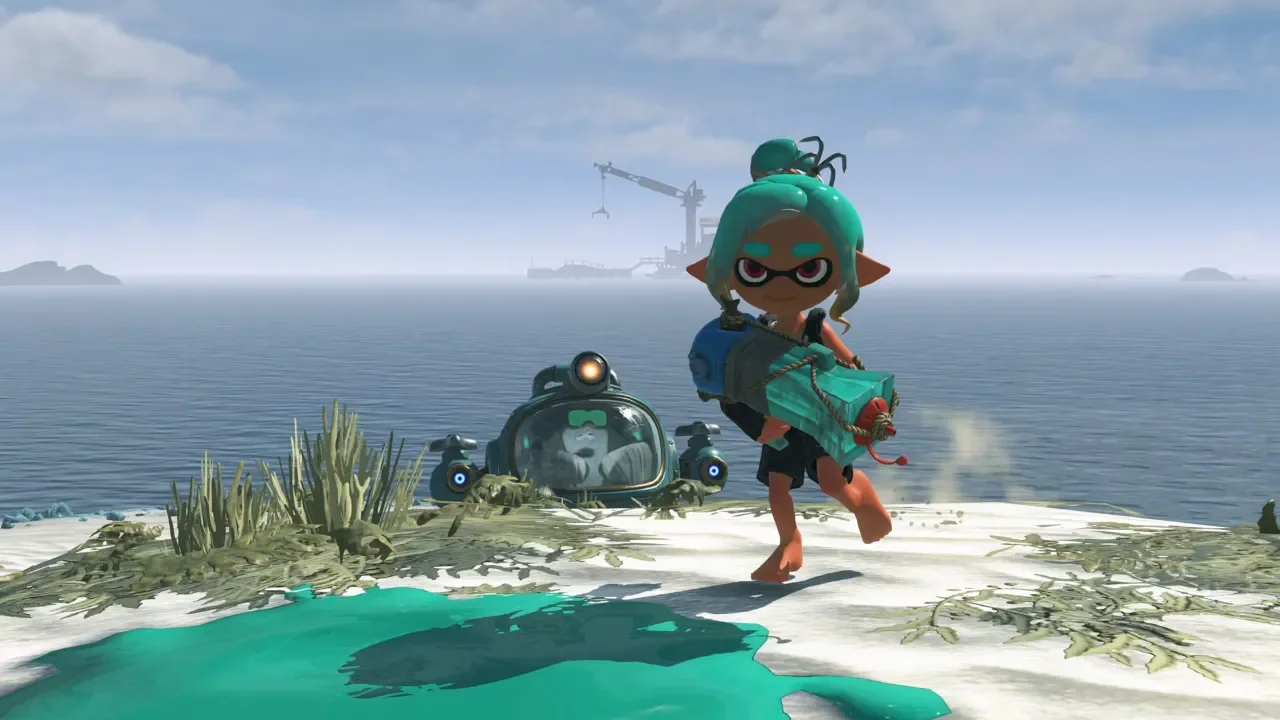
Once you've spent some time with a tank, you'll start unlocking ways to modify how its gadgets actually function, and these changes can shift a gadget completely. A Splatchet tuned to attack vertically turns into a different tool entirely, dealing more focused single-target damage instead of clearing a wide arc. A Shot Pot with an added area-of-effect blast becomes more of a crowd deterrent than a single-target turret.
Eventually you'll also be able to craft entirely new gadgets from scratch. They're not cheap early on, so it's worth being a little choosy about where you invest first, but every gadget becomes affordable eventually. Nothing here locks you out of options permanently, it just rewards patience.
Unlocking Super Tanks And Ultra Tanks
Each Tank Type has a bigger payoff waiting once you commit to it for a while. Collect 50,000 Power Eggs with a single tank equipped and it upgrades into a Super Tank, unlocking a new ability tied to that tank's whole identity.
Speed Tank's version, Tank Torrent, kicks in after swimming for a stretch and boosts both swim and run speed while blowing Salmonids away as it inks the ground. Power Tank's Tank Surge bumps all damage up by 20 percent for its duration. Tactical Tank's Tank Vortex spawns a damaging vortex around you with a chance to Ferment any Salmonid caught in it. All three trigger the same way, by emerging from swim form after being submerged a while, so the timing feels consistent even though the payoff is different for each one.
Push further and you'll unlock Ultra Tanks, which let you equip three gadgets at once plus one gadget and one Relic borrowed from a different Tank Type entirely. That's a real shift, since it means your loadout doesn't have to stay boxed into a single playstyle anymore. Getting there does require farming Power Eggs across two different tank types though, so you'll end up experimenting with tanks you might not have touched otherwise, whether you planned to or not.
If grinding out that many Power Eggs sounds like a slog, the same short dungeons worth running to level up Bond progress quickly tend to double up nicely here too, since repeat runs of quick Dens rack up Power Eggs just as efficiently as they build Bond Level.
How To Actually Swap Tanks
Changing tanks is simple once you know where to look. Pull up the gear menu with the Plus button, head into the Tanks tab, and pick whichever one you want to try. The one thing to keep in mind is timing, this only works back at the ship base between missions. Once a raid actually starts, you're locked into whatever loadout you brought in.
Worth noting too, upgrades bought with skill points apply across every tank you own, even ones sitting unused. Experience doesn't carry over the same way though, so leveling a new tank from scratch means putting in fresh hours with it specifically. If you're bringing a party along for any of this, keep in mind raids tend to get more chaotic with other players around, so a tank you found comfortable solo might feel a little different once extra enemies start piling in.