Subliminal Collectibles Guide: Finding Needles In A Nightmare
Trying to focus on a scavenger hunt while constantly feeling like something is staring at the back of your head is an absolutely miserable experience.
I wrote heavily about the psychological dread of this game in my Subliminal Review. A terrible mistake you can make in any psychological horror environment is lingering in a dark hallway. Unfortunately, if you want a perfect completion record, you have to do exactly that. Digging through Caleb's fractured memories requires you to check every shadowed corner while hostile entities hunt you down.
The architecture in this game is specifically designed to make you feel completely isolated and paranoid. Forcing yourself to backtrack through an empty, echoing facility just to find a missing toy feels like a targeted attack on your nervous system. I mapped out all six collectible locations hidden throughout Episode 1 so you can grab them and get out before something catches you in the dark.
The Master Checklist
There are six confirmed items to grab. A few of these are highly missable because they require you to trigger specific chase sequences or avoid interacting with progression switches too early. I strongly advise you to check your surroundings before you start pulling levers.
Here is the exact pathing required to secure every item without wandering blindly into a trap.
The Basement Secrets
You will find the first two collectibles incredibly early in your run, provided you know exactly which furniture to inspect.
The Toy Figurine
Start your hunt in the bedroom. You will find a small mini fridge covered in scattered magnet letters. Interact with the fridge and manually move the letters around to spell CALEB. Once the name is set, the lights will aggressively flicker, the magnets will vanish, and the fridge door will pop open to reveal the Toy Figurine inside. Grab it and move on.
The Children's Book
Do not touch the Erase switch until you have this item in your inventory. You get access to this area after surviving the incredibly stressful door and light test in the basement. Walk up the newly unlocked stairs, go straight ahead, and enter the room with the ajar door on your right.
Look at the open desk drawers on your left. The Children's Book is sitting right in the top small drawer. If you pull the Erase switch in this room before picking up the book, the entire desk disappears permanently, locking you out of the collectible for the rest of your run.
Exploring The Waterworks
This area taps into that deeply uncomfortable poolrooms aesthetic. It is vast, echoing, and easy to get turned around in.
Swim Goggles
The moment you take control of Caleb in the Waterworks, ignore the obvious stairs dead ahead. Turn hard right and follow the tiled path all the way around the perimeter until you hit a dead end. Look to your left near a lonely palm tree and a green water cannon turret. You will spot the Swim Goggles sitting quietly on the floor just before the jet.
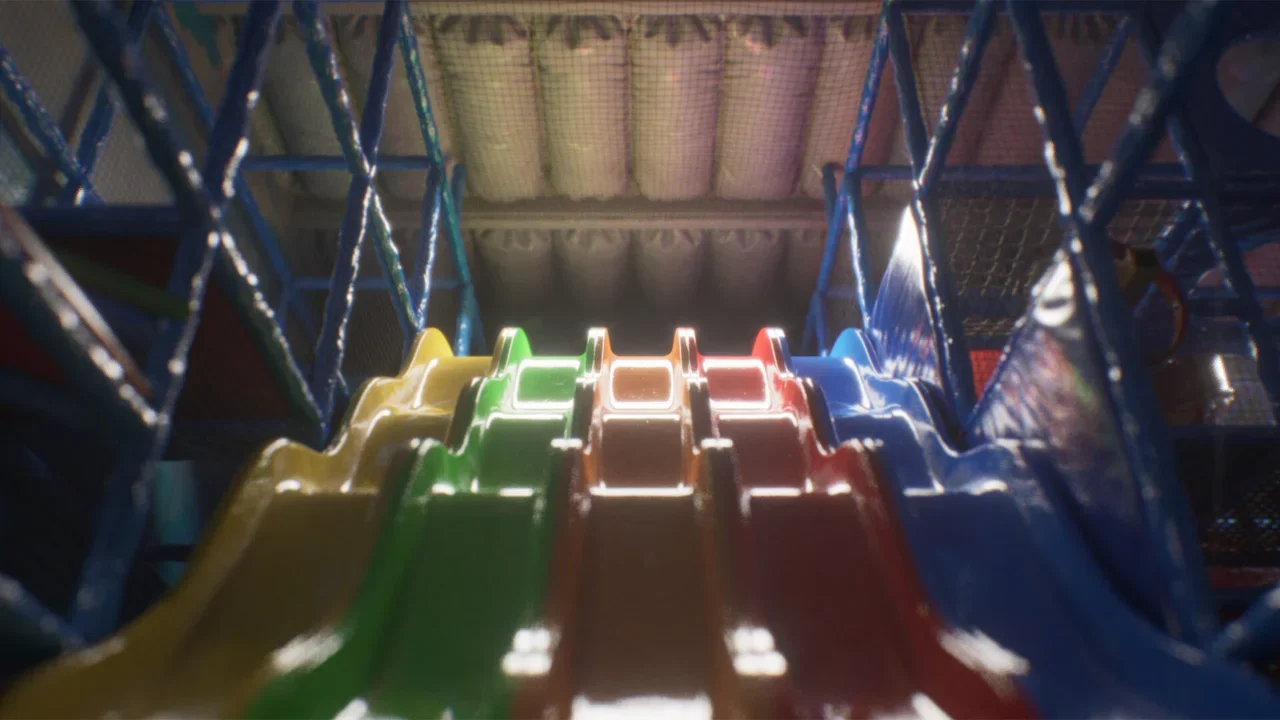
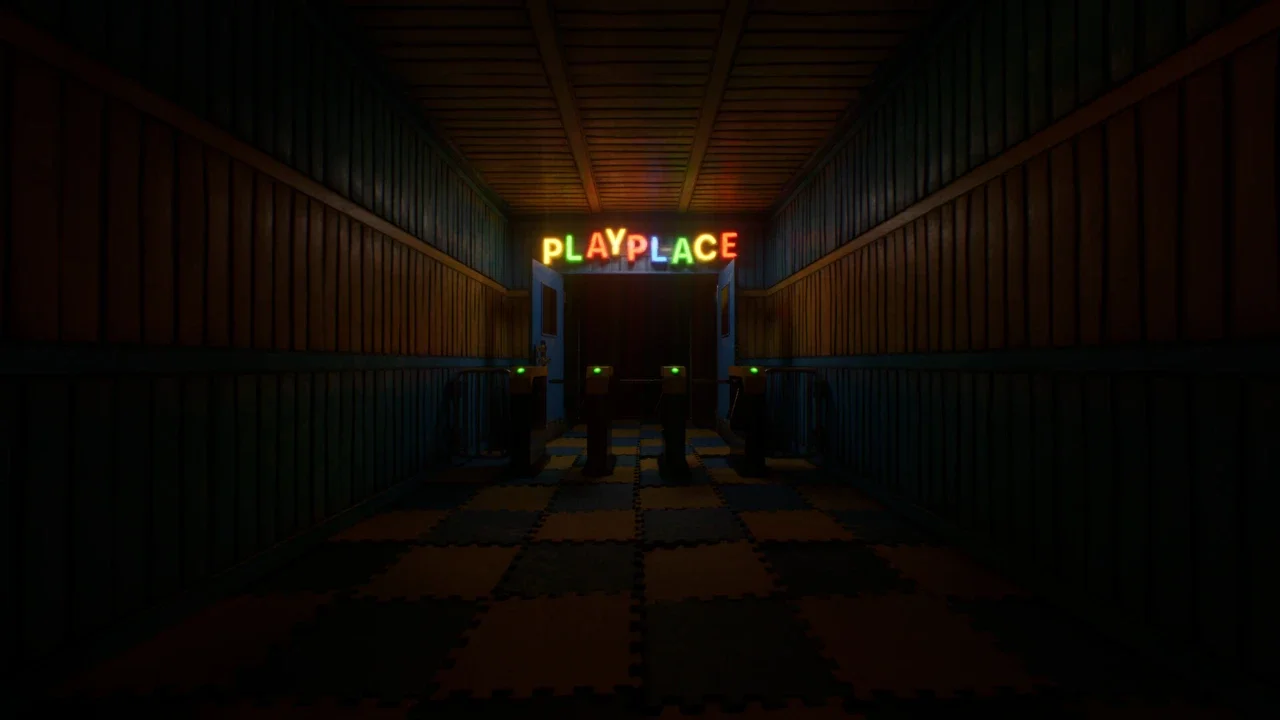
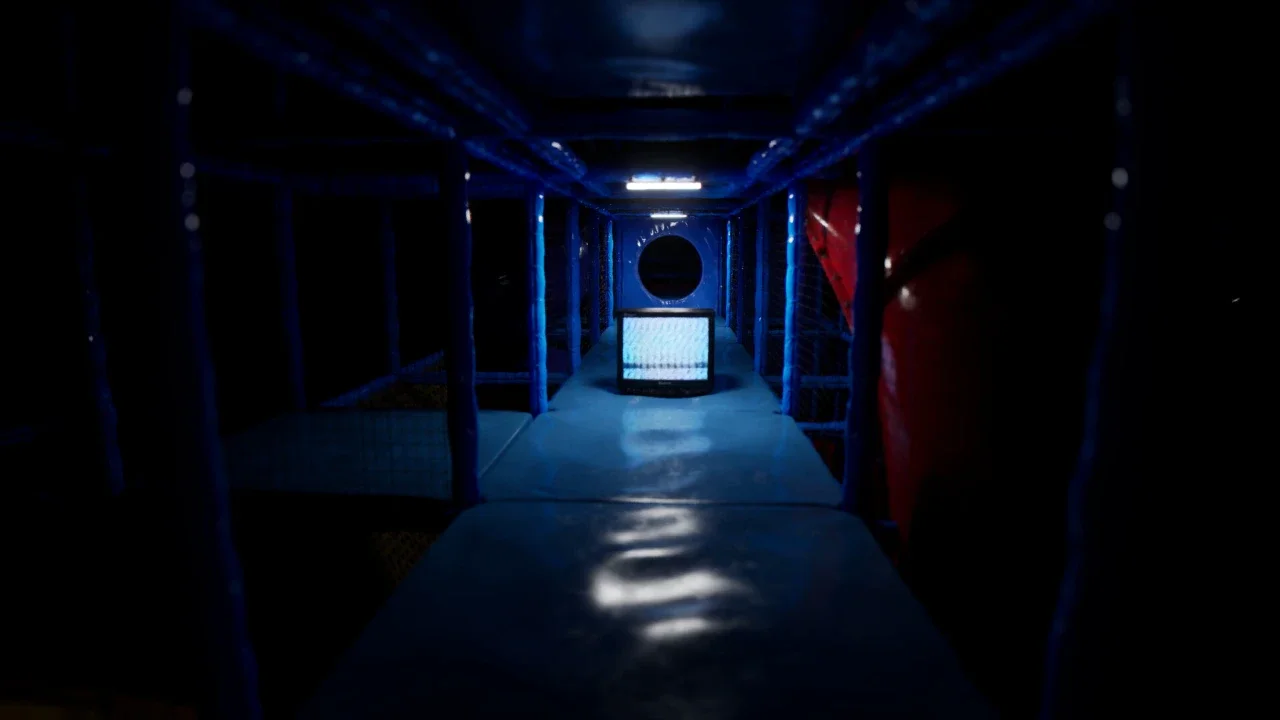
Surviving The PlayPlace
This is where the collectible hunt gets actively dangerous. You have to intentionally put yourself in a terrifying situation to access a hidden room, which is absolute bullshit when you are just trying to find a coin.
Arcade Token
After you finish the Fun-o-Meter puzzle, the Smile entity shows up. Do not look away. You must hold your gaze directly on it to trigger a specific chase sequence. If you successfully survive the chase and escape into the new section of the PlayPlace, follow the path to the left.
When you reach a hole in the ground, take the door on your right. This drops you into a hidden, dimly lit arcade room. Look for the standalone cabinet labeled Memory Lane. The Arcade Token is resting directly against the arcade screen.
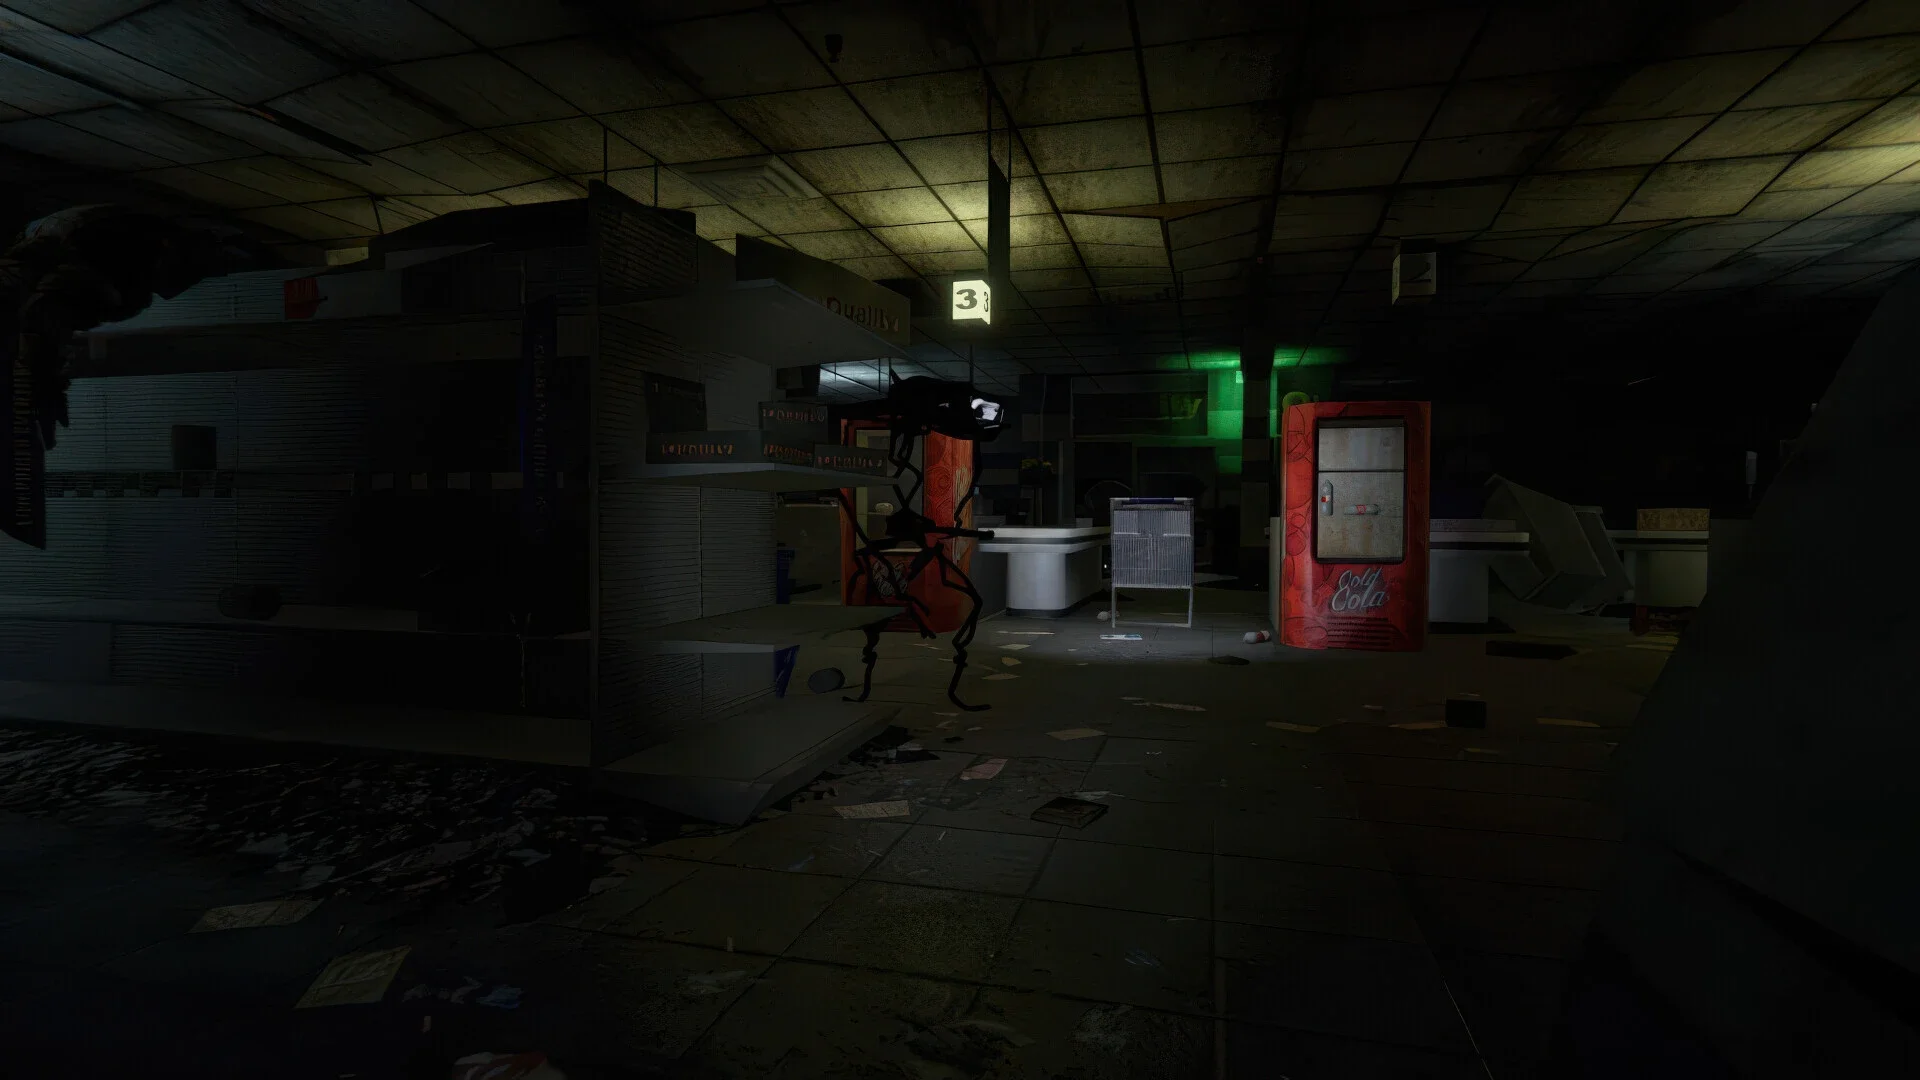
Disposal And The Endings
The final two items depend entirely on which narrative path you are currently locked into. You will need to play through the finale twice to secure both.
Shattered Tooth
You find this item during the canon ending route. After completing the Bounce House section, navigate the Staff Only corridors until you reach Disposal. You will pull a switch and be directed to stand on a red dot.
The entity will jump at you, causing you to stumble backward. Do not panic and run straight for the exit door. Head toward the gate instead and check the ground near the red dot to secure the Shattered Tooth. It looks a bit like a large claw, but the game officially registers it as a tooth.
VHS Tape
This final item is completely exclusive to the Rotten Ending. You will have to survive another miserable round of the knocking door game. Once you succeed, you will exit down a very long, dark corridor. Keep your eyes on the sparse furniture. The VHS Tape is resting directly on a table waiting to be picked up.