TBH: Task Bar Hero Tips And Tricks: Surviving The Hidden Math
You survived your first few hours of idle grinding, but now the game expects you to figure out its underlying economy completely blind.
I spent my first few days clicking blindly through menus and wondering why my damage had completely flatlined. Taskbar Hero does a terrible job of explaining its own rules. Before you waste days running a broken build or losing your game client off screen somewhere, I am going to save you the headache. If you are literally just booting up for the very first time, go read my Taskbar Hero Beginner Guide instead so you do not ruin your starting economy. For everyone else who has a firm grasp on the basics, here are the mechanical quirks that actually push your account forward.
Wrangling The UI
Playing a background idle RPG usually means you are constantly shifting windows around your monitors. Eventually, the client will vanish behind a spreadsheet or slip off the edge of your screen entirely.
The Lifesaver Shortcuts
Before you completely restart your game and interrupt a good farming run, try the built in rescue commands. Pressing Shift and F11 resets your window scale if a weird resolution change made it microscopic. Pressing Shift and F12 snaps the window position right back to the center of your screen. Keep those two commands memorized. They solve almost every missing window panic attack instantly.
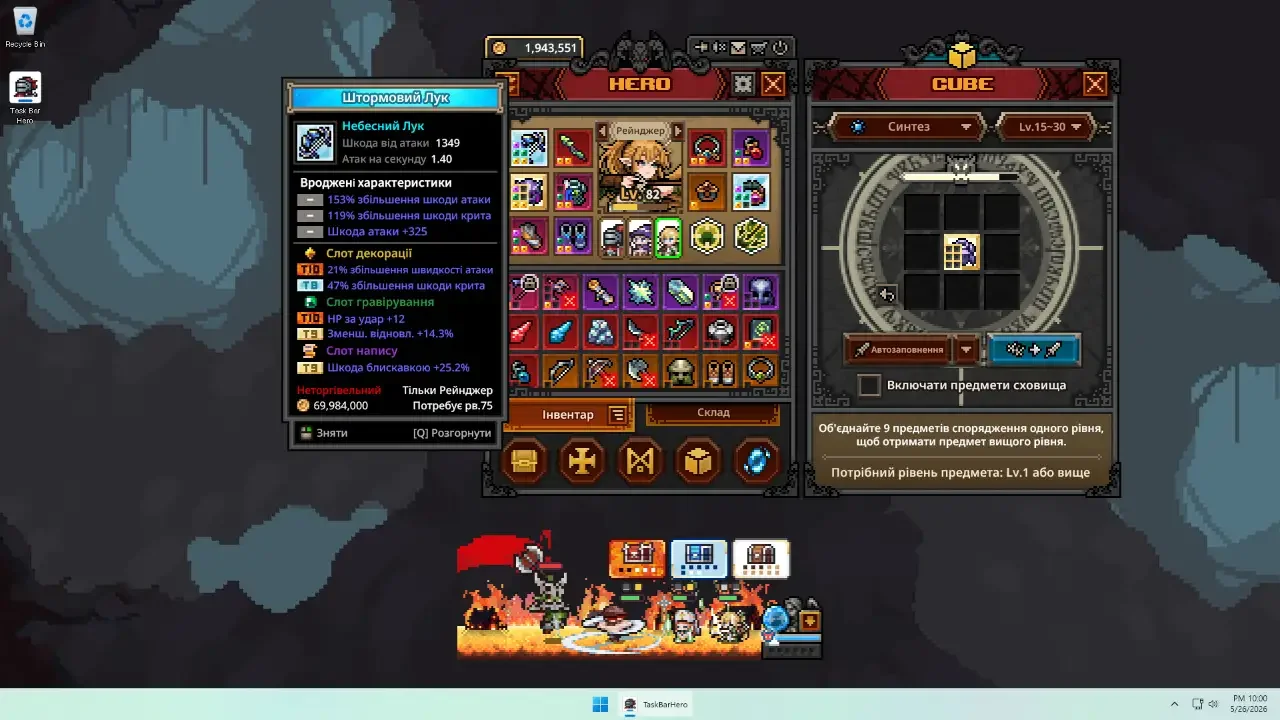
The Synthesis Trap
The Cube looks like a fun toy. It practically begs you to throw all your low level junk into it immediately just to see what happens. Resist that urge.
Hoarding White Gear
Before you dump all your common white items into Synthesis for minor early gains, know that you actually need them later. Common gear becomes essential fodder for crafting once you reach the mid game. Sell your trash through Alchemy if you are desperate for gold, but stash your white materials. If you burn them all in Act 1, you will absolutely feel the pain when you reach Act 3 and cannot roll the upgrades you desperately need.
Perfecting Your Combat Math
Normal difficulty lets you get away with terrible setups. Brutal difficulty will crush you if you keep mixing your stats without a clear goal.
Speed Scaling Differences
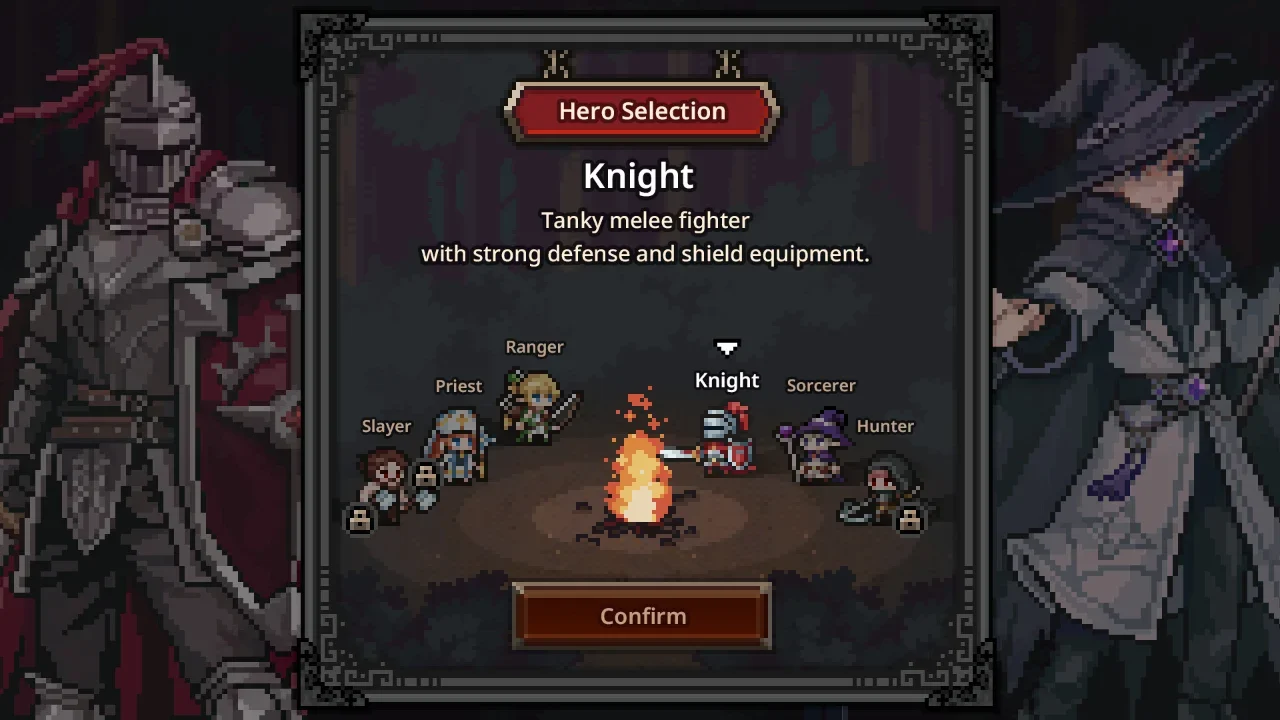
You have to look closely at your skills. Abilities in this game scale with either Cast Speed or Attack Speed. If you are running a Ranger with Rapid Fire, every single piece of gear she wears needs Attack Speed. Mixing cast and attack speed on a single character completely ruins your damage output. Pick one lane and build your entire loadout around it.
The Priest Paradox
The Priest is a healer, so naturally she runs directly into melee range to catch hands. Give her heavy defensive gear with maximum health and armor so she can survive long enough to cast her buffs. Most importantly, never equip her with movement speed items (seriously, take those boots off her). You do not want your squishy support character sprinting ahead of your tank to greet the enemy frontline.
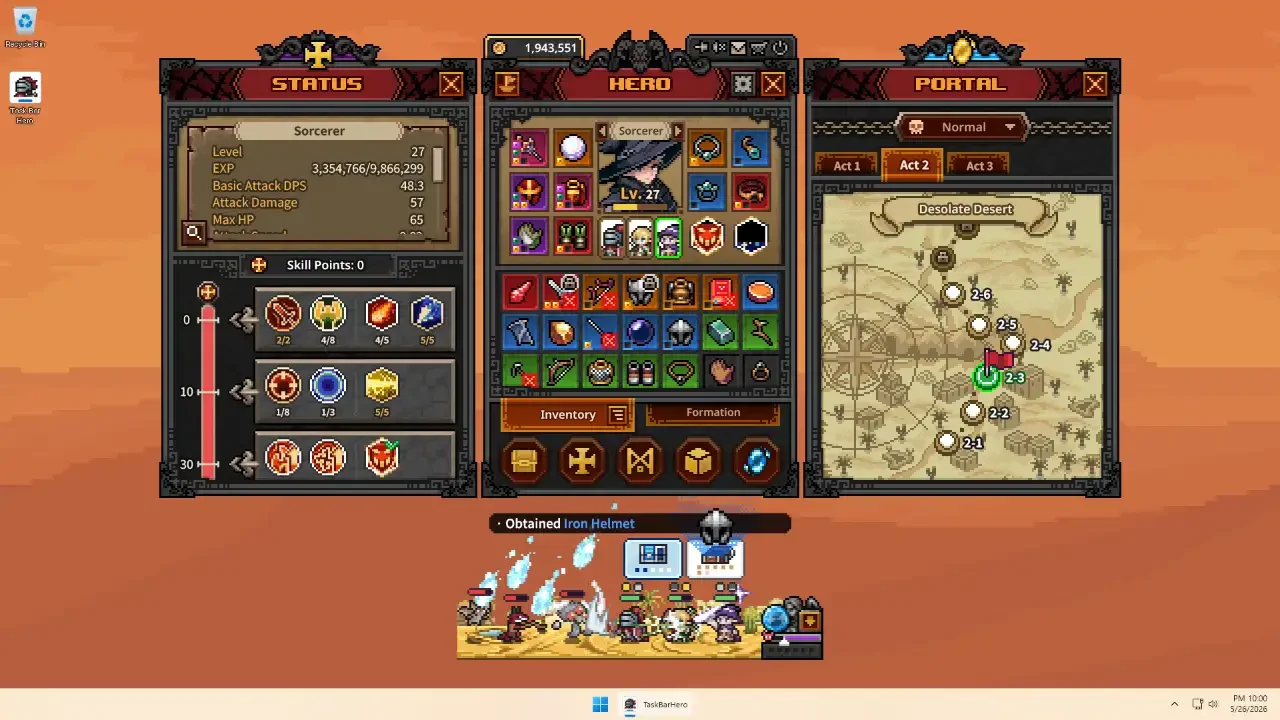
Progression Pace
Before you rush into higher difficulties the second they unlock, stop and clear your current act entirely. Arriving at Brutal difficulty under geared just means you will be stuck on the first stage for days. Clear Normal completely to build a solid foundation.
The Market And The Mailbox
The interface holds a few secrets that cause completely unnecessary panic.
Reclaiming Your Loot
If you buy a piece of gear from the Steam Market to fill a gap in your build, it does not drop directly into your inventory. I panicked the first time this happened and thought my money vanished. It actually goes to your in game mailbox. Click the mail icon in the top right corner, wait out the mandatory ten second cooldown, and hit refresh. Your items will be waiting there.
The Auto Retry Toggle
Look at the bottom right corner of your screen near the menu button. There is a tiny toggle switch. If it is blue, your party will retry the same stage endlessly when they fail. If it is grey, failing a stage automatically bumps you down to the previous easier stage. Use the grey setting when pushing new content so you do not stall out entirely while you are away from your keyboard.
Targeted Pet Farming
Pets provide massive passive bonuses whether you deploy them or not. Before you spend hours grinding random zones hoping for a drop, you need to farm specific stages.
Cause I’m such a lovely person: I tracked down the exact drop zones for the most useful companions. Park your party in these specific acts and let them run until the pet unlocks.