TBH: Task bar Hero Tier List: The DLC Trap You Need To Avoid
Before you spend real money on useless characters, you need to know which classes actually survive the endgame.
I spent an embarrassing amount of time testing every single formation so you don't have to guess. You can throw absolutely anyone into your party during Act 1 and get away with it. Brutal difficulty is a completely different beast. If you pick a bad class, your progression hits a brick wall and your gold income dries up. Some paid DLC characters are complete traps, while a couple of free options will single-handedly carry your entire squad. Here is exactly who you need on your roster and who you should leave behind.
The Official Ranking Breakdown
I judge these classes entirely on their ability to survive high-level acts and farm loot efficiently without manual babysitting. If a hero requires constant supervision in an idle game, they get knocked down the list immediately. (Yes, I’m lazy)
S-Tier (The Non-Negotiables)
These two heroes are absolutely mandatory if you want to push deep into the game. Ironically, you don't have to spend a dime to get either of them.
Priest
I'm putting the Priest at the very top of the hierarchy. She is a free download from the store page, and your party is completely doomed without her. She serves as your only dedicated support class. Give her five points in Healing to restore 18 percent of your allies' max health, and put another five points into Blessing of Strength. That blessing gives your entire team a massive 50 percent damage boost. For some ridiculous reason, she insists on fighting directly in melee range. You have to stack heavy defensive armor on her just to keep her breathing, but those massive buffs make her the most important character on your roster.
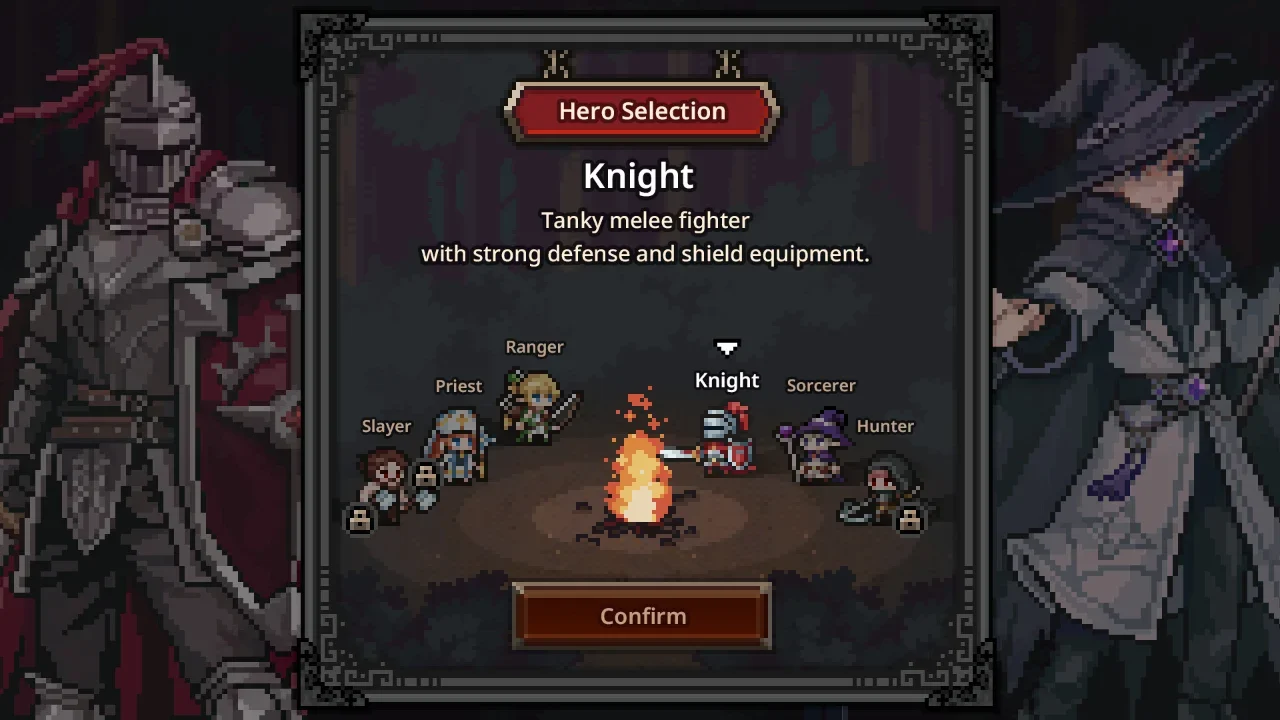
Knight
The Knight is the ultimate crutch. He is the best free class in the game because he fills three roles simultaneously. He provides frontline tanking, deals direct damage with his longsword, and protects your team with a bubble shield. I dump eight points into Health Boost and five points into Piercing Strike. He absorbs all the punishment so your fragile damage dealers don't turn into a stain on the floor.
A-Tier (High Damage Artillery)
These classes bring massive damage numbers to the table, but they either cost real money or require a solid tank to keep them alive.
Hunter
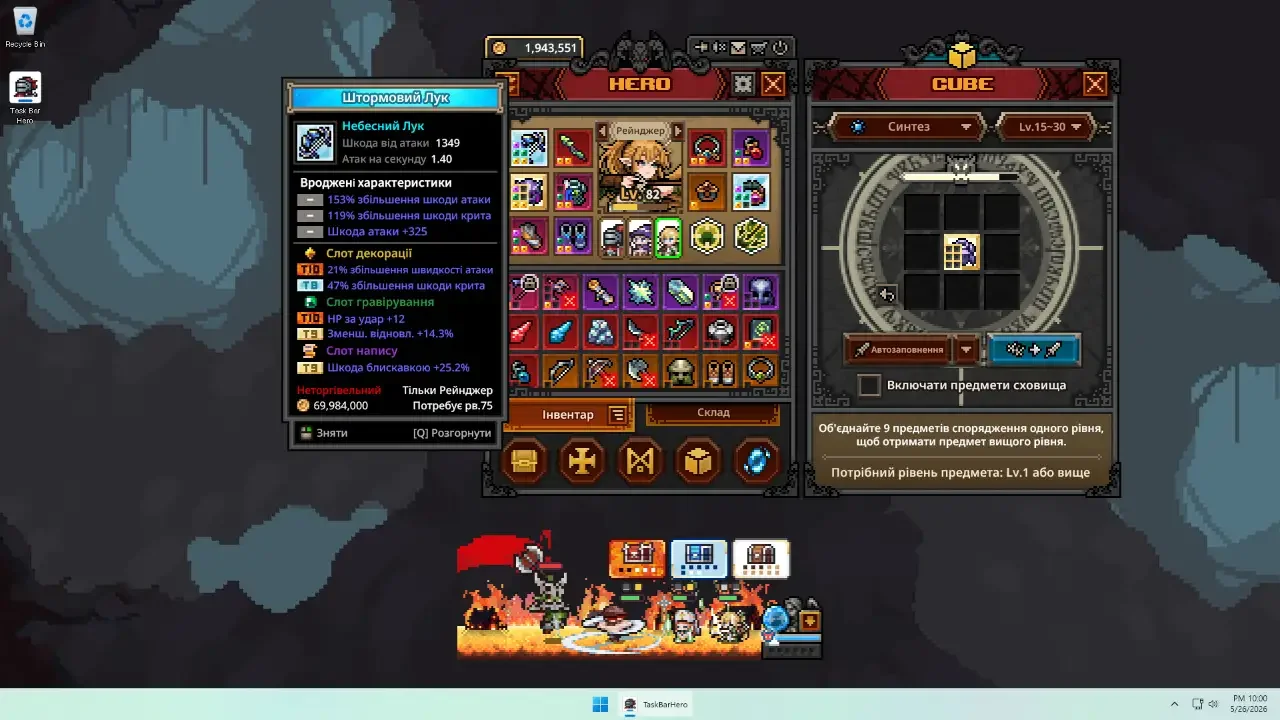
The Hunter is the strongest single damage dealer in the game. She sits in A-Tier simply because you have to buy her paid DLC to use her. She fires a crossbow from range that deals explosive and lightning area-of-effect damage. She easily stacks elemental status effects on multiple enemies at once. During boss rounds, she'll melt a health bar before the boss even touches your frontline. If you don't mind spending the cash, she's a spectacular addition to your team.
Sorcerer
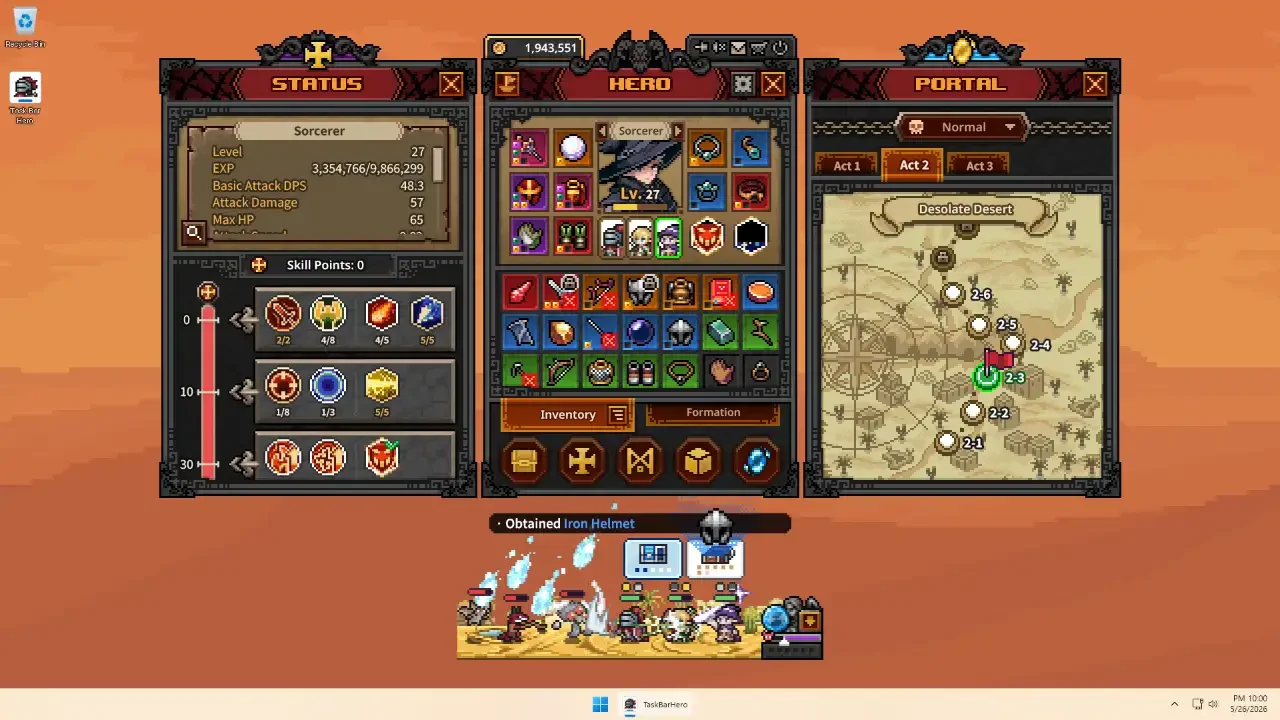
The Sorcerer is the default free magic class, and she brings a ton of utility. She excels at ranged elemental attacks, and she physically slows incoming enemies to control their movement. She can even summon a Hydra minion to add extra damage during huge waves. She falls slightly behind the Hunter in raw output, and her health pool is incredibly low. You absolutely must pair her with the Knight so she doesn't get flattened immediately.
B-Tier (Fillers And Replacements)
These classes are functional, but you'll eventually replace them once you have access to better options.
Ranger
The Ranger is your starting free archer. She fires arrow flurries and stacks bleeding debuffs on targets. She's fantastic in the early game because of her high base attack speed. However, her area-of-effect range is terrible. Once you start pushing into the harder acts, the Sorcerer or the Hunter will easily outperform her. She requires heavy investment in attack speed gear to stay relevant, and it frankly isn't worth the effort long-term.
Slayer
The Slayer (also known as the Berserker) is a paid DLC class, and he is a massive trap. He is a melee fighter with crowd control abilities, but he relies on a brutal HP sacrifice mechanic. He drains his own health to boost his damage output for high-risk burst attacks. Paying real cash for a hero who actively tries to kill himself while you are away from the keyboard is a terrible investment. The free Knight does the frontline job infinitely better without sabotaging your run.
Building The Perfect Formation
Before you start throwing these classes together, you need to unlock your formation slots. I detailed exactly how to save your gold for that crucial 150,000 coin upgrade in my Taskbar Hero Beginner Guide.
Once you have three slots open, you need a balanced setup. If you're playing entirely for free, run the Knight, the Priest, and the Sorcerer. The Knight tanks, the Priest heals and buffs, and the Sorcerer handles the crowd control. If you bought the DLC, swap the Sorcerer out for the Hunter to maximize your boss melting potential.
You also need to make sure you build their stats correctly. Mixing attack speed and cast speed will ruin your output completely. I broke down the exact math you need to follow for your gear in my Taskbar Hero Tips And Tricks guide. Getting those stats right is the only way your team will survive long enough to find Immortal rarity gear.
If you want to know why Immortal gear actually matters, read my Taskbar Hero Steam Market Guide. I explain exactly how to flip those high-tier drops for real wallet funds on the Steam market.