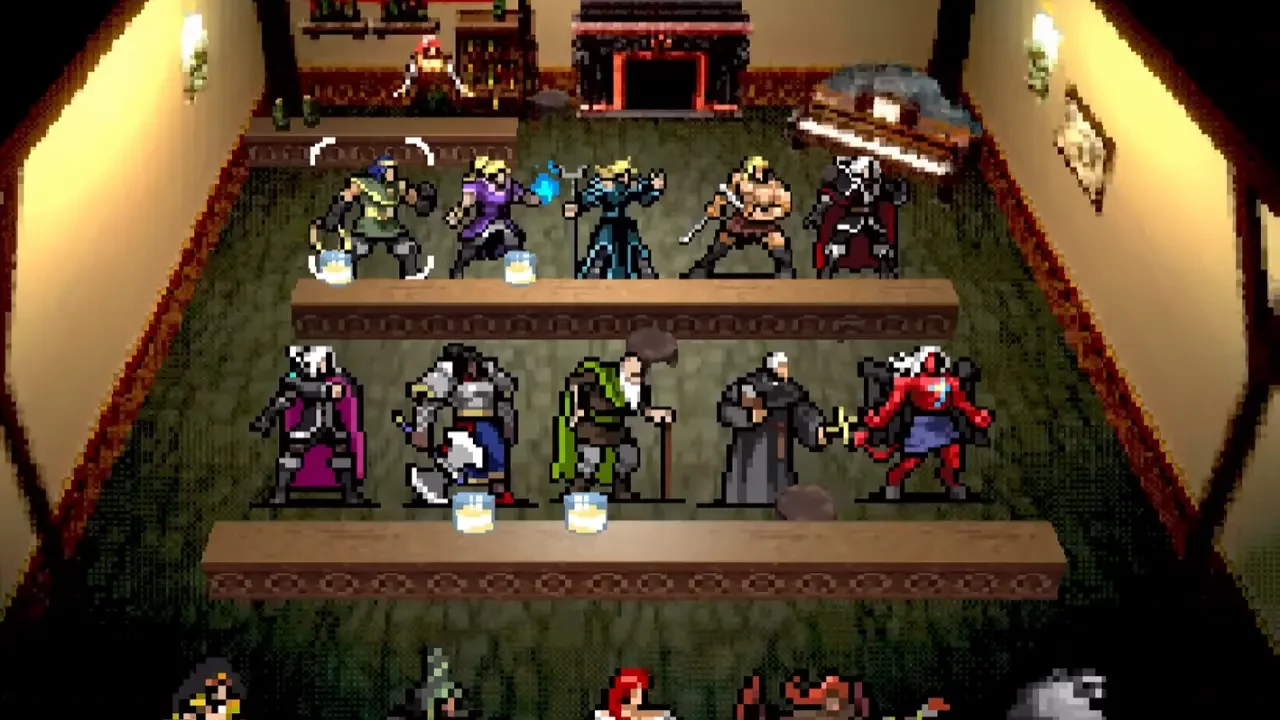
Stop Dying: How to Heal and Mitigate Damage in Vampire Crawlers
The biggest shock when transitioning to this game is realizing you cannot just walk away from damage anymore.
In standard action roguelikes, if you play perfectly, you take zero damage. In a turn-based dungeon crawler, taking chip damage is a mathematical certainty. You are going to get hit. If you do not have a reliable strategy to replenish your health pool, you will die to the sheer attrition of back-to-back encounters before you ever see the final floor boss.
The game does not hand you a traditional health potion. You have to scavenge, draft specific cards, and invest heavily in your meta-progression to stay alive. Here is exactly how the healing economy works, and more importantly, how to stop taking the damage in the first place.
The Difference Between Healing and Recovery
Before you start drafting cards, you need to understand that the game treats HP restoration in two distinct ways: Healing and Recovery. They are not the same thing, and confusing them will get you killed.
Healing is instantaneous. If you eat a Floor Chicken or play a specific spell that grants Healing, your health bar goes up immediately during the turn. However, if you are already at full health, that Healing is completely wasted. It is a burst mechanic designed to save you from an immediate threat.
Recovery is a delayed stat. If you play a card that grants Recovery points, your health bar does not move. Instead, the game banks those points. Once the entire battle is over and the enemies are dead, your banked Recovery points are converted into health. This means you can play Recovery cards while at full health, take a massive hit later in the encounter, and then automatically heal that damage when the fight concludes. Recovery is your long-term sustain.
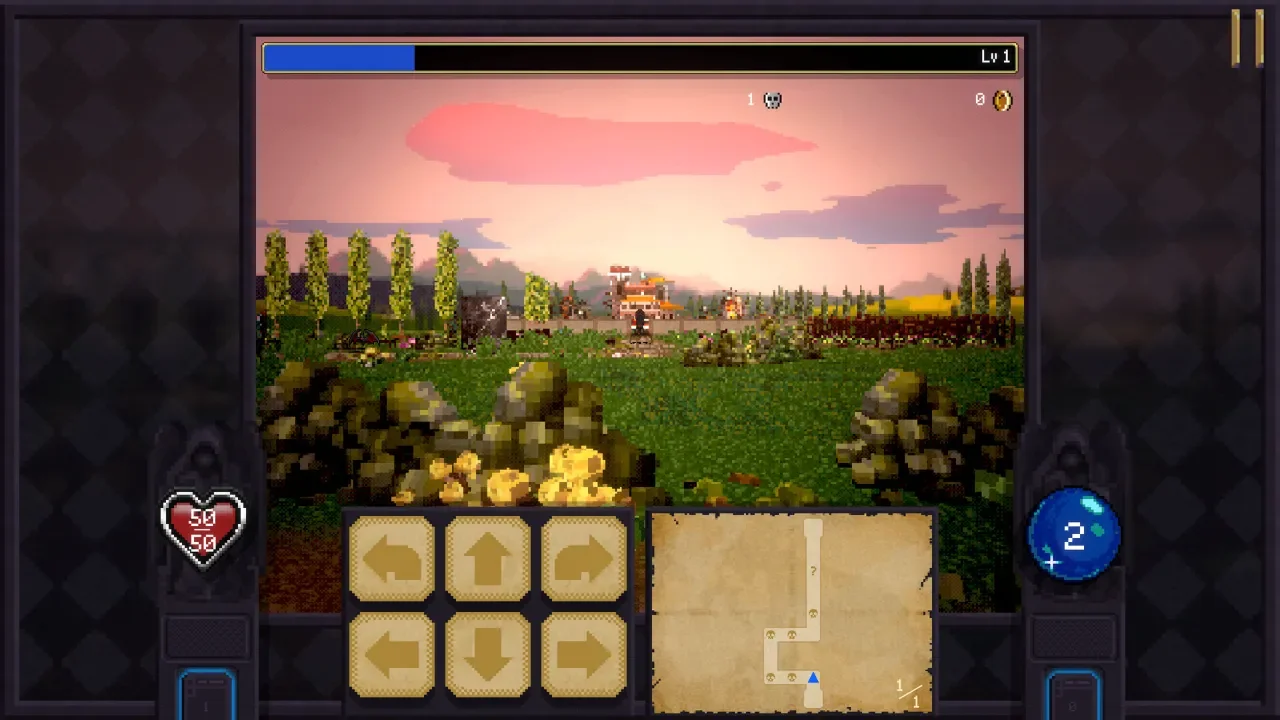
Scavenging the Grid
In your first few hours, you will not have access to fancy healing spells. Your life completely depends on the dungeon environment.
Floor Chickens
As you navigate the grid, you will constantly bump into braziers, torches, and candles. Smashing these will drop coins, single-use cards, and occasionally, a Floor Chicken. Each chicken heals you for exactly 10 HP.
Do not eat these immediately if you are only missing a few points of health. It is a massive waste. Leave the chicken on the ground, clear the rest of the floor, and walk back to eat it right before you descend to the next level. If you are struggling to find them, prioritize unlocking the Guiding Light relic in the Inlaid Library. It highlights every breakable object on your minimap. For a full breakdown on tracking down these permanent items, check my Complete Relic Locations guide.
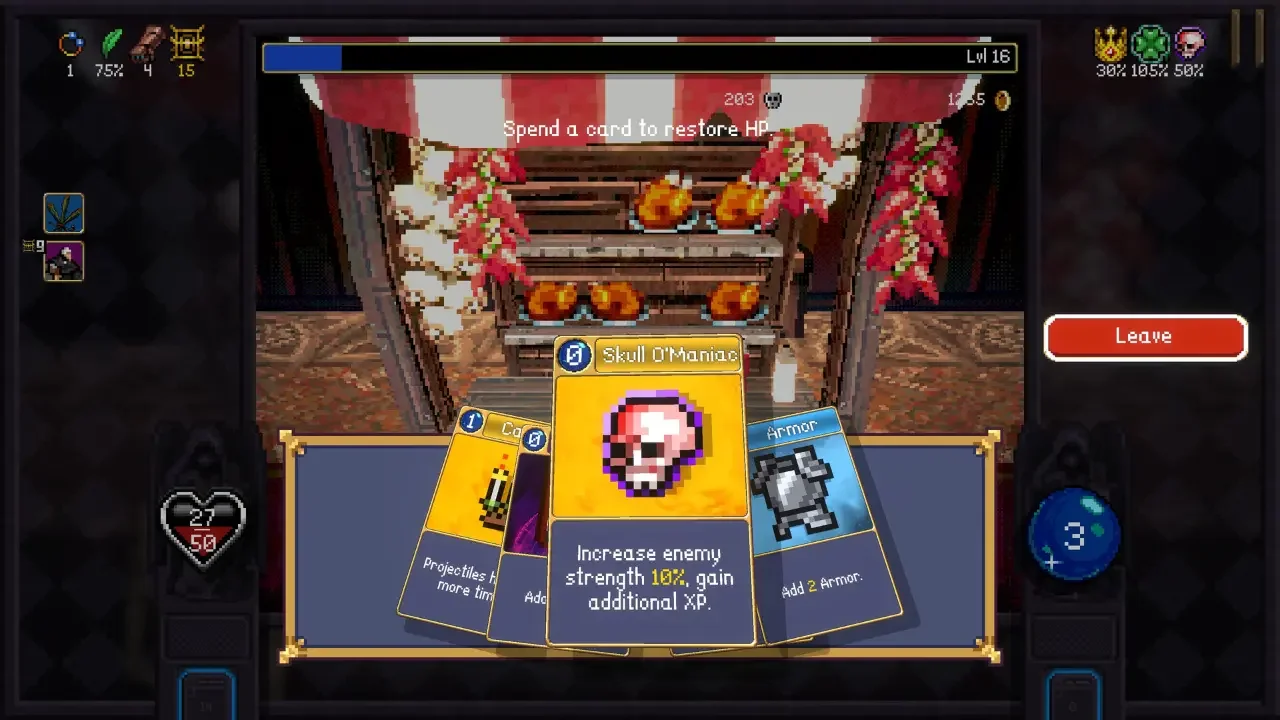
Chicken Stands (The Food Stall)
Very rarely, you will stumble across a dedicated Chicken Stand while exploring. This is not a free heal. You have to sacrifice a card from your deck to receive 30 HP. This is actually a brilliant mechanic. It allows you to purge a useless, low-tier card that is cluttering your draft pool while giving you a massive health injection before a boss fight.
Drafting for Sustain: The Pummarola Card
Once you unlock Gennaro Belpaese and get him to Level 10, the Pummarola card enters your draft pool. This is your primary source of mid-game sustain.
Pummarola grants Recovery points. The brilliant part is that Pummarola scales with the ascending combo multiplier. If you cast a Pummarola dry as the first card in your turn, you get a pitiful amount of Recovery. If you hold it and cast it at the end of a massive chain, the multiplier skyrockets the Recovery value. You can end a battle and instantly heal half your health bar if you sequence the turn correctly.
If you do not understand how to build these chains, you need to read my Combo Multiplier guide immediately.
Evolving Weapons for Vampirism
Relying entirely on utility cards is dangerous because it clogs your hand. The ultimate goal is to evolve your weapons so they deal damage and heal you simultaneously.
Bloody Tear: You create this by evolving the base Whip card with a Hollow Heart. The Bloody Tear hits multiple rows and heals you every single time it lands a critical strike.
Soul Eater: You create this by evolving Garlic with the Pummarola card. The Soul Eater costs more mana, but it guarantees a flat 2 HP heal every time it is cast, completely ignoring the critical hit RNG. It also has a high chance to Disarm enemies.
Damage Mitigation: The Real Strategy
Healing is great, but entirely preventing the damage is the mark of a veteran. If you find yourself constantly bleeding out, you are probably ignoring the Armor economy.
If you manage your Armor correctly and hold onto those Clock Lancets for the bosses, you will barely need to touch the floor chickens. Prioritize your village upgrades smartly. If you are broke, review my Early Game Economy guide to get your finances in order.