Vampire Crawlers Luck Guide: How to Rig the RNG
A perfectly optimized combo strategy means absolutely nothing when the dungeon refuses to hand you the cards you actually need to survive.
If you spent hundreds of hours in the original game, you probably remember stacking this specific stat just to see how absurd the screen could get with random light source drops. Transitioning to a turn based deckbuilder completely shifts how probability works. The mindless chaos is gone, replaced by a cold, calculating math engine that decides your fate every single time you level up or open a chest. You cannot just hold a thumbstick and pray anymore. The RNG gods demand a tactical sacrifice, and if you ignore them, you are going to get completely flattened by the late game bosses.
A lot of you are asking if investing in this mechanic actually matters when you are manually playing a hand of cards. The short answer is yes. In fact, it is probably the most critical invisible force governing your entire run. I have spent entirely too much time testing the exact boundaries of the drafting pool so you do not have to. Here is exactly how you stop leaving your survival up to blind chance and start mathematically forcing the game to hand you the tools you need.
The True Value of a Stacked Deck
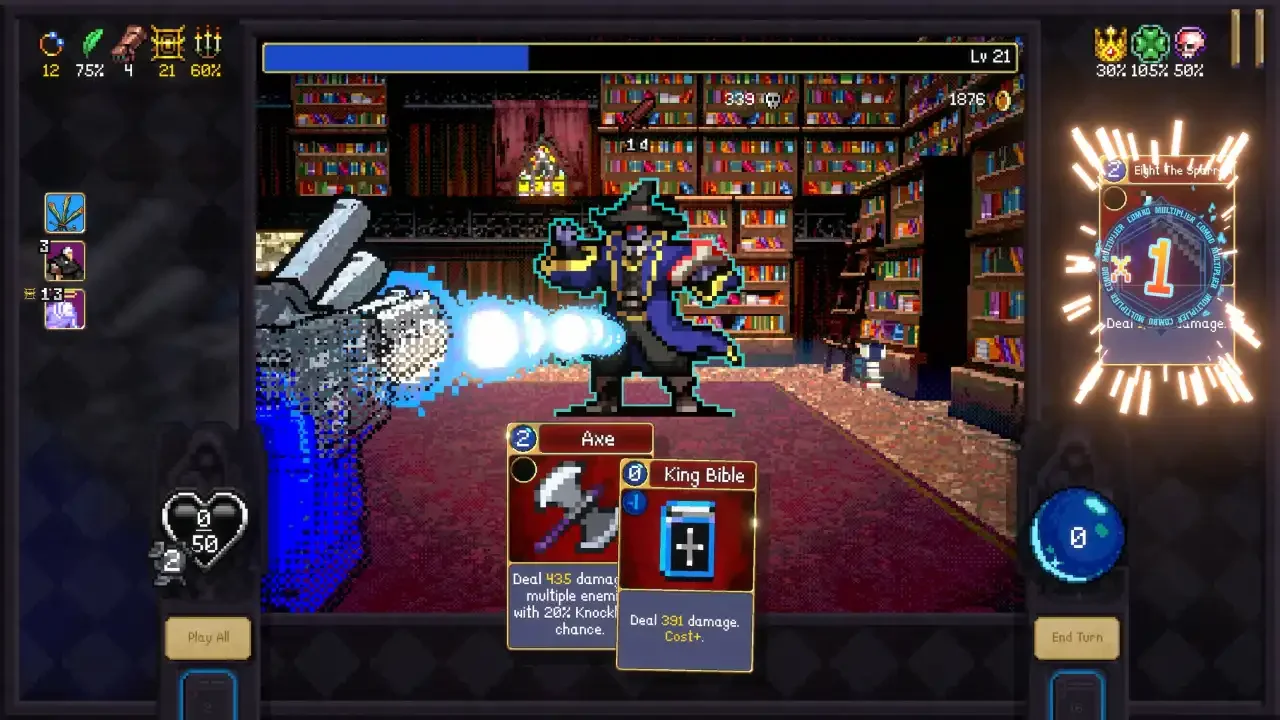
Combat revolves entirely around your mana economy and building massive ascending chains. To pull off a screen clearing combo, you need the right pieces to physically show up in your hand. This is where your hidden drop rates step in to save your life.
Manipulating the Draft Pool
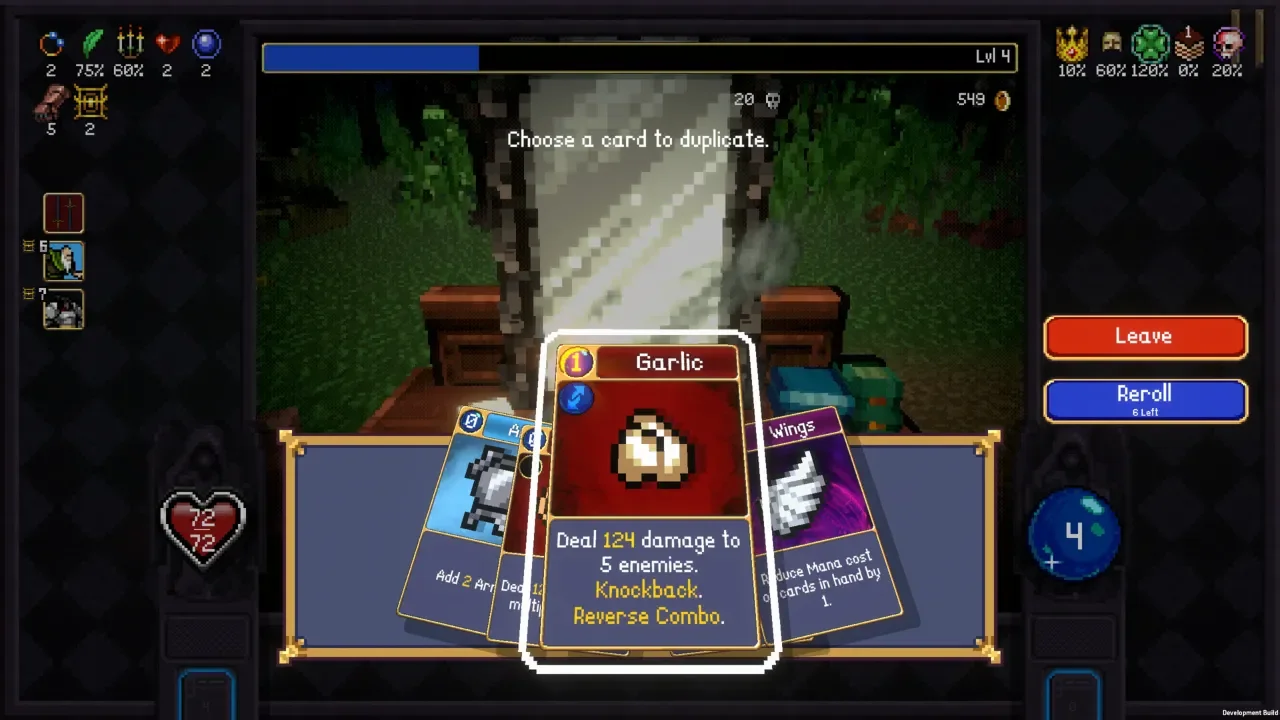
Whenever you level up or pry open a treasure chest, the game rolls the dice to determine your options. While you can eventually unlock village upgrades to banish or skip terrible choices, having a bloated baseline stat subtly tips the scales in your favor. It heavily dictates the direction your entire deck takes. Better drop rates mean a significantly higher chance of pulling the exact Item Cards or Wildcards you need to trigger a specific weapon evolution. You are no longer hoping to find the matching piece for your Magic Wand, you are mathematically forcing it to appear.
The Four Card Advantage
This is the biggest hidden mechanic the game refuses to explain. Normally, leveling up presents you with three random options. If you push your stats high enough, the game frequently alters the math in the best way possible and offers you four choices instead of three. That extra slot is an absolute game changer when you are desperately searching for a Clock Lancet to freeze a boss or a specific gem to slot at the Blacksmith.
Dungeon Looting
Just like in the old days, smashing every brazier and candle you see on the grid is mandatory. Your stats directly influence what falls out of those light sources. When you are bleeding out on the third floor and staring down an elite mob, a high probability score is the only thing standing between an empty coin drop and a life saving floor chicken.
Characters That Manipulate the Math
You do not have to rely entirely on passive village upgrades or crossing your fingers. The game allows you to bring a party of up to three characters into the dungeon, and a select few of them are specifically designed to hack the probability engine mid fight.
If you are wondering how to actually recruit these specific Crawlers, I mapped out their exact unlock conditions in my Complete Character Unlocks guide.
The Clover Economy
Beyond your character selection, you have to actively draft the right utility spells. Keep an eye out for specific greenery when you are picking your level up rewards. Playing these cards from your hand actively buffs your hidden drop rates right in the middle of a run.
You also absolutely need to use these if you are hunting for the elusive Luck Gem achievement, which requires you to play these specific cards a set number of times.
Standard Clover
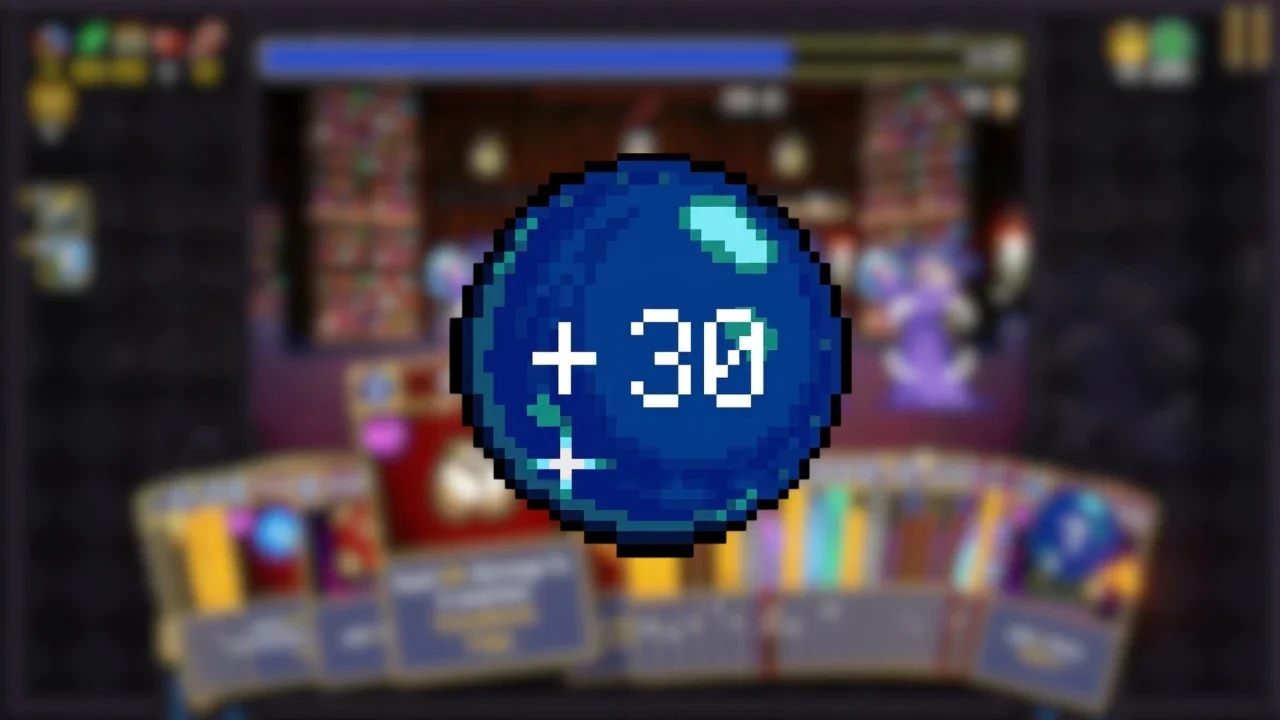
This is your bread and butter. Playing this common utility card instantly slaps a ten percent boost onto your current run. Draft it early, play it often, and let the compounding effects handle the rest.
Little Clover
This functions as a Wildcard, which is incredible for bridging the gaps in your ascending combo chains, but it comes with a steep penalty. It grants a ten percent boost but is frequently destroyed immediately after you use it. Use it to keep your mana multiplier alive and enjoy the permanent stat bump before it shatters.
Clover Petal
This is arguably the most tactically sound option in the entire draft pool. It only provides a five percent boost, but it allows you to instantly draw another card. Card advantage is everything in this game. Gaining a permanent stat increase while simultaneously digging deeper into your deck is an incredible two for one trade.
Meta Progression and Village Spending
If you want to tip the scales before you even step foot in the Mad Forest, you have to spend your hard earned dungeon currency. Do not forget to visit the Town Hall between your miserable deaths.
There is a global Power Up you can rank up in the village that provides a permanent baseline increase. Each rank gives a massive twenty five percent bump to your drop rates across every single future run. It is expensive, but it pays for itself by ensuring you consistently pull the evolution gems you need to survive. I strongly advise prioritizing this right after you fix your gold income, which I detailed heavily in my Early Game Priority roadmap.
You can also eventually socket specific gems at the Blacksmith for a permanent or temporary boost on individual cards. Once you unlock the required gem by playing enough Clovers, slotting it into a cheap 0 cost spell allows you to passively stack your probabilities every single time you cycle your deck.
This game might masquerade as a pure strategy experience, but a good deckbuilder is nothing without calculated chaos. You can have the best tactical mind in the world, but if you are not pulling the right cards, you are going back to the village in a pine box.