Meccha Chameleon Clone Guide: Mastering Decoys and Avoiding Disaster
The latest update to Meccha Chameleon introduces a permanent clone feature that completely changes how you hide.
Hot on the heels of the Cube Character and a fresh batch of poses, every single game mode now features mandatory clones. You can't toggle this setting off in the lobby. If you want to survive the round, you need to know exactly how these duplicates function. I learned the hard way that a poorly placed decoy is basically a giant neon sign pointing right at your actual hiding spot.
Spawning and Managing Your Duplicates
You don't get infinite clones to scatter around the map. You're limited to three active characters total, which includes your main body and a maximum of two decoys.
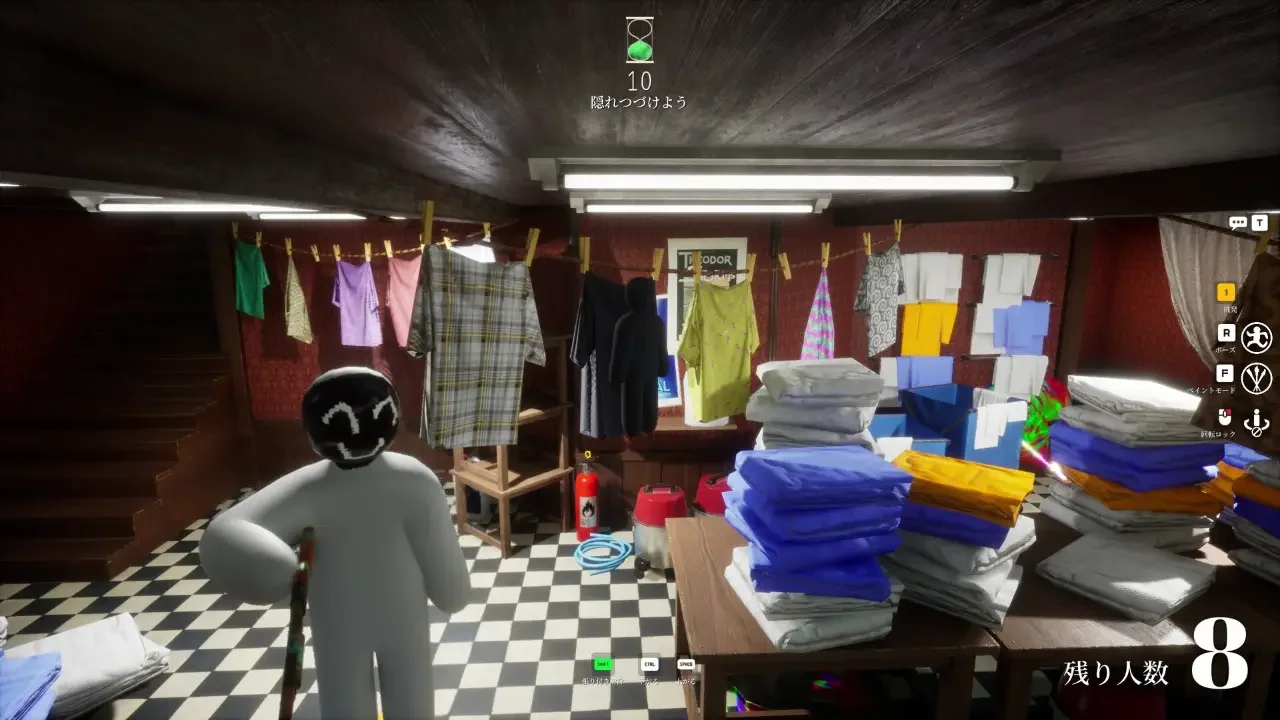
Once you pick your paint and lock in your pose, pressing the Q key duplicates your character exactly as you set them up. From there, you're free to run off to a completely different corner of the room to adjust your paint and hide again. Spreading out multiple copies of yourself racks up massive missed spot ranking points, making the frantic prep phase feel much more rewarding.
The game puts a strict 30 second cooldown on this duplication ability. You'll track this timer by glancing at the two green diamonds at the bottom of your HUD. The left diamond tracks your first clone, and the right diamond keeps tabs on your second. Because setting up three separate hiding spots eats up a huge chunk of time, asking your lobby host to increase the hunter wait time in the settings menu keeps the experience fun and totally stress-free.
The Dangers of a Bad Decoy
Leaving a decoy out in the open sounds funny until a hunter spots it. Clones act as a direct extension of your health pool. They aren't harmless illusions that just vanish when shot. If a hunter finds and shoots your clone, you're dead and eliminated from the round entirely. This means you have to be just as careful with your decoys as your main body, turning every match into a great test of your spatial awareness.
To counter this risk, the game gives you an escape hatch with the X key. Pressing X instantly deletes all of your active clones. Keeping a finger hovering over this key during the hunt phase allows you to delete your decoys the second a hunter starts staring a little too closely at them.
There's one major catch to the deletion mechanic. You can't use the X key while you're in the free camera mode. If you're using the 5 key to fly around the map and spectate the hunters, you must exit that view before you can delete your clones. Staying glued to your own perspective when hunters are nearby prevents frustrating accidental eliminations.
Getting Creative with Physics
If you want to create some truly bizarre hiding spots, you can take advantage of the game's physics engine. Normally, trying to clip your body into a solid prop triggers a bright red warning effect that completely ruins your disguise. Clones are the exception to this rule.
You can move your actual character directly into your own clones without triggering any warning at all. This lets you stack multiple bodies together to create bulky shapes that look completely alien to the map. Combining multiple clones to mimic large pieces of furniture opens up entirely new ways to trick your friends.
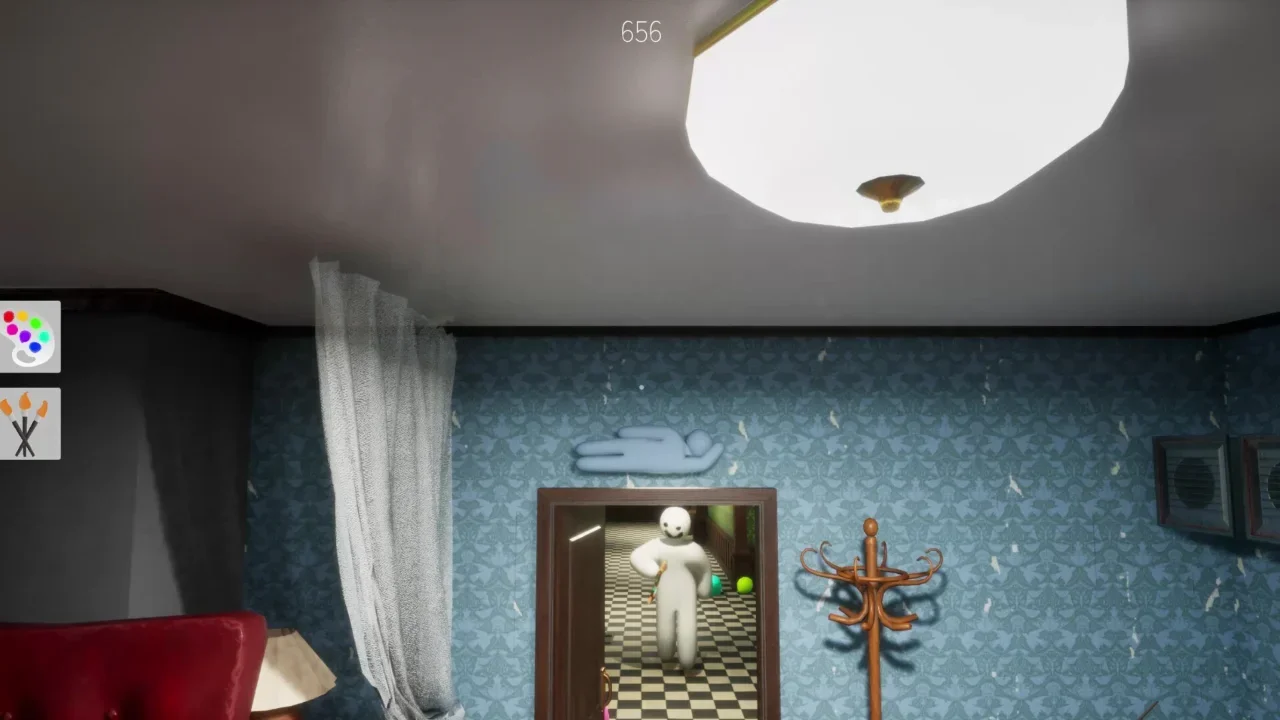
Clones also completely ignore gravity. If you jump into the air and press Q at the apex of your jump, your clone just freezes right there. Tucking a floating clone into a high corner is a brilliant way to distract a seeker who isn't looking up, buying you precious time to secure a win.
Double Mode Chaos
Double mode already turns the map into a total scramble since everyone hunts simultaneously after the prep phase.
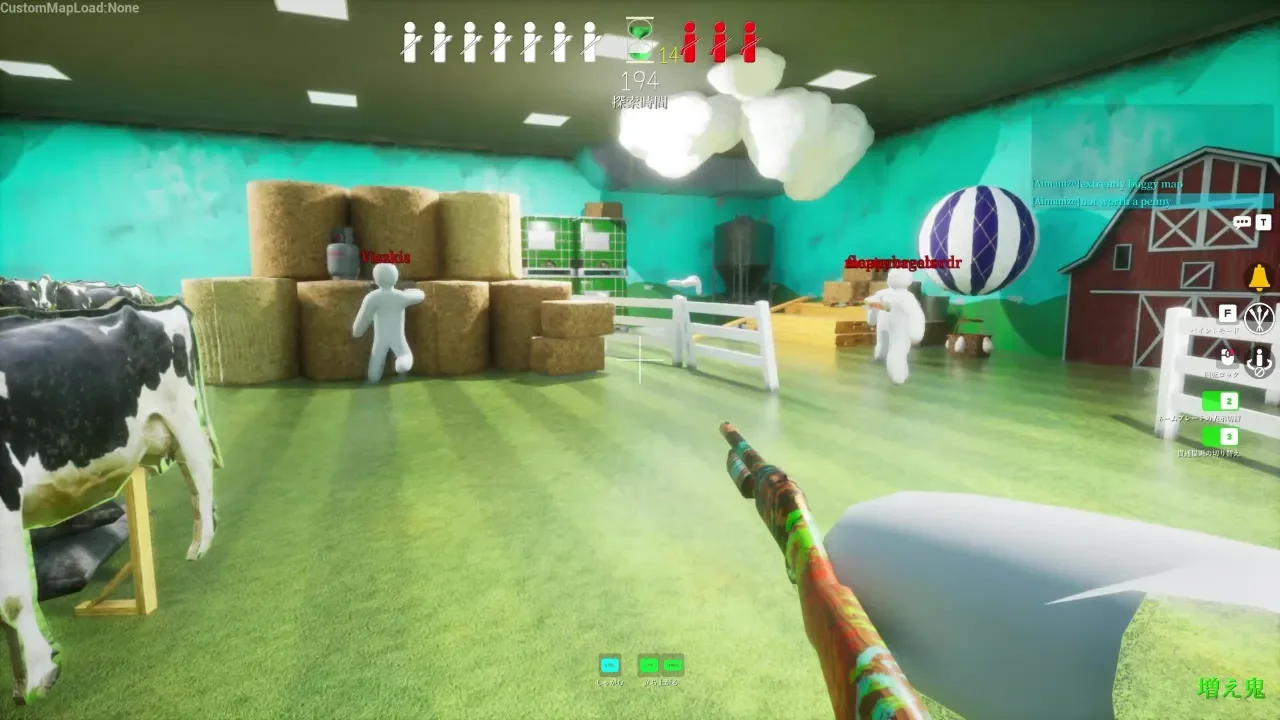
Placing clones in this mode literally gives the lobby more targets to shoot at. A hunter only needs to find one single version of you to secure the kill, causing your remaining clones to instantly vanish. Being extra selective about your clone placement in Double mode prevents you from handing out free points.
Finally, keep the end of the round in mind. During the final answer check stage, the game highlights the very last character you placed down regardless of the mode you're playing. Knowing which body gets highlighted helps you plan your final placement, ensuring you get the credit you deserve for a clever hiding spot.