Bravely Default Flying Fairy HD Remaster Guide: How to Break the Game Before It Breaks You
If you are playing Bravely Default for the first time on the Switch 2, you are about to discover that nostalgia hits a lot harder when the enemies are actively trying to mathematically humiliate you.
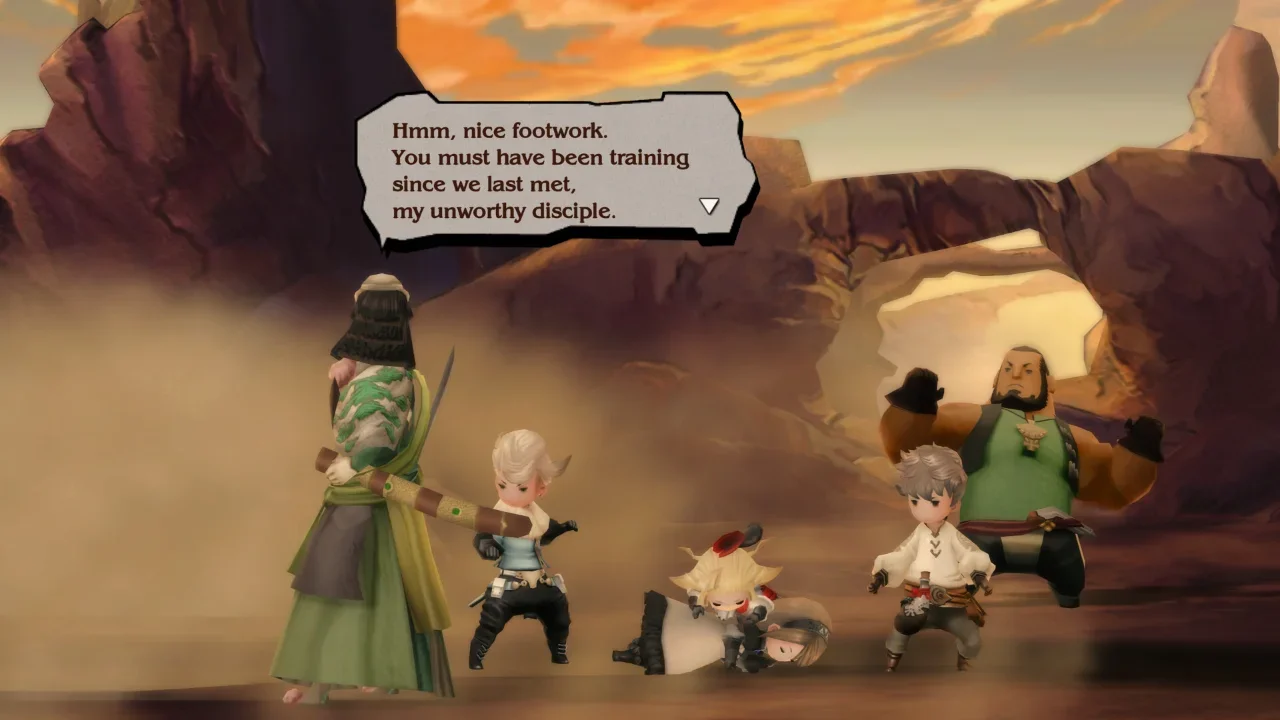
The visual style of this game is basically a beautiful pop-up book filled with charming fairies and classic fantasy tropes. Do not trust it. Underneath that pleasant exterior is a ruthless combat system that will punish you for making blind assumptions. Whether you are coasting on Normal or subjecting yourself to the punishing enemy AI of Hard mode, the rules of survival in Luxendarc remain the same. I spent hours getting wiped by bosses so you do not have to.
Here is how you actually survive your first dozen hours, manipulate the job system, and turn your party into an unstoppable force.
Mastering the Debt Economy
The entire combat system revolves around two simple commands that dictate every single fight. Default and Brave. If you fail to grasp how these interact, you will spend most of your time watching the game over screen.
Defaulting is essentially defending, but it also banks a Brave Point (BP) for later. Braving allows you to spend those points to take multiple actions in a single turn. You can Brave up to four times right out of the gate.
The trap that catches every single new player is the temptation to spam Brave on turn one. Going into negative BP debt against basic overworld enemies is fine. It is actually encouraged. You dump four attacks onto a goblin, it dies, and the battle ends before your debt even matters. However, if you pull that stunt against a boss and fail to kill it, your characters will literally stand there helpless for three full turns while the boss methodically murders your entire team.
You need to stockpile your BP. Spend your opening turns defaulting. Let the boss reveal its attack patterns while you take reduced damage. Once you have a healthy reserve, unleash your stacked buffs and heavy attacks in one massive, calculated strike.
Also, make sure you always have someone equipped with the Freelancer job command "Miscellany." This gives you access to the Examine ability. Guessing an enemy elemental weakness is a massive waste of mana. Examine tells you exactly what they are weak to and displays their exact health pool. Information is your greatest weapon here.
The Norende Exploit
Shortly into the story, you are tasked with rebuilding a ruined village called Norende. This is basically a real-time management minigame baked into the menu. You assign workers to clear debris and build shops. The upgrades tick down in real-time, syncing with your system clock, meaning it progresses even when you close the game.
Do not spread your workers thin across random cosmetic buildings. You want to funnel every single human resource you have directly into the Weapon Shop. The gear you unlock here gets added to the Wandering Merchant inventory, and it is absurdly overpowered for the early game.
Job Hopping and the Early Grind Trap
You will unlock over twenty jobs throughout the campaign. My best advice is to never get comfortable. If a character maxes out a job, switch them immediately. The passive abilities you learn from one job can be equipped onto another, allowing you to build terrifying hybrid classes. A Knight that has access to White Mage healing is a lot harder to kill than a standard meat shield.
That said, do not waste your human life grinding job points (JP) in the early game. The payout in the first few chapters is genuinely terrible. You will spend hours running in circles for a fraction of the experience you get naturally later on. Wait until Chapter 5 to start your heavy grinding sessions. The JP scaling aggressively skyrockets in the second half of the game.
Abilink is Legal Cheating
If you do not want to wait, just use Abilink. This system allows you to link one of your characters to a player on your friend list. If you slot a friend who has a Level 6 Monk into your Level 1 Monk slot, you instantly get access to all their high-level moves and passives as long as they remain slotted. It is basically a sanctioned exploit to borrow power from people who play way more than you do. Use it.
Ghost Data and Biological Warfare
The social features in this remaster are split into Guests and Friends. Guests are random players the game feeds you daily. They hang out in your towns and vanish after 24 hours. You use Guests purely as manual labor to populate your Norende restoration project. Try to check into towns every real-world day to harvest fresh workers.
Friends are permanent. They populate your Abilink roster and can be summoned as tactical airstrikes in battle. You can summon a friend once per fight. Depending on what they uploaded, they might drop a massive damage nuke on a boss or cast an endgame group heal.
You should be a good friend in return. Before you upload your own summon data, have your team buff your character to the absolute maximum limit. Spend a Brave point, cast an enormous attack, and register that data. Your friends will receive a version of your attack that hits like a freight train.
Controlling the Flow of Time
Old school random encounters used to be a nightmare, but the developers actually respect your time here. You have total control over the encounter rate via a slider in the menu. You can crank it up to 200% if you need to farm some quick cash, or drop it to 50% if you are limping back to an inn with poisoned characters. You can even unlock a Ward Bangle later to drop it to absolute zero.
Speaking of poison, never ignore status effects. A poisoned character will drain HP while you are just walking around the world map. A blinded physical attacker is completely useless. Keep your inventory stuffed with Antidotes and Eye Drops. The money you spend on basic medical supplies is a lot cheaper than reviving dead party members.
Finally, a quick word on the new Switch 2 exclusive minigame, Ringabel's Panic Cruise. It utilizes the mouse controls and throws frantic instructions at you rapidly. The title is a trap. Do not panic. If you miss a swipe or an instruction, just take the hit to your HP and prepare for the next prompt. Players who try to furiously scramble to correct a missed input always end up failing the entire sequence. Take the damage, stay calm, and keep moving forward.