Death Stranding 2: On The Beach 100% Achievement Guide
Walking across an apocalyptic wasteland with a mountain of boxes strapped to your back is exhausting, but trying to unlock all 55 achievements in this sequel borders on masochism.
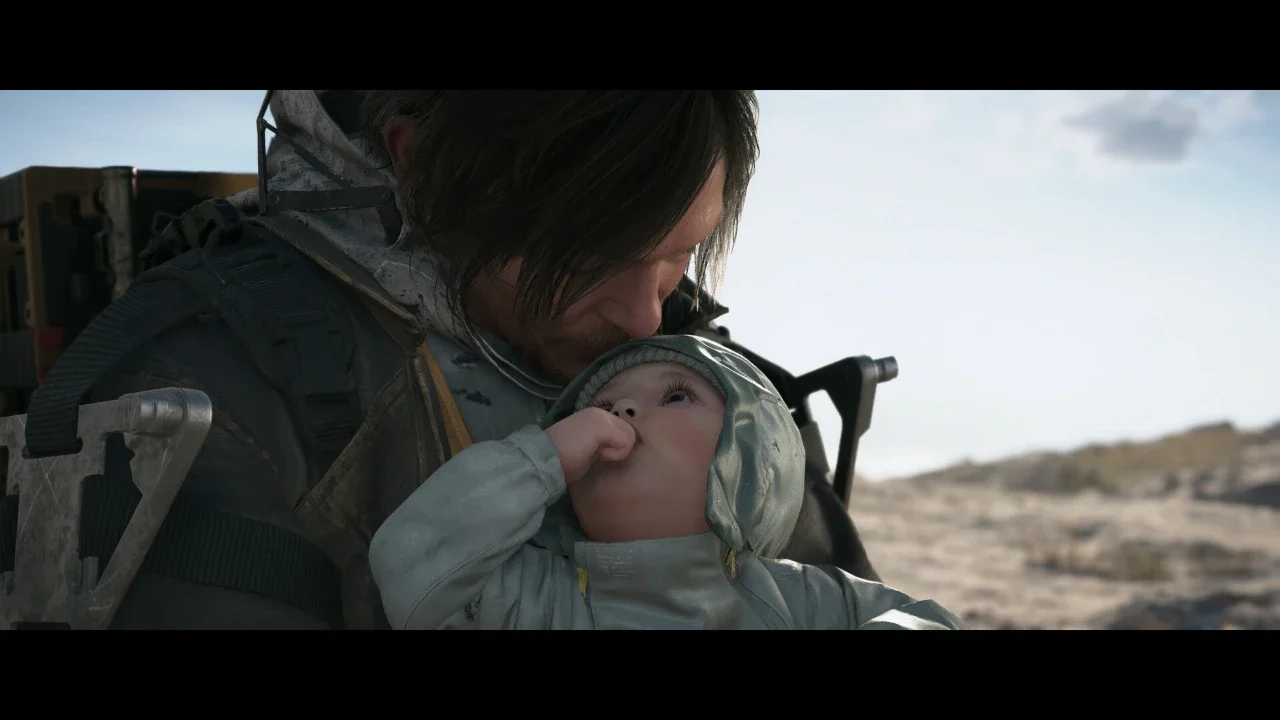
PC players finally have their hands on Death Stranding 2: On The Beach after nearly a year of PlayStation exclusivity. The sequel expands on everything from the first game. You get two massive open world maps, a mobile base of operations, and combat mechanics that feel like they were ripped straight out of Metal Gear Solid V.
I strongly advise you to just play the game naturally first. Do not stress about the achievement list during your initial playthrough. There are zero missable achievements. Every single side quest, structure, and optional boss fight can be tackled in the post-game during Episode 17. Once the credits roll and you are ready to grind for that 100 percent completion mark, you need a plan.
Crucial Advice Before You Start Grinding
Before you start aggressively hauling cargo across Australia to max out your connection levels, you need to understand a few bizarre mechanical quirks this game introduces.
The DHV Magellan is your mobile base and it has infinite storage in your personal locker. Whenever a facility levels up and offers you raw materials, take absolutely everything. Shove it all into the Magellan. You are going to need thousands of ceramics and metals to rebuild the roads and monorails.
However, do not ever use the Magellan to fast travel while carrying delivery cargo. If you put an active order in your locker, your vehicle, or on your back and teleport the Magellan to a new location, the game actively punishes you. You will receive no grade for that delivery and a drastically reduced number of likes. You have to walk or drive the cargo yourself.
Finally, you need to know about the most frustrating progression cap in the game. No matter how much cargo you deliver at one time, you can only increase a facility's connection level by one single rank per delivery. If you drop a massive truckload of 50 packages on a terminal, you will only go up one star. The game thankfully banks your leftover likes, but you still have to trick the system. If you have a massive haul for one prepper, deliver three boxes. Let the level increase. Then deliver three more boxes to trigger the next level. It is incredibly tedious, but it is the only way to efficiently hit max connection with everyone.
The Brutal Logistics Grind
The bulk of your time in the post-game will be spent hauling absurd amounts of cargo to hit maximum connection levels. You need a Porter Grade of 40 in all five categories. Porter and Servicemanship will level up naturally as you build roads and deliver lost cargo. Bridge Link levels up automatically if you play online and contribute to public structures.
Combat and Stealth are the actual roadblocks here. There are not many combat orders early in the game, which makes the progression bar feel painfully slow. Once you hit the later episodes, start prioritizing elimination and destruction tasks. Remember that you can abuse the quick save feature. Save your game right before entering a combat zone. If you take too much damage and ruin your S-rank potential, just reload and try again.
Engineering And Master Building
You cannot just slap down a postbox and call yourself an engineer. The Master Builder achievement requires you to physically construct 18 different items. This includes 12 PCC structures, 3 tools, 2 weapons, and any basic sign.
The biggest trap here is the Bridge and the Safe House. You do not get credit for just placing the foundation outline. You have to actually contribute your own materials to finish the construction before the game counts it toward your stats. You also need to track down The Hydrologist to unlock the Hot Spring Digger PCC, which is a required item for this list.
Hunting Secrets And Oddities
Australia is packed with weird side quests and hidden bosses. Finding the Golden Chiral Creature requires wandering into areas with high chiral density. I found mine near the tar pools right outside the Mine North of F1. They are incredibly skittish and dive into the tar the second they take damage, so absolutely shoot them from a distance.
For the animal capture achievements, basic Koalas are literally everywhere in the tree lines. If you want the rare albino animal, head straight to the desert area directly north of The Data Scientist. You will find an albino kangaroo hopping around. Since it is a massive white animal standing in a red desert, it is essentially impossible to miss.
Keep your boots repaired, keep your stamina high, and rely heavily on auto-pavers. Hauling cargo across two massive maps is a brutal marathon, but fully restoring the network is worth the grind.