Crimson Desert's Hidden Combat Tricks: Suplexes, Slams, and What the Skill Menu Doesn't Show
Standard attacks buckle fast against a group, and the fix isn't in any menu the game points you toward.
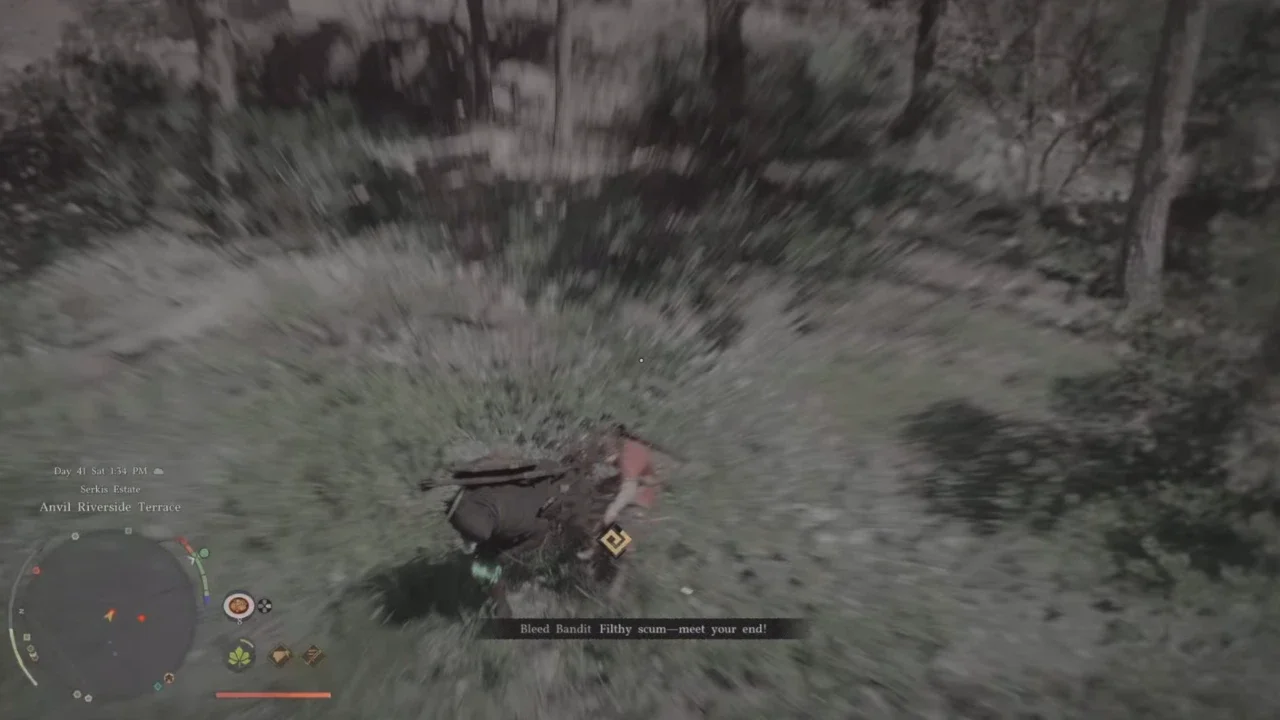
Parrying keeps Kliff alive. It doesn't do anything to help him actually win once three armored mercenaries close in at once, and mashing the standard attack button falls apart fast against a group like that. The real toolkit sits outside the skill menu entirely, a set of wrestling-style moves the game never bothers to list anywhere, and the only way to know they exist is somebody actually writing them down. Anyone who hasn't nailed down the defensive side yet should start with parrying and Perfect Dodge first, since none of this offense means much if the first hit taken ends the fight.
Moves the Skill Menu Never Mentions
These all build off the Lariat skill and specific positioning, and not one of them appears in the standard ability list.
Scoop Slam into German Suplex is the one worth drilling first. It's the closest thing to a guaranteed combo the moveset has, and it works especially well on anything that likes to turtle up behind a shield.
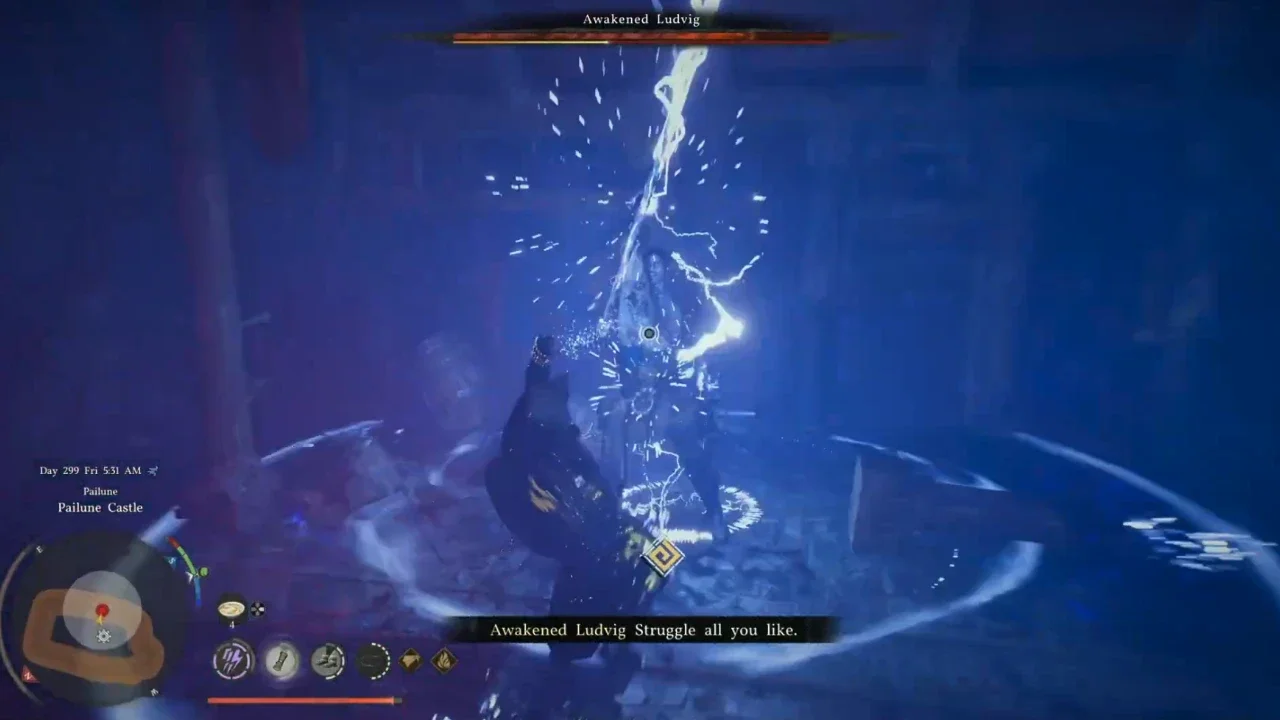
Force Palm Breaks Guards Open
A heavily guarding enemy isn't worth swinging at directly. Force Palm, triggered by pushing in the right stick, knocks them back and cracks their defense wide open, and following it immediately with a heavy attack punishes the stagger before it recovers. Anyone still deciding where early Abyss Artifacts should go can lean on an early skills priority list to make sure Force Palm's actually usable by the time it matters.
The Bow Isn't Just a Backup Weapon
Melee carries most fights, but ignoring the bow entirely leaves damage on the table. An enemy that backs off to create space is still a free target, drawing the bow the moment they retreat keeps pressure on instead of letting them reset. Archers specifically are worth killing first in any group fight. Their damage looks minor in isolation, but it stacks up fast while attention's locked on whoever's swinging a sword up close.
Summoned Allies Aren't Disposable, But They're Not Immortal Either
Freeswords pull aggro well when outnumbered, which makes them genuinely useful in a crowd. They're also not built to tank forever. Enough damage sends them retreating and locks them behind a lengthy cooldown before they can be called back. Watching their health through the Freeswords radial menu avoids losing one at the worst possible moment.
Healing Palm fixes this mid-fight without burning food reserves, though it briefly stuns whoever it's used on, worth timing outside of an active combo rather than mid-swing.
The Battlefield Itself Can Turn On You
Destructible cover and exploding barrels aren't just set dressing. Standing too close when one breaks deals damage and staggers on top of it, which turns a good position into a bad one fast if the camera isn't tracking what's nearby. Keeping the camera moving and staying aware of what's stacked around a fight matters as much as any individual input.