Crimson Desert Camp Guide: Rebuilding the Greymane Clan
Kliff starts the game with nothing, his clan scattered or dead, and by the time you're allowed to rebuild that clan into an actual base of operations, it becomes the backbone of everything else you do in Pywel

The camp isn't a side distraction. It's where ore gets refined, where bulk ammunition gets bought, where high-tier meals get cooked, and where loot piles up instead of clogging your personal inventory. Getting it running takes a specific sequence of story beats, and skipping ahead just means staring at empty tents wondering why nothing works yet.
Getting the Land in the First Place
The camp doesn't exist until Chapter 2 wraps up. Beat the Hornsplitter boss and Chapter 3 opens with a run-in with Marius, a surviving Greymane who spreads word that Kliff is back. That gets the attention of the Marquis of House Serkis, who grants a plot of land as a reward. Follow his guardsman south of Hernand Town to the top of Howling Hill, and the "First Step to Rebuilding" and "A Fresh Start" quests trigger. Finish those and the basic camp is officially up, tents and all.
Establishing it also quietly unlocks Damiane Spencer as a playable character, which catches people off guard the first time it happens.
Turning Tents Into Something Functional
A fresh camp is barely a camp, just a couple of tents and two people standing around doing nothing useful. Pushing through Chapter 3 and taking down the Reed Devil is what actually flips the switch.
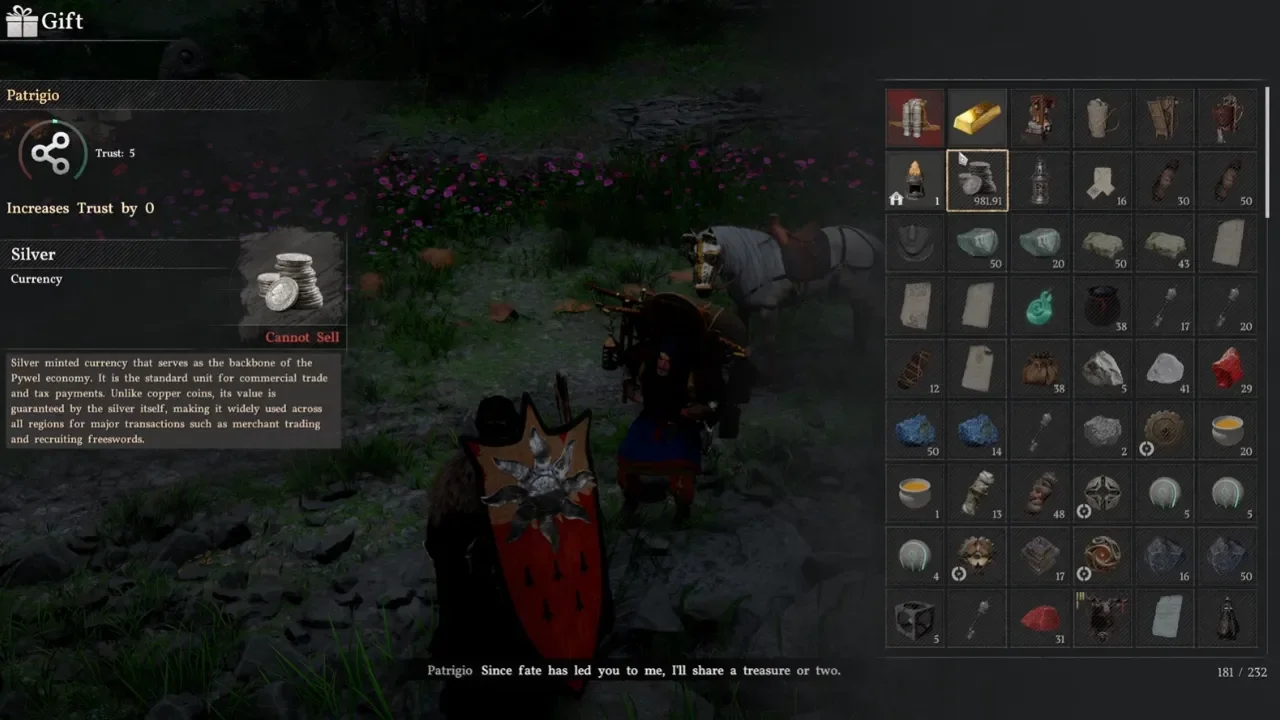
Carl's support window opens up first. He's the quartermaster, and he'll take donations of almost anything, armor, weapons, raw timber, food, straight coin. None of it pays off immediately though. What Carl gives back is Camp Currency, which only exists to fund Dispatch Missions later. Fifty rusty swords sitting dead weight in your inventory become genuinely useful the moment they're in his hands instead of yours.
Ross shows up next, but only after finishing "Rumors from the Sawmill" and reading a letter from Shakatu at the camp shrine. That unlocks the Howling Hills Camp Expansion along with Ross's Freesword Management Office, which is where recruits actually get assigned to work. Missions run on real background timers whether you're near the camp or not, and if walking all the way back to Ross every time sounds tedious, the map has a shortcut built in. Hover over the camp's tent icon, hit Inspect, and tab straight to Missions.
What Dispatch Missions Actually Cost and Return
Every mission demands resources up front, food and money most commonly, before a team heads out. Send too many recruits on expensive security runs and food reserves disappear fast, so keeping at least one team on a Food Harvest or Ranching mission at all times is less optional than it sounds.
The Recruits Worth Chasing Down
None of this runs without people, and most recruits, Luke and Ronald among them, are generic workers filling basic roles like Novice Logger or Skilled Rancher. A few unlock entire new facilities instead.
Ronnie sets up the cooking station after "Embers of Return: A Rumor at Glenbright Farm," selling bulk ingredients and offering fresh prepared meals daily. Tranan comes from the same quest and functions as a local blacksmith, buying off unwanted gear while stocking refinement items and ammunition. Brice rounds out that same questline by unlocking Engineering missions, which means access to the Pywel Wagon and the ability to run actual trade routes. Between Carl accepting junk loot for Camp Currency and Brice eventually opening up trade routes, the camp ends up doubling as a second income stream once it's fully staffed, which pairs well with whatever else is already funding the adventure.
Pushing Past Level One
The camp hits a wall eventually, and getting past it means working through the "Embers of Return" faction questline. Track down Otto, Silvan, Aldric, and Fritz across the map to trigger the full chain, ending with a quest literally called "Expanding the Camp."
Finishing it unlocks Level Two, along with the Private Storage Chest holding 230 items and the ability to reclaim gear from Carl if it got left behind on the battlefield after a death. Small quality of life addition, but it's the kind of thing that saves a genuinely frustrating retrieval run later.