Crimson Desert Reputation Guide: How Contribution Works and Best Rewards
Playing the noble savior in a world that actively wants you dead is exhausting, but the wardrobe upgrades make the suffering entirely worth it.

Crimson Desert does not just measure your progress in dead monsters and stolen silver. The game tracks your morality through a rigid reputation economy known as Contribution. Every time you roll into a new region and solve the local problems, the citizens take note. If you act like a ruthless bandit, the townsfolk will treat you like a threat. If you act like a hero, they will literally open secret doors and hand you some of the best looking ceremonial armor in the entire game.
It’s vital you read this before you spent a massive chunk of your playthrough actively terrorizing Hernand before realizing you are locking yourself out of incredible gear. Fixing a ruined reputation takes hours of grinding mundane tasks. You need to understand how the Contribution system fluctuates, what actions tank your score, and where the factions hide their exclusive vendor shops. I put together this comprehensive breakdown so you can game the reputation system and walk away with top tier equipment without spending a single piece of silver.
The Mechanics of the Reputation Economy
Contribution is essentially a localized experience bar. Every region tracks your actions independently. You can be a beloved saint in Hernand and a despised criminal in Demeniss.
Every time you fill the regional Contribution bar, you earn a point. These points are the exclusive currency used to purchase faction rewards. The primary way to earn this experience is by completing local side quests and faction commissions. When you look at your map or your journal, prioritize any task tied directly to a specific settlement. Doing a quest for a farmer earns you goodwill.
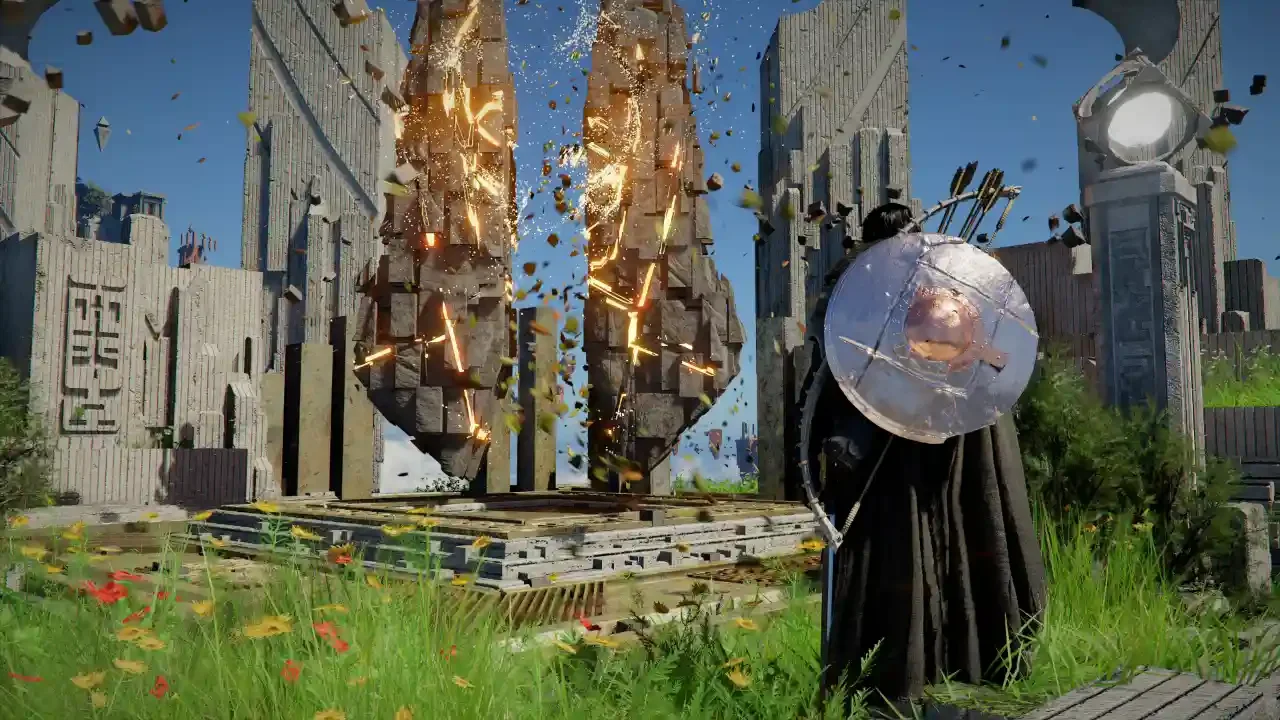
You also earn massive chunks of Contribution XP by liberating strongholds. The countryside is littered with bandit camps and hostile fortifications. When you kill the occupying forces and free the territory, the local region rewards you handsomely.
If you want a cheaper and incredibly tedious way to farm points, you can literally just hand copper to the beggars sitting in the city streets. Tossing a single copper coin to a beggar grants you exactly one Contribution XP. It is not an efficient way to spend your afternoon, but if you are just a few points short of buying a new helmet, it is a great trick to exploit.
How to Ruin Your Public Image
The game is highly reactive to your terrible decisions. Committing crimes drains your Contribution XP rapidly.
If you put on a mask and start swiping strongboxes from the local bank, the game deducts five Contribution points for every single item you steal. That penalty applies even if you are totally undetected in a dark room. The town just inherently trusts you less when things go missing.
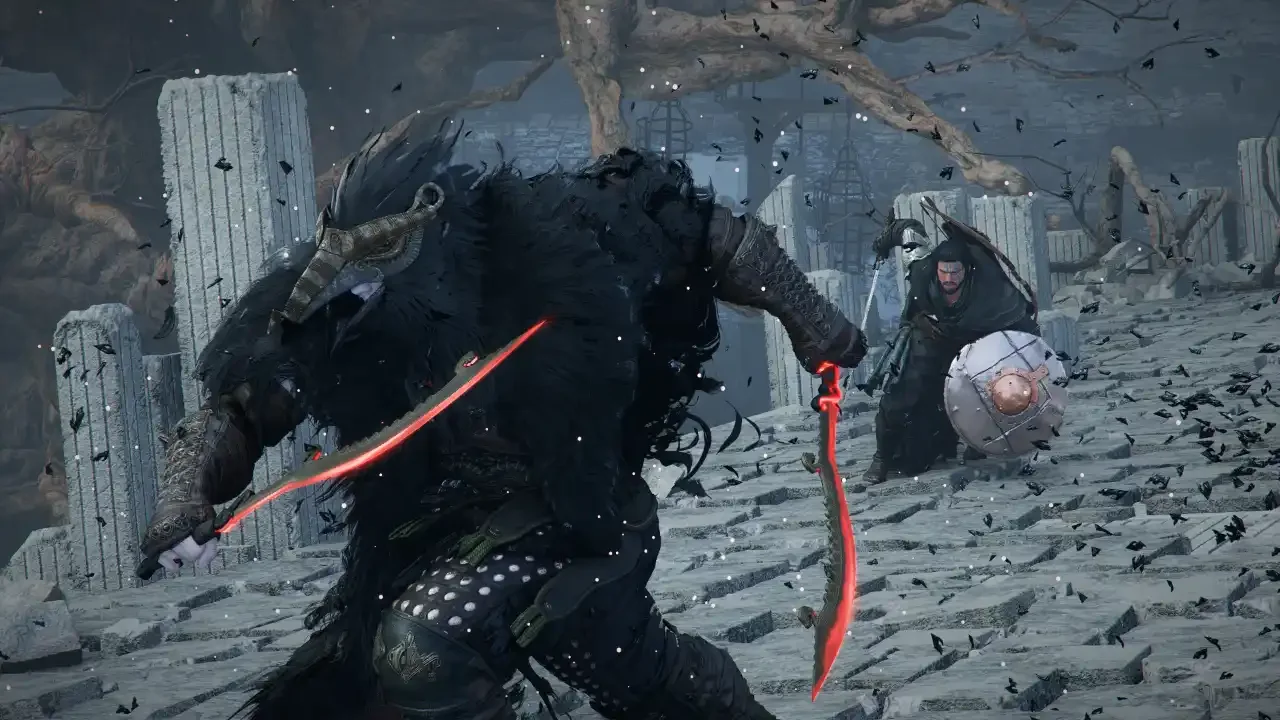
Murder is significantly worse. If you assault an innocent NPC and kill them, you are hit with an immediate thirty point penalty to your local reputation. You cannot afford to go on a killing spree if you actually want to buy faction gear. If you are struggling to balance your criminal urges with your need for shiny armor, I highly recommend reading my crime and bounty clearing guide so you know exactly how to wipe your record clean.
Infiltrating the Contribution Shops
You cannot just walk up to the local blacksmith and ask to view the faction rewards. The Contribution vendors are incredibly paranoid and often situated in bizarre locations.
While some minor contribution shops are hidden behind locked doors inside random buildings where you might actually need a standard key to enter, the major vendors are just structurally inconvenient. The Hernand shop, for example, is tucked away inside a tower within Hernand Castle.
The Demeniss Castle shop requires serious acrobatics to reach. The soldiers at the front gate will absolutely not let you walk inside. You literally have to scale the exterior castle battlements, jump down into the interior courtyard, and sneak up to the second floor just to buy their ceremonial armor. It is a ridiculous process, but the gear is worth the trespassing charge.
The Ultimate Faction Rewards
Once you finally breach a Contribution Shop, you are presented with a list of exclusive gear. You spend your hard earned points to acquire plate armor, unique cloaks, and impressive horse bardings to customize your mount.
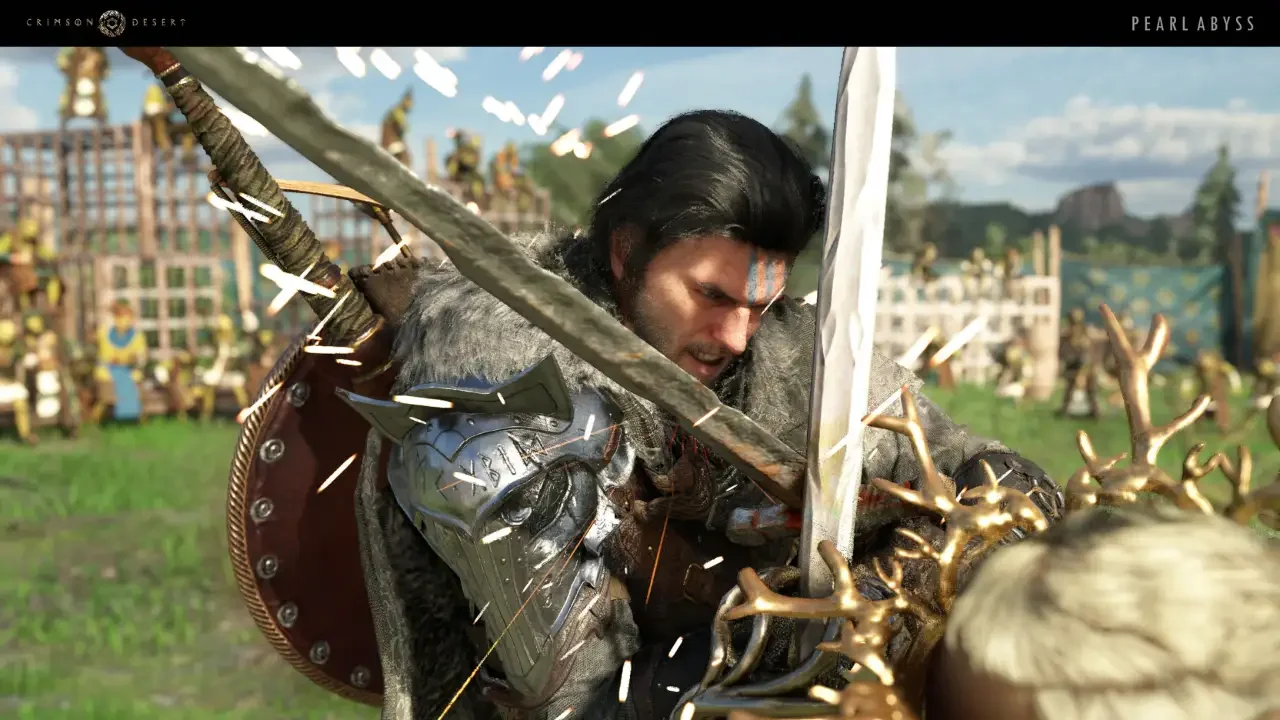
The most hilarious items on the menu are the Contribution Banners. These are massive, heavy flags representing the local faction. You do not just wear them. You physically wield them as two handed weapons in combat. Beating a mountain troll to death with the Hernandian city flag is an experience you absolutely need to have.
For the ultimate late game flex, you can save up your points to buy Signets and Crowns. These cost a staggering 65 and 70 points respectively. Wearing a golden crown while the rest of Pywel fights for scraps is the peak of arrogance, and I highly respect the hustle required to earn one.
Since these items do not cost silver, they are a fantastic way to upgrade your loadout early in the game. Just be aware that hauling around heavy plate armor and massive banners will completely destroy your carrying capacity. You need to expand your pockets aggressively. Take a detour and check my inventory space guide if you are running out of room for your new ceremonial outfits.