Crimson Desert Abyss Artifact Guide - How to Exploit the Chapter 3 Infinite Farm
Every skill upgrade and gear refinement in this game demands Abyss Artifacts, so naturally, I am going to show you how to cheat the system and print them infinitely.

The economy in this game is incredibly hostile to your time. Abyss Artifacts are the absolute lifeblood of your character progression. If you want to unlock a new combat ability, you pay an artifact. If you want to push a decent weapon past Refinement +5, you pay an artifact. The game expects you to slowly earn these by killing enemies out in the open world. Every kill feeds a yellow meter sitting right next to your minimap. When the bar finally fills up, you are handed exactly one Abyss Artifact.
If you play the game as intended, you will constantly find yourself starved for this currency. You will be forced to choose between making your character hit harder or actually surviving a boss fight. But if you are still relatively early in the story, there is a massive oversight in the quest design that lets you bypass the grind entirely.
The Chapter 3 Totem Exploit
You have a very narrow window of opportunity to pull this off. This infinite farming method relies on abusing enemy spawn triggers during a specific boss encounter. If you push the main quest too far, the game permanently destroys the spawners, and you are locked out of the exploit forever.
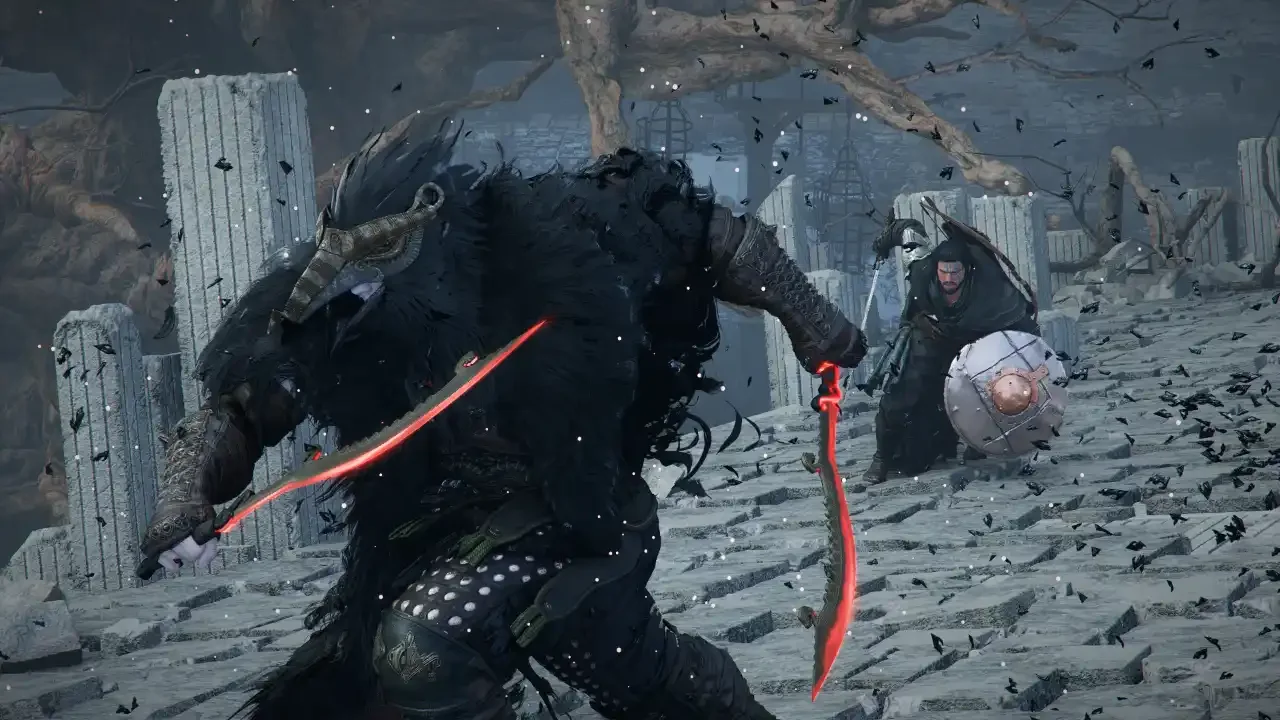
If you are currently on Chapter 3, you need to navigate to "The Face Behind the Mask" questline. Inside that chain is a subquest called "Seed of Unease" which tasks you with tracking down a boss named the Reed Devil. This is where you set the trap. The enemies here are incredibly weak, meaning you can farm them without blowing through your health pool. Just bring some basic food to be safe.
It takes roughly five minutes of mindless slashing to fill the yellow bar and secure a single artifact. It is tedious, but it is guaranteed income. Throw on a podcast and sit here until you have stockpiled enough currency to fund your entire skill tree.
Legitimate Farming Methods
If you are reading this after already completing the Seed of Unease subquest, my condolences. The boss fight destroys the totems, and your infinite farm is gone. You are going to have to earn your upgrades the hard way.
Thankfully, there are a few methods that speed up the vanilla grind. Do not bother buying them from vendors. Dropping 28.50 Silver per artifact at the Witch Vendors or Patrigio is a fantastic way to bankrupt yourself.
Camp Clearing and Main Quests
The most reliable backup plan is targeting dense enemy populations. Open your map and look for red building icons. These indicate blockaded areas and enemy camps. These zones pack the highest volume of enemies into the smallest space, allowing you to fill your yellow artifact meter much faster than randomly wandering the wilderness.
Additionally, never sprint past enemies during main story quests. The game occasionally locks you into wave survival sequences. Killing everything instead of rushing the objective marker can easily net you three or four artifacts in a single mission.
Sealed Abyss Artifacts
As you explore Pywel, pay attention to your minimap for small purple icons. These signify Sealed Abyss Artifacts resting on stone altars. The icon only appears when you are physically close, so you have to actively explore to find them.
Picking one up gives you a sealed item and unlocks a specific task in your Challenges tab. You might have to kill a certain number of enemies within a time limit, ride your horse a specific distance, or hunt with a certain weapon. Complete the chore, click the sealed item in your inventory, and it transforms into a usable artifact.
Greymane Rumor Quests
Check your Faction Quests tab in the journal every single time you visit a settlement. As you play, you will unlock Greymane Rumor quests. These are incredibly short escort missions where you locate stranded Greymane survivors and walk them back to camp. Every single rumor you complete hands you an Abyss Artifact. It is the best effort to payout ratio in the entire game.
Spending Your Hoard Wisely
Whether you spent three hours exploiting totems or a week clearing out bandit camps, you need to be smart about where you allocate your wealth.
I highly suggest dumping your initial stock strictly into your combat skill tree. Passive buffs are nice, but unlocking new attacks drastically speeds up how fast you can kill groups of enemies, which in turn speeds up your artifact farming rate. If you are overwhelmed by the options, read my Crimson Desert Best Early Skills guide to see what you should actually be prioritizing.
Do not waste your artifacts on low level gear refinement. Pushing a terrible sword to +5 just to replace it an hour later is throwing money into a fire. Save your refinement materials for gear you intend to keep for the long haul. You can check my Crimson Desert Weapon & Armor Upgrades breakdown to understand when it is actually worth investing your hard earned currency. Keep a few artifacts in your back pocket for emergencies, and let the hoarding begin.