Crimson Desert Shield Mastery Guide: Every Unchanging Will Challenge Explained
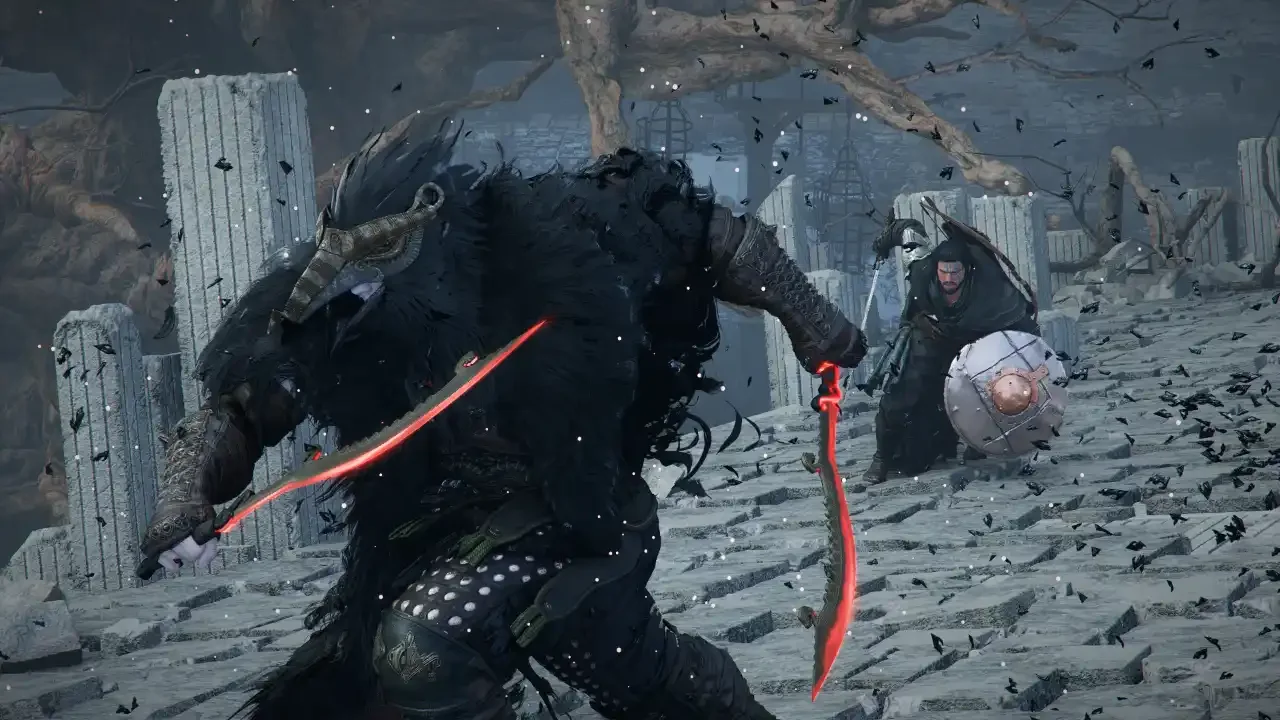
Blocking a broadsword with a slab of metal is satisfying, but doing it to earn skill points is absolutely mandatory if you want to survive Pywel.
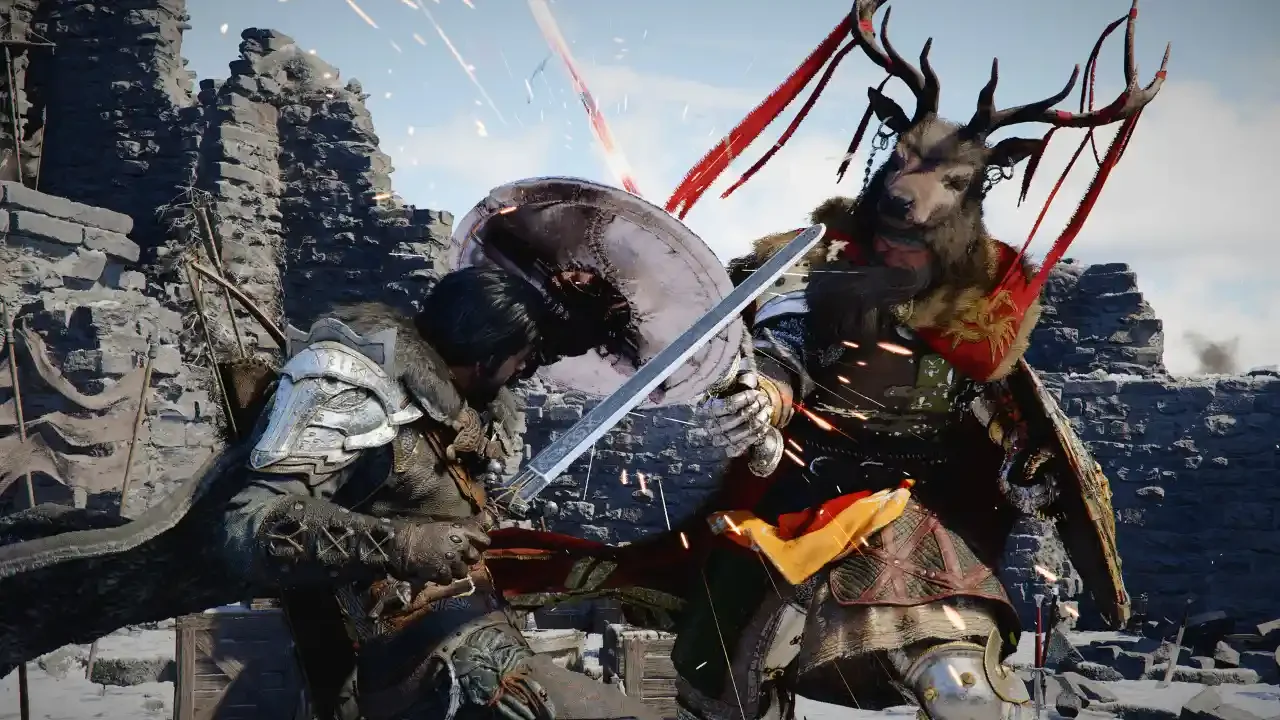
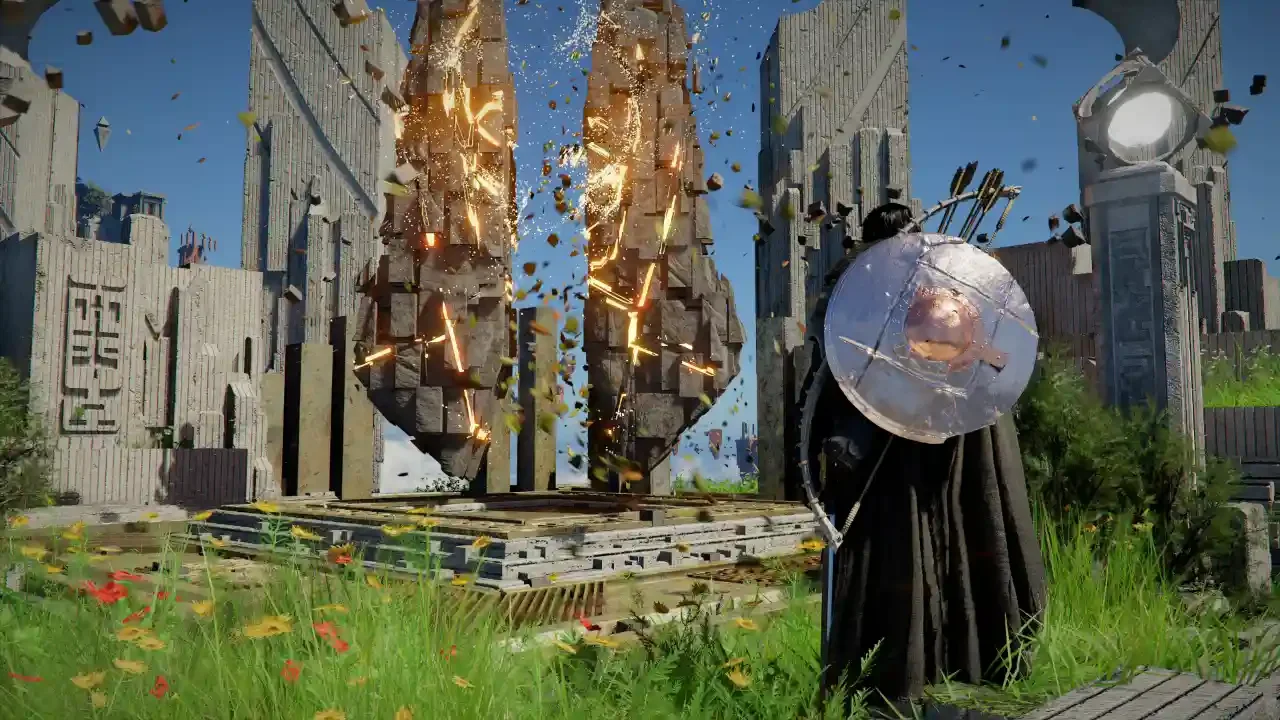
Crimson Desert is an incredibly unforgiving game that will happily let you get staggered to death by a random group of roadside thugs. To prevent that, you need to invest heavily in your character progression. Pearl Abyss hid a massive chunk of that progression behind the Mastery category in your challenges menu. Specifically, the Shield of Unchanging Will questline offers six distinct combat trials that reward you with the currency needed to make your character actually playable in the late game.
The problem is that these challenges do not just appear in your journal automatically. You have to physically ride around the continent looking for Sealed Abyss Artifacts glowing in the dirt. It is a tedious scavenger hunt. I have spent way too much time combing the roads of Hernand and Demeniss to find these things. If you are struggling to keep your head attached to your shoulders during these fights, make sure you know exactly where you are spending your newly earned points by reading my guide on the best early skills to unlock.
The Artifact Economy
Before you start hunting down these hidden shrines, you need to understand why you are putting yourself through this ordeal. The shield challenges are not just for bragging rights or to unlock the Master of Shields achievement. They are a primary source of vital economic items.
You will earn standard Abyss Artifacts for completing the basic objectives. These are the lifeblood of your skill tree, allowing you to buy new combat arts and boost your core health and stamina stats. However, a couple of these challenges drop something much more valuable.
Holding onto a Faded Abyss Artifact is a smart play. You will inevitably hit a difficulty spike later in the campaign where your current build just stops working. Having a reset button in your inventory saves you a massive headache. If you do end up needing to wipe the slate clean, check out my breakdown on how to respec skills so you do not waste the item.
The Hernand Region Challenges
Hernand holds five of the six Sealed Abyss Artifacts. The geography here is relatively forgiving, but you still need to keep your eyes peeled for purple glowing markers on your minimap. Usually, these items are tucked slightly off the main dirt paths near intersections or ruined shrines.
Shield of Unchanging Will I
You will find the first artifact in the Meandering Hills area. Ride north from the Hernand Royal Trading Post and check the dirt around the second major road intersection. It is just north of Hernand Castle.
Your objective is incredibly simple. Defeat three enemies using your shield. While holding your guard input, press your standard attack button to initiate a Shield Bash. The windup is a bit clunky, so make sure you are targeting weak, unarmored bandits. Beat three of them to death with the blunt edge of your shield to secure your first Abyss Artifact.
Shield of Unchanging Will II
Travel to the Scholastone area and look for the road heading directly north of Kharonso. You will know you are in the right place when you see herds of goats and oxen grazing near the roadside. The artifact is sitting right there.
The game asks you to block exactly ten arrows with your shield. This sounds easy until you realize most archers in this game love to run away when you get close. Find a bandit camp, aggro the melee fighters, and kill them first. Leave one archer alive. Stand at a medium distance, hold your guard button, and just let them sink arrows into your shield until the challenge completes. Do not drop your stamina gauge to zero, or your guard will break. This task pays out one Abyss Artifact and one highly coveted Faded Abyss Artifact.
Shield of Unchanging Will III
Look at your world map and locate the text for the HERNAND region. The artifact is sitting on the roadside directly south between the letters E and R, southeast of the Sanctum of Benediction.
You must hit three enemies simultaneously with a single shield attack. The Shield Bash has a surprisingly wide horizontal swing arc. The trick here is patience. Find a patrol of four or five enemies and just walk backward. Let them naturally cluster together as they chase you. Once they are huddled up, step into the center of the group and unleash the bash. If you clip three of them in the same animation frame, you win an Abyss Artifact.
Shield of Unchanging Will IV
Head to Rocca's Hill and look for the intersection directly east of the Embernest Beacon. The artifact is resting on an altar next to a large tree near the three way crossing.
This is where the game stops being polite. You have to defeat five enemies in a row with your shield without taking a single point of damage. One stray arrow or a lucky dagger swipe will instantly reset your counter to zero. You have to play like a complete coward. Isolate enemies. Pull them away from their camps one by one. If you see an archer, drop the challenge entirely, shoot the archer with your bow, and then go back to isolating melee targets. There is no time limit, so take it slow and secure your Abyss Artifact.
Shield of Unchanging Will VI
Yes, I am skipping challenge five for a moment because challenge six is still located in Hernand. You will find this artifact resting on the roadside west of the Calphade South Gate, sitting right before the bridge that crosses the rushing river.
This is the only trial in the entire set that puts you on a timer. You have exactly sixty seconds to land ten hits using the shield Charge ability. The timer starts the moment you engage. If you activate the challenge near a single enemy, you will run out of time trying to find more targets. Scout out a dense, heavily populated bandit camp before you trigger the ability. Run straight into the largest crowd you can find and spam the Charge attack. Accuracy matters less than volume here. Completing this chaotic mess rewards you with another Abyss Artifact.
The Demeniss Region Challenge
The fifth challenge is the outlier, forcing you to travel into the neighboring Demeniss region. It also introduces a massive progression wall that catches a lot of players off guard.
Shield of Unchanging Will V
Cross the border into Demeniss and look at your map. Find the giant letter D in the region title. The artifact is sitting along the dirt road directly south of that letter.
Your objective is to flip five enemies with a shield. Here is the catch that the game barely explains. You cannot complete this challenge while playing as Kliff. His moveset physically does not support the required animation. You must switch to Damiane. If you have not unlocked her yet, you are completely locked out of this trial.
You have to push the main story campaign forward until she joins your roster. If you are confused about the roster mechanics, my guide on how to unlock Damiane and Oongka will walk you through the exact story beats required.
Once you have control of Damiane, equip her shield and use her dedicated throw ability. When the shield connects with a target, it will flip them into the air. You do not even have to kill them. You just need to land the throw five times to complete the objective. Your reward is an Abyss Artifact and the Fortitude I consumable.
If you followed this route, your Master of Shields achievement should finally pop. Now you can actually go back to using your sword like a normal person.