Crisol: Theater of Idols Crow Relics Guide: Every Hidden Location
Hunting down collectibles on a cursed island is miserable work, especially when the game actively tries to lock you out of backtracking.
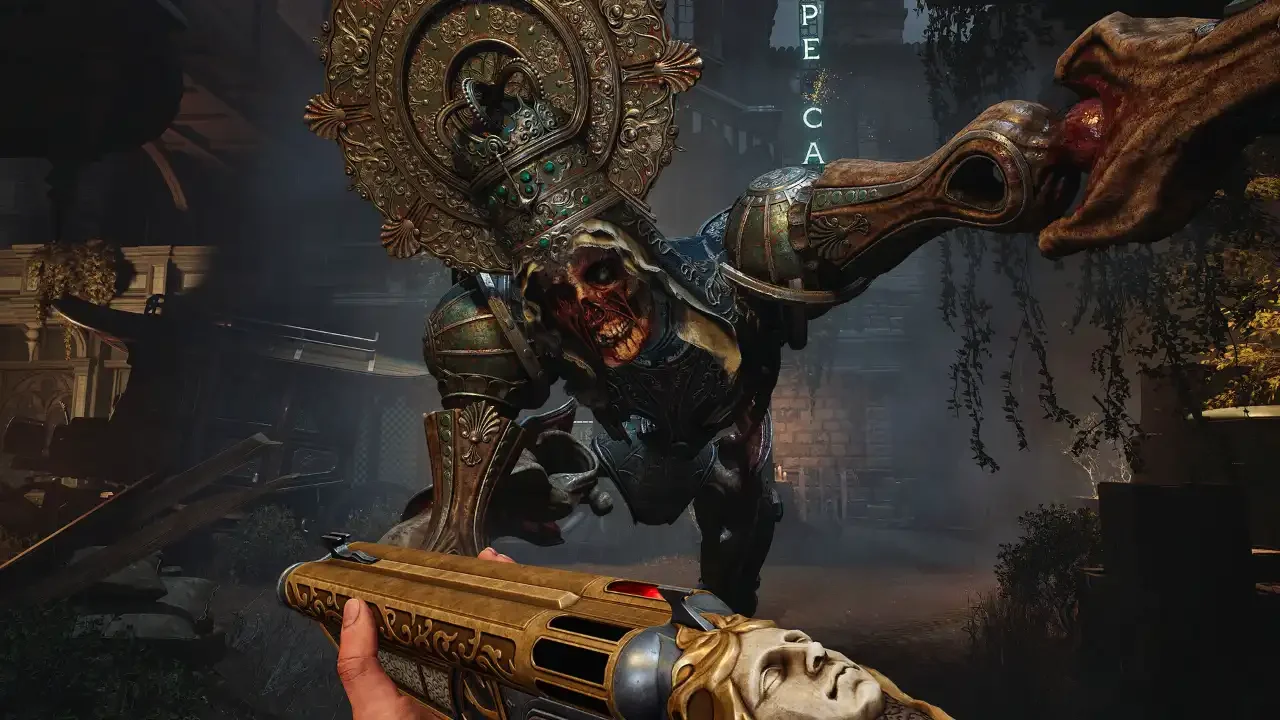
If you plan on surviving your trip to Hispania, you are going to need Crow Relics. This is the exclusive currency you hand over to La Plañidera to unlock vital survival skills. Since Gabriel literally uses his own blood as ammunition, grabbing upgrades that reduce health drain or speed up healing is absolutely mandatory.
There are 35 of these cursed trinkets scattered across the game, but you only need 31 to fully max out your skill tree. The massive catch here is that Crisol: Theater of Idols absolutely loves throwing you past points of no return. If you miss a relic and drop down a ledge or trigger a cutscene, it is gone forever. Save your game constantly. I mapped out every single location so you do not have to wander the labyrinth blind.
Tormentosa Fair & The Solari Chests
Before you start digging through the grime of the city districts, you need to clear out the fairgrounds. This requires a bit of grinding and a lot of exploration.
The Minigame Grind: You can buy exactly one Crow Relic from the ticket vendor located on the east side of the minigame area. It costs 500 tickets, so find a minigame you do not entirely hate and farm it until your wallet is full.
The Four Solari Chests: The other four relics in this area are locked inside Solari Chests (East, Central, West, and North). You cannot just pry these open. You have to hunt down four hidden Solari Broaches scattered throughout the game world to unlock them. Keep your eyes peeled for those broaches as you progress.
The Mermaid District
This is where the real hunt begins. The Mermaid District holds six relics, and a few of them require sneaking around to secure.
Floor 1 (The Pig Room): After your chase with Herminia Espina gets cut short, you will navigate some barns and hit a room full of dead pigs. Head downstairs. You will see a closed door leading to a balcony with a climbable wall. Ignore that. Turn around, walk through the open balcony door instead, and grab the relic in the next room.
Tablao Zafiro (Floor 2): Clear out the enemies in the western bathroom first so you do not get stabbed in the back. Once it is safe, pop open the right-hand toilet stall to find your prize.
Floor 0 (Dolores Stealth Section): While sneaking past Dolores near El Cuerno Albino, you have to push a mine cart covered in a yellow tarp. Look left toward the scaffolding. There is a second mine cart hidden there. Push it out of the way and open the chest next to the burning barrel.
La Perla Oculta (Floor -1): In the lobby, you can actually see this one mocking you through some cracked double doors. To reach it, head toward the elevator, hang a left to the peepholes, and squeeze through the narrow gap. Walk south past two unmarked doors. Kick open the left door, murder the enemies inside, and take your relic.
Floor 0 (Solari Courtyard): Find the courtyard with the Solari corpse near the memory echo of the agent. Walk into the adjacent shop, take the door on your right, clear out the two cultists, and grab the relic off a crate.
La Fortuna Esmeralda (Floor 1): Start in the downstairs domino room. Walk through the eastern door, clear the hallway, and look for a desk sitting directly in front of a Bingo board.
The Ram District
This district is heavy on environmental puzzles. You will need your brain and your Wrench to get all six of these.
The Dam (Floor 2 - Fuse Puzzle): North of Sector A, past a crashed truck, you will find a brick wall with a locked gate. The fuse panel puzzle solution from left to right is: Off, On, On, Off. The gate will pop open, revealing a stash that includes a relic.
The Dam (Floor 2 - Fierro Blanco): Head to the southeast corner of the Fierro Blanco Construcciones warehouse. Look for a tiny gap under a suspended crate next to a shipping container. Crawl through to an exterior room and open the chest.
The Dam (Floor 1 - Gas Pipe): After acquiring the Wrench, head east across the Dam bridge and go downstairs in the next building. Use the Wrench to shut off the burst gas pipe, then raid the cabinet in the nearby office.
El Picadero (Sector B - Fuse Puzzle): Behind a shipping container past the makeshift workshop, you will find another fuse box. The combo is: On, On, Off, On. Jump into the vent on your right, crawl to the locked room, head upstairs, and loot the chest next to the Holy Blood.
El Picadero (Sector B - Mine Cart Vent): Inside the warehouse where you see the memory of a worker yelling at his boss, look for a vent that requires a mine cart to reach. Crawl through, follow the tracks, and check inside the oil drum resting against the right wall.
The Dam (Floor -2 - Sewers): While navigating the gas leaks, do not activate the escape gates just yet. Loop around to the northwestern room. Look for a gap next to some iron bars and two posters. Squeeze through and pop the chest.
The Anchor District
This area is the absolute worst for points of no return, especially inside the Tower of Judgement. Tread very carefully.
Floor -1 (The Cave Dock): Hop in your boat at the central hub, but sail south into the cave instead of north. Dock at the hidden port, smash the wooden boards, squeeze through the gap, and kill the ambushers. Your chest is waiting at the end.
Tower of Judgement (Floor 6): After completing the Floor 7 puzzle, you will head down into a ruined prison. You will see a rock hole with a flame trap on the other side. Ignore it. Walk straight north past the locked door instead and open the chest.
Tower of Judgement (Floor 3 - Hidden Cave): This one is brutal to spot. While dodging flame traps on the northern loop, you will squeeze through a gap. Immediately hug the right wall to find a tiny cave with the relic on the floor. Do not drop into the puzzle room below until you have this.
Tower of Judgement (Floor 3 - Petréo Drop): After solving the puzzle and crossing the chasm, you will hit a ledge overlooking a Petréo boss fight. Stop walking. Turn around and crawl through the hole in the wall behind you. If you drop down to fight the boss, you can never come back for this chest.
Floor 0 (Lodge Puzzle): Use your Octopus Valve to open the southern lodge. You have to solve a light node puzzle. Turn on all the exterior border lights first, then fill in the center. The chest gives you a relic, Silver Bulls, and Holy Blood.
Floor 0 (The Sealed Well): Use the Octopus Valve again on the eastern door near the Padre Arroyo fight location. Turn the wheel outside to open the northern gate. Take your boat north, hang a right through the new gate, dock, and check the top of the sealed well.
Tomb of Dolores (Floor -5): Late in the game, after fighting the stained-glass enemies, you will cross a bridge into a cell block. Find the open door, turn around, and walk north. The final relic is sitting directly on a dead prisoner.