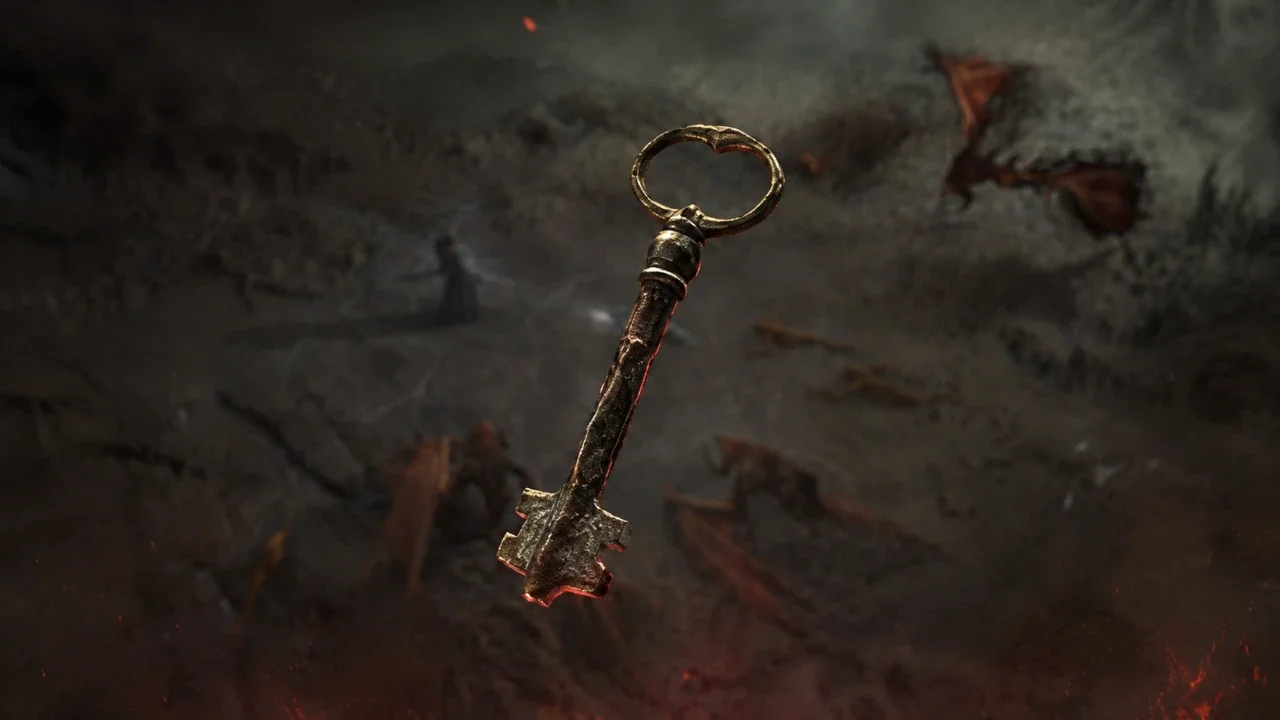
Diablo 4 Talisman Guide: Mastering Seals and Charms
Seven slots, one of them mandatory, and none of them worth anything until you understand which piece goes where first.
Remember the old backpack full of trinkets eating your loot space? Lord of Hatred brings that idea back and actually fixes the problem. The Talisman is a separate inventory tab, unlocked once you clear the campaign and step into endgame, and it exists purely to stack extra power on top of your already-optimized gear.
The Seal Comes First, No Exceptions
An empty Talisman does nothing. Seven slots total, but the center one isn't optional. Without a Seal locked into that middle spot, none of the outer slots even unlock.
The Seal you choose controls two things at once. It sets how many outer slots you have access to (weaker Seals give you a handful, the best ones open all six), and it carries its own affixes on top, meaning you can roll and adjust it to patch whatever your build's missing. Track down a Legendary Seal specifically and you get bonus stats that only kick in once a matching Set Charm bonus is active alongside it. Skip the Seal step and everything else in this guide is irrelevant to you.
Filling the Ring With Charms
Once the Seal's in, the outer ring takes Charms, and Charms are where the actual stat pumping happens. Higher rarity, bigger numbers, no surprises there.
Each Charm rolls up to two stats from a fairly wide pool. Struggling to survive? Look for Charms rolling Maximum Life or Armor percentage. Resource problems? There are Charms for Maximum Resource specifically. On the offensive side you've got extra Skill Ranks, Resistance boosts, and Lucky Hit procs that slow enemies or add bonus damage. There's even utility rolls for Experience gain and Gold find, useful if you're still leveling alts through the expansion.
Where the Real Power Sits
A flat stat roll is fine. It won't carry your build. Unique and Set Charms are where this system actually gets interesting.
Unique Charms hand you the exact effect of a Unique gear piece without eating that gear slot on your character. That's a genuinely strong trade, since it frees up your actual equipment slot for something else while keeping the Unique's power online. One hard rule though: you can't double dip. Already wearing the physical Unique on your character? The matching Charm version won't equip. And not every Unique in the game has a Charm variant to begin with, so don't assume one exists just because you want it to.
Set Charms show up once you're deep in Torment difficulty, and they work like the classic item sets from earlier games. Match several pieces from the same family into your outer slots and a set bonus kicks in that meaningfully changes how the build plays. The families worth chasing include the Survival Set for defense, the Slaughter Set for pure aggression, and further options like Shadow of Harash, Practiced Technique, Horazon's Chains, Dark Pact, Ritual of the Nameless, Light's Epiphany, and Heaven's Radiant Fire. Building a full matching set takes real time. The payoff justifies it.
Three Seals Worth Actually Hunting For
The Vigorous Seal is worth grabbing the moment you hit 35 and just riding it until Honor or Rapid Void becomes accessible. No reason to run bare Talisman slots while you wait for the endgame options.
Getting Your Hands on These
None of this drops as a guaranteed quest reward. Once the tab's unlocked, Seals and Charms fold straight into the regular overworld loot pool. Any monster, any chest, any activity has a shot at giving you the piece you're missing. Want to stack the odds in your favor faster? My Echoing Hatred guide covers the endless horde event that hands out some of the best chest rewards in the expansion, Talisman gear included.
Or Just Craft It
Random drops get old fast. The Horadric Cube lets you craft both Unique and Set Charm variants directly, cutting out the RNG entirely.
Check your material stockpile before you commit to this. Cube crafting for Talisman pieces burns through rare resources at a rate that'll bankrupt you if you're not careful. Hold off until you're firmly in the endgame and know exactly which set finishes your build. Crafting something early only to replace it five levels later is how you end up broke with nothing to show for it.