Diablo 4 Echoing Hatred Guide: Surviving the Demonic Meat Grinder
Echoing Hatred doesn't end when you clear a room. It ends when you die, and the only question that matters is how long you can push that moment back.

This isn't a dungeon with an exit. It's an endless horde that scales up for as long as you're still standing, and it starts with an item most people won't even notice they're missing.
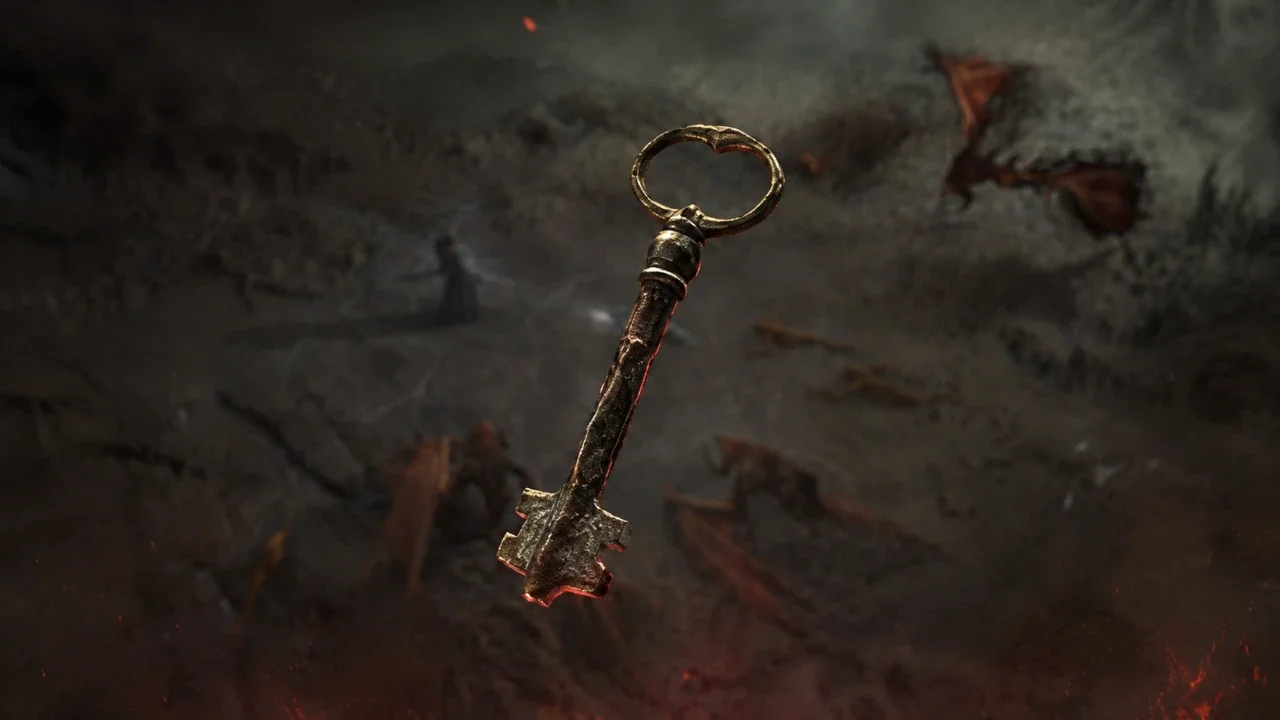
The Item Gating This Whole Event
You need a Trace of Echoes before the quest even shows up in your log. Here's the annoying part: it can drop from anything. A barrel in some forgotten cellar. The biggest boss in the game. There's no fixed source.
Bigger loot pinatas do improve your odds, but don't let that fool you into farming this directly. The drop rate is tiny enough that chasing it as a dedicated activity is a waste of a session. Treat it as background noise while you're doing literally anything else in the endgame, and eventually one falls in your lap.
Stepping Into the Mindscape
Got your Trace? Head to Temis, look northeast, and interact with the Sightless Eye. That's the trigger. Clicking it drops you straight into your character's mindscape, which is the arena where the entire fight plays out.
Gear up before you touch that eye. Strongest build available, elixirs topped off. There's no pause button once you're in, and no walking back to town to fix a mistake.
The Meter Is the Whole Game
A threat meter sits on the right side of your screen, and it's constantly filling. Every kill knocks it back down. Stop swinging for more than a few seconds and it fills to the top, which ends the run on the spot.
That means this fight rewards relentless aggression over careful play. Always have a target lined up. The moment you're standing still deciding what to do next, you're losing.
Difficulty starts on Normal and climbs continuously from there, with no ceiling. You stay in the fight exactly as long as your damage and survivability hold against that curve, so cap your resistances and armor before you walk in. Undergeared characters aren't surviving long here regardless of skill.
Four shrines are scattered around the arena, each good for one use. Don't panic-pop them early. Save them for the moment the horde actually starts winning, not for a wave of basic mobs you could've cleared without help. Blow an artillery shrine too early and you've got nothing left when the difficulty curve actually catches up to you.
What You Walk Away With
A central chest spawns the moment the run ends, and what's inside scales entirely with how long you survived. Push deep into the difficulty curve and the odds shift hard toward Uniques, Mythic Uniques, and high-rarity Talisman pieces. Die early and you're looking at a much thinner pull.
Treasure Goblins add a second income stream if you can spare the attention to hunt them mid-fight. Every one you kill drops a bonus loot bag stacked with gold, extra gear, and Seals and Charms for your Talisman. Worth the detour if one crosses your path, but not worth breaking your kill rhythm to chase down.
The game also banks your best survival time and kill count permanently. It doesn't add a single point to your character sheet, but it's the one number you get to hold over anyone who thinks their build outperforms yours.