Far Far West Beginner Guide: Surviving The Frontier
Learning to survive this cursed desert requires a lot more than just a quick trigger finger and a shiny robot hat.
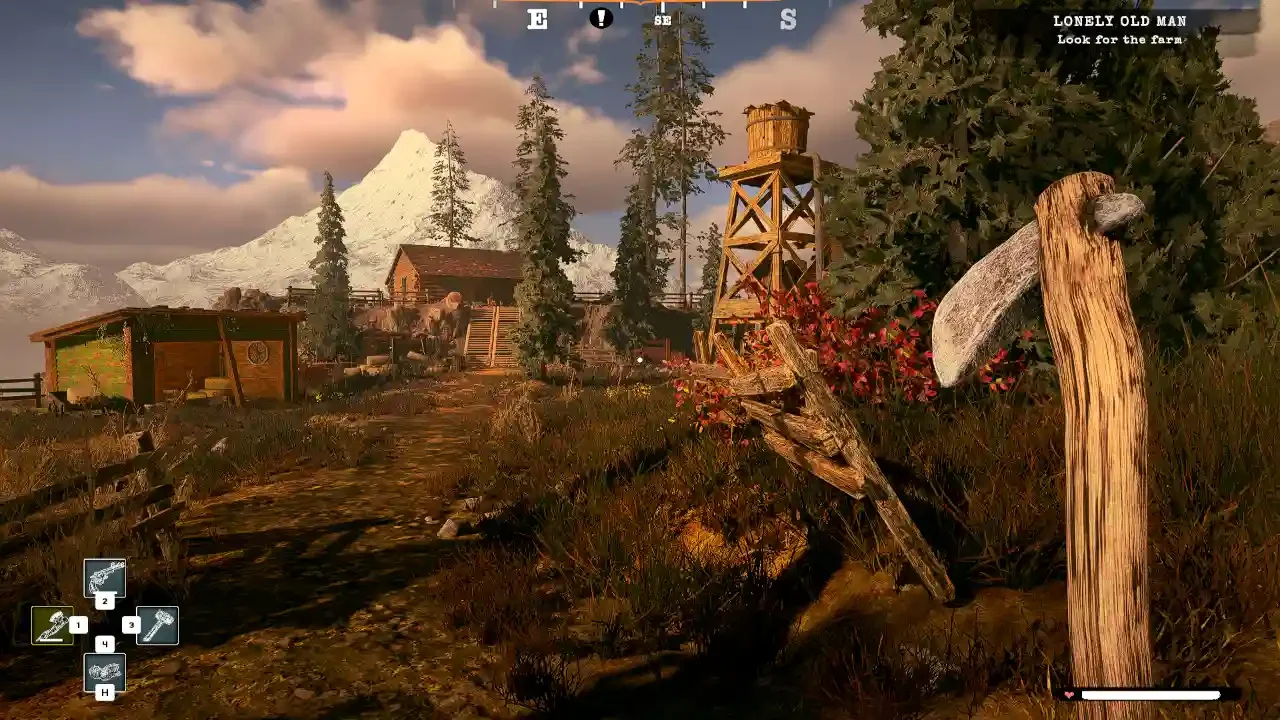
The initial hours of your bounty hunting career are going to be incredibly disorienting. You are dropped into a haunted wasteland, handed a rusty six-shooter, and told to go collect bounties from the undead. The game refuses to hold your hand, leaving you completely starved for cash and confused about the progression loop. The very first thing you need to understand is that this is not a pure roguelike experience. You do not lose all your progression when you die. The structure is much closer to a cooperative extraction shooter. You pick a mission in town, drop into the map, complete random objectives, shoot a boss, and extract. Your character and weapon experience persist whether you survive the run or get dismantled by a reanimated skeleton. Understanding that core loop takes the pressure off, but it does not make the actual gameplay any easier. Here is my advice for surviving the frontier and keeping your wallet full.
Mastering Mechanical Movement
Your survivability in this game is entirely dependent on your mobility. If you stand still to shoot your gun, you are going to die. The dodge mechanics look simple on paper but become highly exploitable once you understand the physics engine.
The Art of Bunnyhopping
You have a dash tied to your shift key and a standard jump mapped to your spacebar. Using them in isolation is fine for basic traversal, but combining them changes everything. If you dash and immediately jump, you gain a massive amount of horizontal momentum.
To maximize your speed, you need to chain these movements together. Dash, jump, and the exact second your mechanical boots touch the dirt, dash and jump again. This is classic bunnyhopping. It completely trivializes the pathing of slower melee enemies. Once you start picking up movement speed Jokers during a run, you can literally run circles around major threats like the Necromancer. You can dodge almost all incoming damage just by strafing rapidly through the air.
The Roach Triple Jump
Early in the game, you unlock a robotic horse named Roach. Riding is great for covering flat ground, but Roach is actually your best vertical traversal tool before you gain access to the late game flying mechanics.
When you dismount Roach, the game pops your character slightly into the air. The physics engine registers this tiny hop as your starting point, meaning you still have your standard jump and dash available while you are airborne. You can essentially dismount, jump, and dash upward to secure a massive triple jump. I use this trick constantly to scale sheer cliffs and bypass entirely blocked off sections of the map without having to search for a ramp.
Maximizing Experience and Fragments
You need to actively manage how you unlock your gear. The game will not automate the process for you, and ignoring your menus will leave you severely underpowered for the higher difficulties.
Weapon Targeting
To unlock new guns and utilities, you need to collect weapon fragments. Bosses drop these when they die, but there is a massive catch. You have to manually select which specific fragment you want to farm inside your loadout menu.
Before you make the same mistake I did, double check your tracker. I ran five consecutive missions before realizing I had already maxed out my current weapon fragment. The overflow does not automatically roll over to the next gun blueprint. You have to go into the menu, swap your target to the next blueprint, and then drop back into the desert. Even after you unlock every single weapon, you still need these fragments to buy cosmetic skins. Always make sure you have a target selected before you board the train.
The Element of Surprise
Your secondary weapon utilizes elemental damage, and you need to pick the right tool for the job. Pyro applies two points of damage per tick. Acid applies one point of damage but slows the target. Electric applies one point of damage but has a high chance to chain to nearby enemies.
You also need to level up your actual spell lines to unlock stronger magic. Spell experience is tied directly to the damage you output. However, the game gives you a massive one-time experience bonus just for trying a spell. I highly recommend equipping every level one spell at least once, casting it, and taking that free chunk of experience.
Also check out: Far Far West Spell Combos Guide: Mastering Frontier Magic
Fixing The Gold Economy
This is the biggest pain point for any new bounty hunter. The upgrade costs in town are staggering, and the natural gold generation feels incredibly unbalanced until you learn the hidden mechanics.
Stop Mining For Pennies
If you spend twenty minutes running around a map on Hard difficulty cracking open every single gold ore vein you see, you will likely walk away with a terribly insulting payout. If you are going to interact with the mining nodes, you must do it correctly.
Never use fire spells or dynamite to blow up a gold node unless you are actively running for the extraction zone. Blowing up a node cuts your profits in half. Take the time to hit it manually with your pickaxe to extract the maximum yield.
Secrets Versus Standard Quests
If you are going to farm the Medallion secret or hunt down the hidden Bells, you need to understand exactly how the game tracks your progress.
Standard side quests will track across multiple missions. If an NPC asks you to find ten graves, you can find five, extract, and find the other five on your next drop. Secret objectives do not work this way at all. Items like the medallions and bells must be fully collected and deposited within a single instance. If you grab two out of three medallions and extract, your progress resets to zero. You have to commit to finishing the secret before you call the dropship.
Knowing When To Leave
My final piece of advice is learning when to walk away from a fight.
When you defeat the primary boss of a map, the game does not just end. Instead, it triggers an infinite, escalating wave of enemies. This mechanic is fantastic if you are running a fully upgraded build and just want to grind raw weapon experience until your fingers bleed. It is an absolute nightmare if you still have three side quests to turn in and low health.
If you forget which boss you are supposed to be hunting, look for the Boss Sanctuaries scattered around the map. These small shrines are completely themed around the current target and serve as a great visual reminder. Before you pull the trigger on that boss, make sure your map is clear, your secrets are secured, and your pockets are full. Once that boss drops, you are on a very strict survival timer to reach the extraction zone.