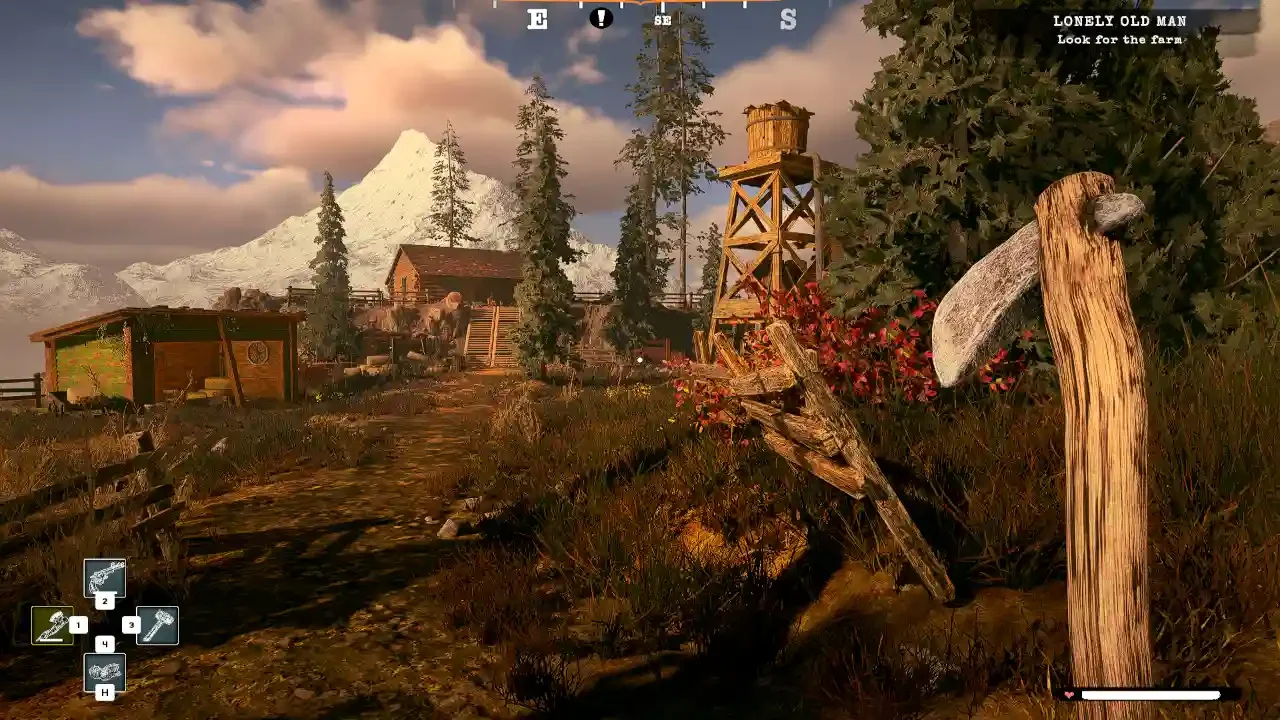
Far Far West Loadout Guide: Mastering Guns and Co-op Survival
Surviving the haunted desert requires a lot more than just holding down the trigger and hoping your friends do not shoot you in the back.
I have watched countless robotic bounty hunters get sent to the scrap heap because they completely misunderstood their own arsenal. Far Far West gives you plenty of tools to deal with the undead hordes, but the game refuses to explain the deeper mechanics attached to them. You might think you know how a standard rifle works, but if you are not exploiting the hidden alternate fire modes and perfect accuracy tricks, you are leaving massive amounts of damage on the table. To make matters worse, jumping into a multiplayer lobby introduces a whole new layer of chaos that will quickly end your run if your squad lacks basic discipline. I am going to walk you through exactly how to optimize your firearms and keep your cooperative team alive.
Primary Weapon Mechanics
Your primary firearm is your absolute best friend when your elemental spells are sitting on cooldown. Every gun in the game has a specific rhythm you need to master.
The Quad Cylinder and Minigun
You start your journey with the Quad Cylinder. It is a highly reliable full auto rifle that gets the job done early on. It has a very predictable spread and consistent damage. If you invest the time and resources to upgrade it back in town, it remains a terrifying weapon well into the late game.
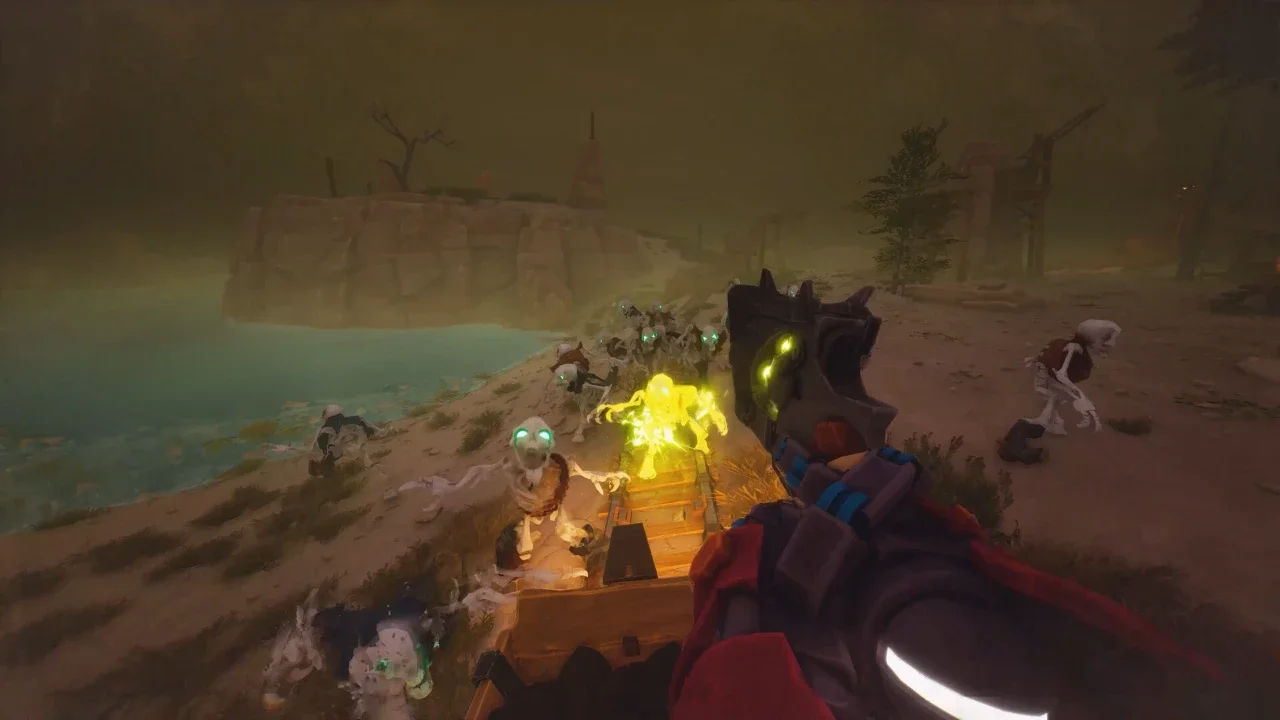
The Minigun is a completely different beast. If you just hold the fire button down the second you see a skeleton, you are going to completely empty your ammo reserves before the real threat even spawns. You have to manage the spin up time. Holding down your aim button forces the barrels to spin without actually firing a single bullet. This allows you to walk into a boss arena fully primed and ready to unleash maximum fire rate the exact second the fight starts.
There is also a highly specific accuracy trick tied to the Minigun. When you are firing at your absolute maximum speed, hold down your aim button anyway. Your on screen reticle will start shaking violently, but your actual bullet spread tightens up significantly. It takes some getting used to, but it is the only way to focus your heavy damage onto a single weak point.
The Precision of the Leveredge
If you prefer picking off targets before they get close, the Leveredge is your go to precision tool. It fires faster than a standard sniper but offers incredible range. It is my personal favorite weapon for rapidly destroying enemy spawners from a safe distance.
The most important thing you need to know about the Leveredge is that aiming down the sights is completely optional. The hip fire on this weapon features absolutely perfect accuracy. The bullet will always hit exactly where your crosshair is resting. You only need to use the actual sights when you want to physically zoom your camera in on a distant target. Stop slowing your movement speed down to aim at enemies who are standing ten feet away from you.
Secondary Weapons and Utility
Your sidearm is not just a backup plan. It is the primary way you apply elemental effects to the battlefield when you run out of magic cards.
The Revolver is your starting secondary and teaches you everything you need to know about elemental swapping. Having a high powered sidearm that can instantly flip between Fire, Electric, and Acid is crucial for triggering magical explosions on the fly.
If you are constantly running your ammo reserves dry, you need to unlock the Boomerang. It does not use traditional ammunition. You throw it out, and it travels until it impacts a solid surface or an enemy. Once it connects, it applies a massive burst of damage and your chosen elemental status effect before flying back to your hand. The secret to maximizing the Boomerang is realizing you are not locked into an animation. You can toss it out into a crowd and immediately swap back to your Minigun.
The Rules of Co-op Survival
Dropping into a haunted canyon with a full squad of bounty hunters is an incredible experience, but it requires strict discipline.
Managing Friendly Fire
Friendly fire is fully active in this game. A stray bullet will chip away at your partner, but a poorly placed elemental combo will put them in the dirt. If your teammate is fighting inside a pool of acid, do not throw a fireball at their feet. You will trigger a massive explosion and wipe them out instantly. Practice basic trigger discipline and apologize when you inevitably make a mistake.
Resource Distribution
You are sharing a single map full of limited resources. Do not hoard the Joker cards. If a card drops that grants a massive boost to explosive damage, but you are running a pure Electric build, give the card to your pyromancer.
The same logic applies to health and ammo drops. Ammo is incredibly plentiful, so there is no reason to scoop up every single box you see while your sniper is completely dry. More importantly, you need to feed your support players. If you have a teammate running Voodoo magic to keep the squad alive, let them take priority on the medical supplies. They can use their cooldowns to heal you, but they cannot do their job if you steal their health kits.
Finally, communicate before you start a massive fight. The game is full of hidden objectives and secondary bounties. Use the text chat to run a quick ready check before you trigger a boss encounter or call for an extraction.
Tracking Down Collectibles
While you are managing your ammo and dodging skeletal miners, keep your eyes and ears open for the map collectibles.
Every zone hides three Music Disc fragments. You will know you are getting close when you hear a scratchy, distorted audio track playing in the background. Collecting all three pieces unlocks that specific song back in the hub world.
You also need to hunt down Graves. There are ten of them scattered across every single map. They emit a very distinct glowing blue aura and a soft ghost moaning sound. If you manage to track down 30 Graves across your playtime, you unlock the exclusive Gravedigger skin. These collectibles are tracked individually for every player, but any grave or disc you personally find will permanently mark itself on the map for your entire team.